The topic of this article is Shopify header configuration. We briefly discuss the typical website page structure and then move to the main configuration steps: adding logo and changing Shopify logo size, header menu, announcement bar, creating a sticky header either including an announcement bar or excluding it. As a bonus, we are going to tell how you can edit Shopify header via code template. Let’s get started!
Shopify header block
How to edit Shopify logo in header
How to edit Shopify header menu
How to edit Shopify announcement bar
How to edit Shopify header via code template
How to create sticky header Shopify
Shopify website page can be divided into a few components:
1. Header. It is a content block that you can see at the upper part of every page of an online store. Header typically consists of a name of a store, logo, main website navigation menu and shopping cart sign.
2. Footer. It is a content block that you can see at the bottom part of every page of an online store. A footer may contain a menu, links to social networks, contact information and sometimes also a newsletter signup.
3. Body. It is an area between header and footer on any page of a website. Header or footer are static elements – they remain the same on every page. Compared to them, the web page body is dynamic and its content changes depending on the page that you access.
In this article, we are going to discuss the header block and how you can configure its components.
In case you are interested in the footer block configuration – visit this page and find everything you need in a comprehensive guide.
You can also check out creating a menu in Shopify tutorial to improve navigation.
Shopify header block
In Shopify, the header looks like this:

Basically, it can be divided into 2 blocks. The first block is an announcement bar. It contains a welcome message. The second block contains a logo, menu, search bar and a shopping cart.
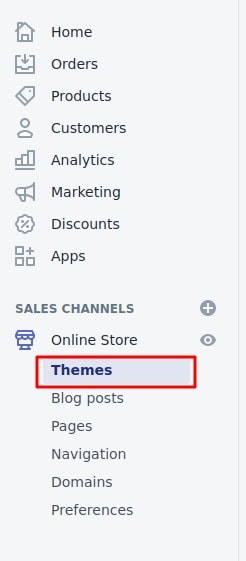
In order to edit the header block, you need to enter the admin panel of your website and then go to Online Store -> Themes.
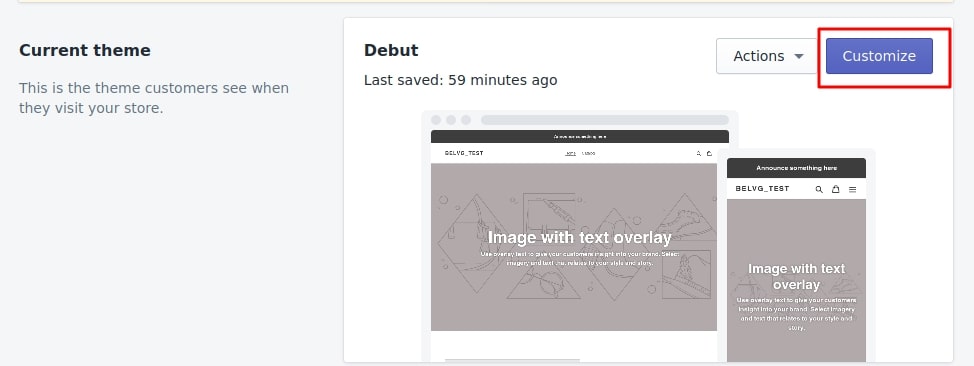
Then, you need to select your current theme and press the Customize button.
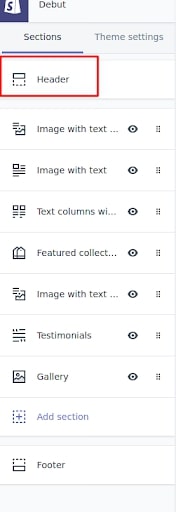
Here you will see the block with your website’s sections (header, footer etc). You need to select the header section.
Now, let’s take a look at the main Shopify capabilities for the header block customization.

How to edit Shopify logo in header
The first element that you can change in the header is the logo. You can change its location by selecting one of the suggested options (Left, Center). Besides uploading your own logo from your device, you can choose one of the free options available by pressing on Explore free images.
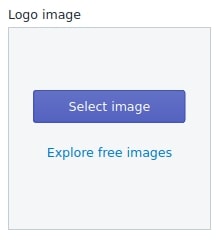
In our article, we will choose the second option and go for a ready-made logo image.

After you apply a new image, three buttons will show up:
- Change will let you choose another image;
- Remove allows you to delete the image;
- Edit is the button that allows adding a brief image description (it will be placed in the alt attribute). Alt description is necessary for SEO as images also show up in search results by relevant queries and also it is important for visually impaired website visitors.
You can also configure Shopify logo size

How to edit Shopify header menu
The next element that we discuss here is your website’s main menu.
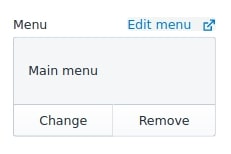
By default, the main menu is selected. You can choose another menu by pressing on the change button or edit the current menu by pressing the Edit menu button.
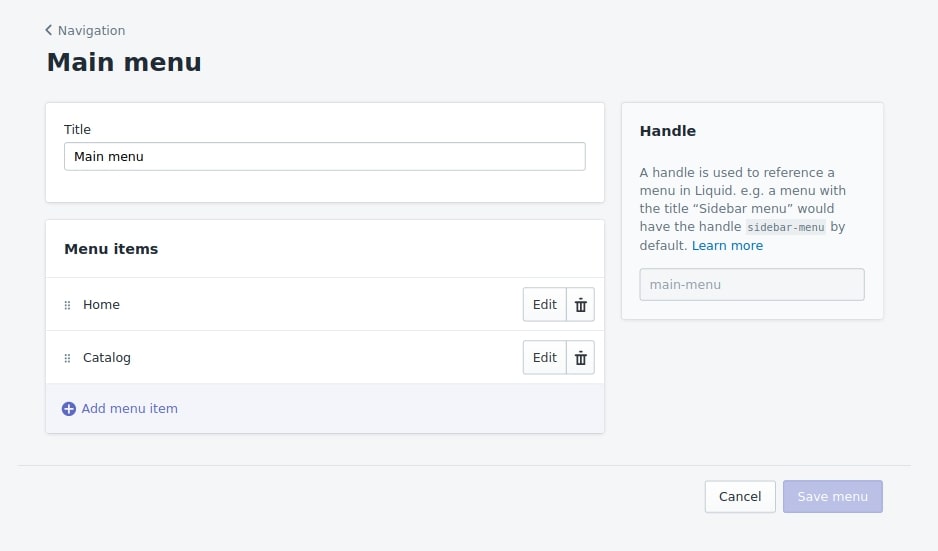
In the menu editing section, you can create new menu items as well as edit the existing ones. You can also use the drop down menu to group products, collections or pages to improve your online store’s navigation. For example, if you have a lot of products, you can add them to collections and use the drop down menu to organize these collections. It will help a customer to find a necessary product type. You can create a drop down menu by creating or moving sub menu items under the main item. The main item will be displayed in your store’s main menu and sub menu items will be displayed in the drop down menu. There can be 2 levels of sub menu sections.
For example, let’s create a menu item connected to a website page can place 2 more items inside of it:
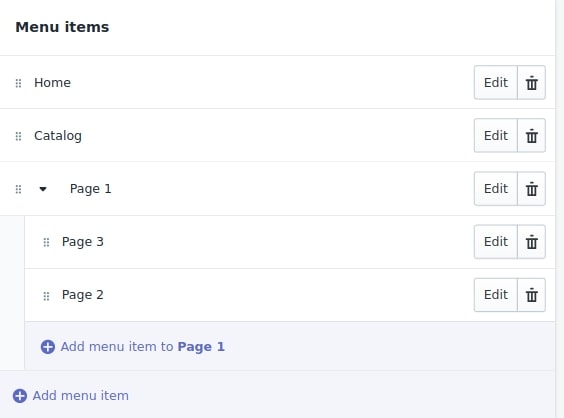
You should pay attention that the 1st-level menu items are left-aligned. The 2nd-level menu items are aligned among themselves but indented to the 1st level menu items.
On the front, it will look like this:

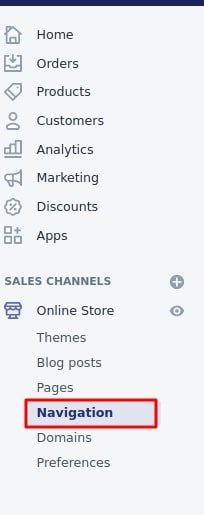
It is also worth mentioning that you can edit the menu directly from the admin panel main menu. Just go to online store -> navigation.
How to edit Shopify announcement bar
The next block that you can edit is an announcement message.
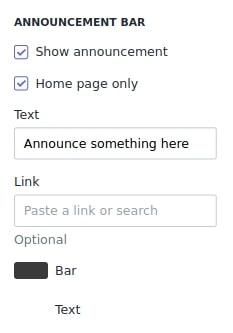
By default, this block is hidden but you can make it visible by clicking on show announcement. You can also display this block just on a main page. In order to do it, you need to tick the box saying Home page only.
In the text field, you can change the message text.
In the link field, you can mention the website page that a user will proceed to when clicking on this block. You can also change the block’s color and text’s color.
How to edit Shopify header via code template
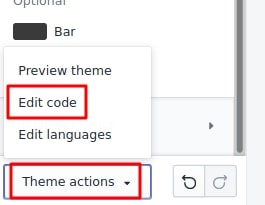
You can edit the header block directly via code. In order to do it, go to Theme actions -> Edit code.
After you enter the section with templates of your theme, you need to open the header.liquid template in the sections.
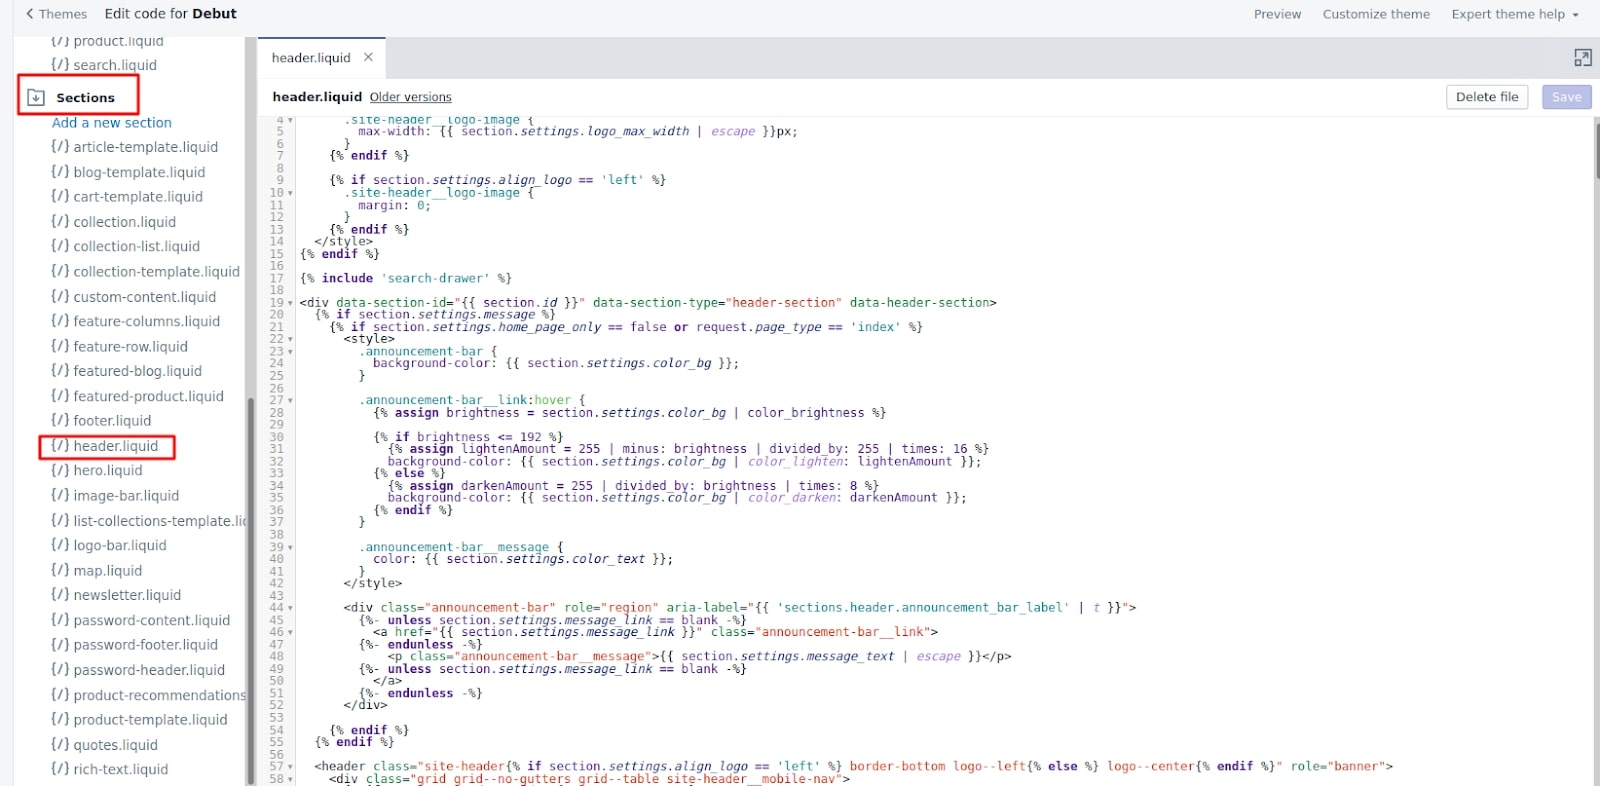
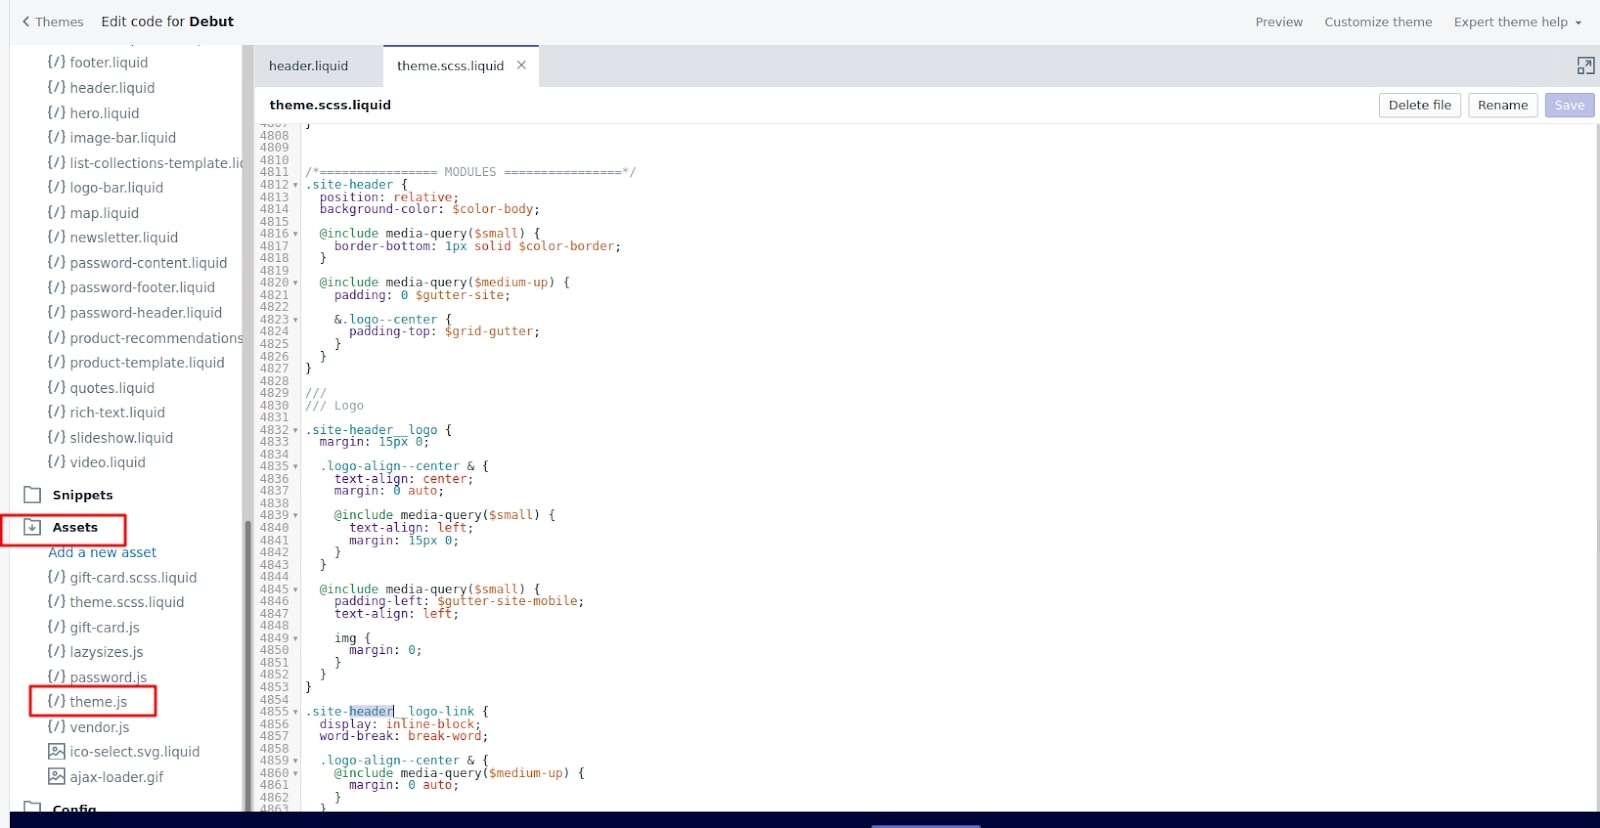
Using Shopify layout and HTML, you can change blocks’ location, remove blocks, add your own classes and attributes etc. To edit styles in the Assets, you need to select the theme.scss.liquid file.
How to create sticky header Shopify
Sticky header means that the navigation, logo and icons will follow the users while scrolling the page. It is very useful when you want your customers to have easy access to your website’s navigation. Let’s look through 2 ways how you can create a sticky header in Shopify. In the first case, the whole header will be sticky (together with an announcement bar); in the second case, the announcement bar won’t be sticky – won’t be fixed.
Making the whole header sticky (together with an announcement bar)
- At the Shopify admin panel, you need to enter Online Store > Themes.
- Here you need to find your theme and press Actions > Edit code.
- In the Assets folder, you need to open the theme.scss.liquid file.
- Proceed to the very end of this file and insert this code:
|
1 2 3 4 5 6 7 8 9 10 |
#SearchDrawer { z-index:1001; } #shopify-section-header { position: fixed; z-index:1000; left:0; right:0; } |
- In the Assets folder, you need to open the theme.js file.
- Proceed to the very end of this file and insert this code:
|
1 2 3 4 5 6 7 |
function headerSize() { let $headerHeight = $('div#shopify-section-header').outerHeight(); $('#PageContainer').css('padding-top', $headerHeight); } $(window).on("load", headerSize); $(window).on("resize", $.debounce(500, headerSize)); |
After that, you need to save the changes and reload your website page.
Making the header sticky excluding the announcement bar
If you want the announcement bar not to be fixed with the sticky header, you need to follow these steps:
- In the Shopify admin panel, go to Online Store > Themes.
- Here you need to find your theme and press Actions > Edit code.
- In the Assets folder, you need to open the theme.scss.liquid file.
- Proceed to the very end of this file and insert this code:
|
1 2 3 4 5 6 7 8 9 10 |
#SearchDrawer { z-index:1001; } .site-header { position: fixed; z-index:1000; left:0; right:0; } |
- In the same Assets folder, you need to open the theme.js folder.
- Proceed to the very end of this file and insert this code:
|
1 2 3 4 5 6 7 8 9 10 11 12 13 14 15 16 |
function headerSize() { let $headerHeight = $('div#shopify-section-header').outerHeight(); $('#PageContainer').css('padding-top', $headerHeight); } $(window).on("load", headerSize); $(window).on("resize", $.debounce(500, headerSize)); $(window).scroll(function() { scroll = $(window).scrollTop(); if (scroll >= 1) { $('.site-header').css('top', '0'); } else { $('.site-header').css('top', 'initial'); } }); |


Love you all of you because you solve my biggest header problem. Thanks to your team.