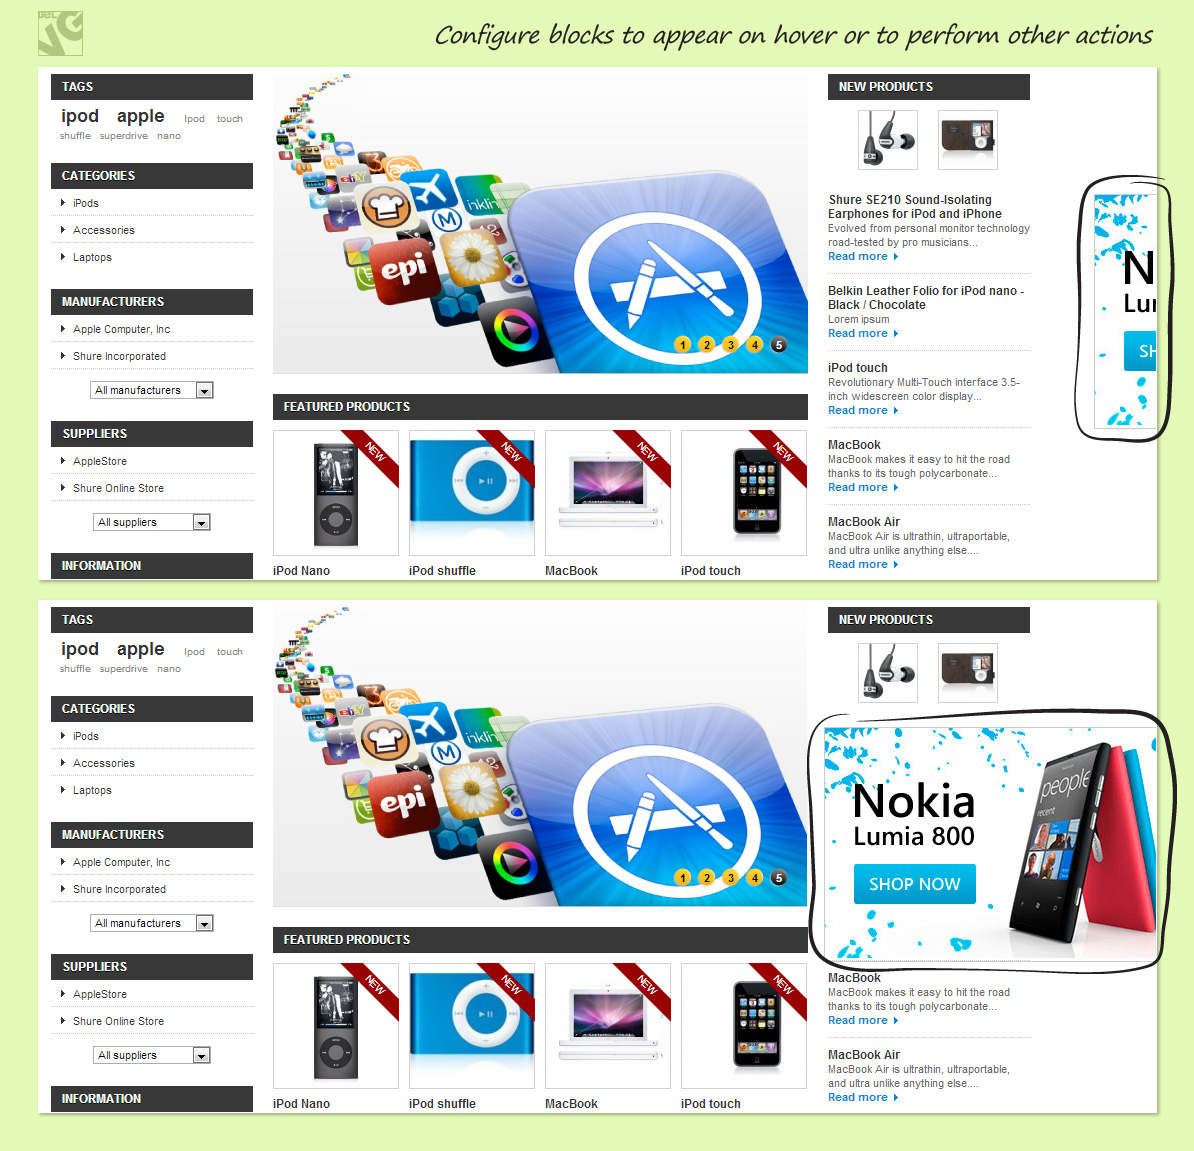
Today, we will talk about Prestashop Static Blocks module and discover the opportunities it can provide. If you are familiar with JavaScript and CSS HTML, this module gives you more options to diversify and variegate your store. In your template, you can create static blocks which later can be managed directly through the website admin panel without editing the block encoding. In the example below I am going to demonstrate how to create a flying static block – a banner on a website homepage. The banner will fly from the left across the screen and hide at the right side, leaving just a margin visible for the visitors.
In the template, open the header.tpl file to markup the flying banner:
|
1 |
<div class="fly-banner"> Hello </div> |
Next, indicate that the banner has to appear on the homepage only:
|
1 2 3 4 |
{if $page_name == 'index'} <div class="fly-banner"> Hello </div> {else} {/if} |
Naming CSS styles :
|
1 2 3 4 5 6 7 8 |
.fly-banner{ min-width:370px; min-height:200px; position: fixed; z-index:999; left:0; top:30%; } |
The banner is fixed on the left side, 30% high above the top of the template. Let’s use the JavaScript to animate it:
|
1 2 3 4 5 6 7 8 9 10 11 12 13 14 15 16 17 18 19 20 21 22 23 24 25 26 27 28 29 30 31 32 33 34 35 36 37 38 39 40 41 42 43 44 45 46 47 48 49 |
<script> $(function(){ var WidthWindow = $(window).width(); $(".fly-banner").animate({ left: WidthWindow - 100 }, 3500,function(){ bannerHover(); } ); // Stop animation when is hover $(".fly-banner").hover( function () { $(".fly-banner").stop(); }, function () { $(".fly-banner").animate({ left: "95%", }, 3500,function(){ bannerHover(); } ); } ); function bannerHover(){ // Animation when is hover fixed banner var WidthBanner = $(".fly-banner").width(); $(".fly-banner").addClass('fixedBanner'); $(".fixedBanner").hover( function () { $(this).css('margin-left', - WidthBanner + 100 ); }, function () { $(this).css('margin-left',0) }); } }); </script> |
Now the banner flies across the screen from the left and gets fixed on the right side. Hovering over the flying banner makes it stop or show up again after it hides at the right side of the screen.
Now let’s see how to add some content to the banner. Do as follows:
|
1 2 3 4 |
{if $page_name == 'index'} <div class="fly-banner"> {getBelvgBlockContent id="banner"} </div> {else} {/if} |
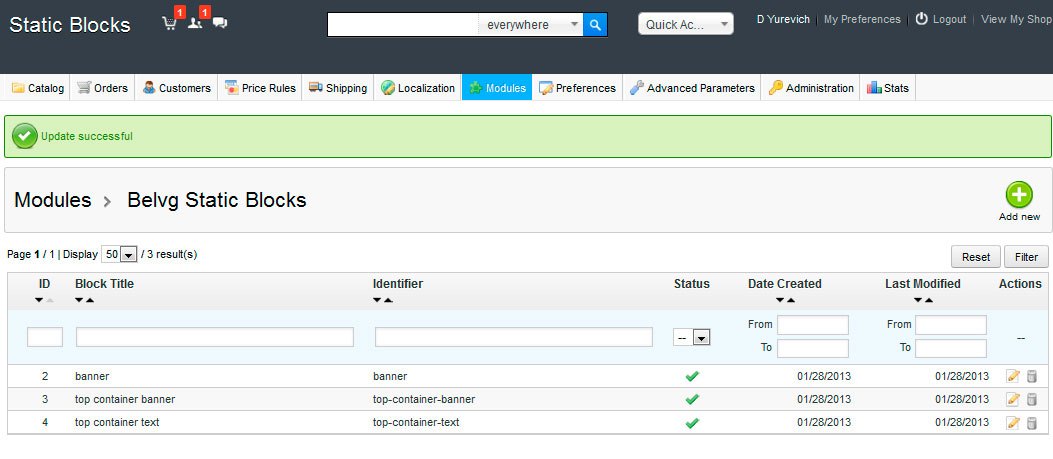
In this way we created a static block with the banner id. Now let’s open the static block module in the website admin panel. There we create a new block where in the ID field indicate banner, thus it gets integrated with the template. Let’s try and upload a picture to check how it looks on the homepage. Now we can easily manage our pictures or completely turn them off directly through the admin panel which is a much more convenient way.
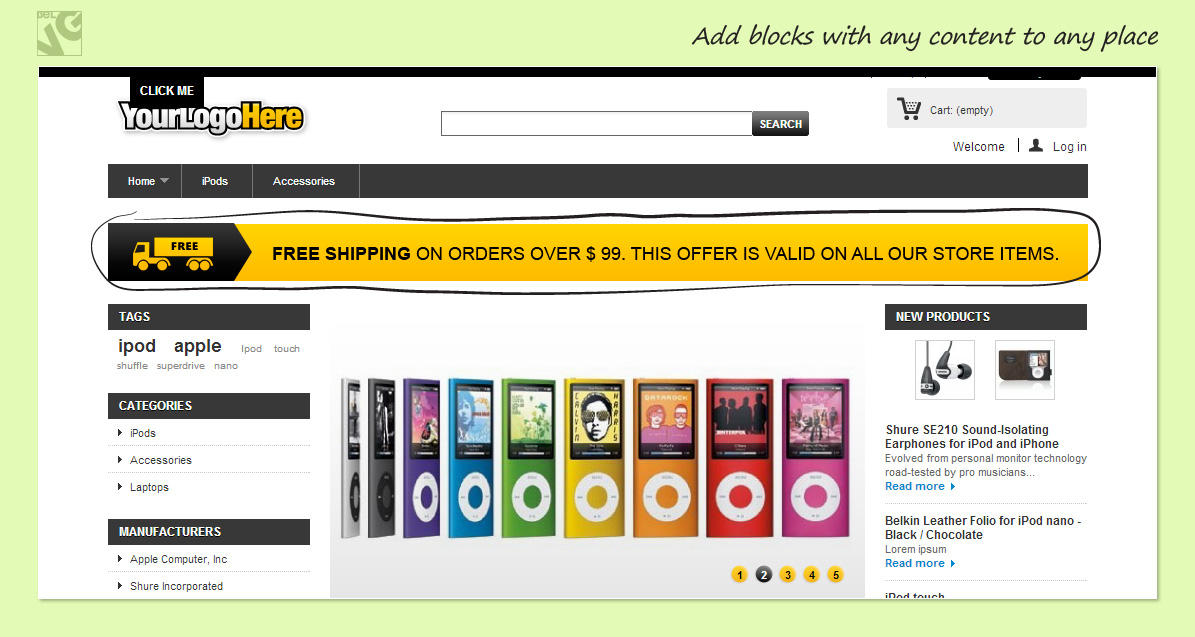
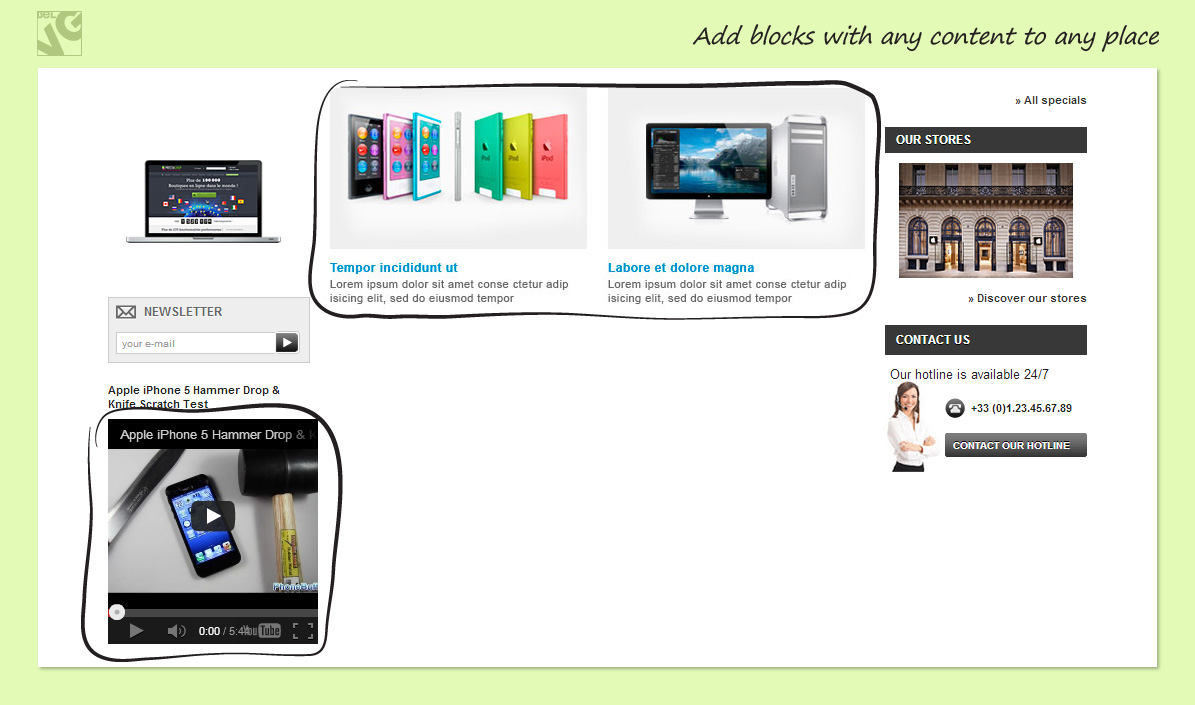
The same way you can use the module to put links or text content on any place of your website: it is just enough to indicate in your template where exactly the necessary block should be placed and name it. In this way I usually create new blocks with links or ads on a page footer which can later be managed by a website administrator who is even not much familiar with programming.


