Learn to manage all the Shopify product details: title and description, videos, and images at the product page, pricing and shipping settings, product types and tags, collections, and vendors. All of these and even more you will find in this detailed instruction. Improve user experience and sales of your products with the help of the best tips from our Shopify experts.
How to configure Shopify product description, title & add video to Shopify product page
Compare at price Shopify & other pricing settings
Shopify SKU, barcode & quantity
Shopify shipping rules
Title and meta description Shopify
Shopify product types, tags, collections & vendors
Shopify product description split
How to configure Shopify product description, title & add video to Shopify product page
Product title
The product’s title should be short and clear. Its main purpose is to give your potential customer a complete understanding of what kind of product it is.

Shopify product description
The product description area has a functional text editor so that you can format your text. Basically, this editor allows you to make changes in the text as in a regular Microsoft Word document. You should describe the products in detail to inform and persuade your potential customers. If you’re a reseller, then don’t copy a manufacturer’s exact description, because you want your products to be unique to search engines.
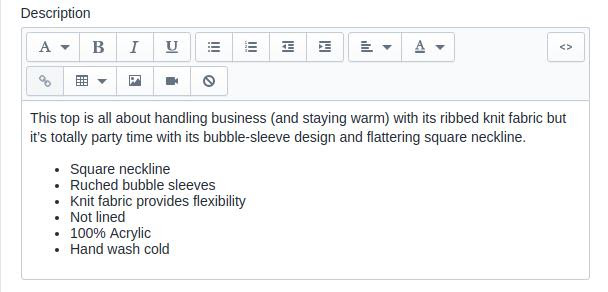
There are also some interesting features for clearing formatting, inserting images, and videos.
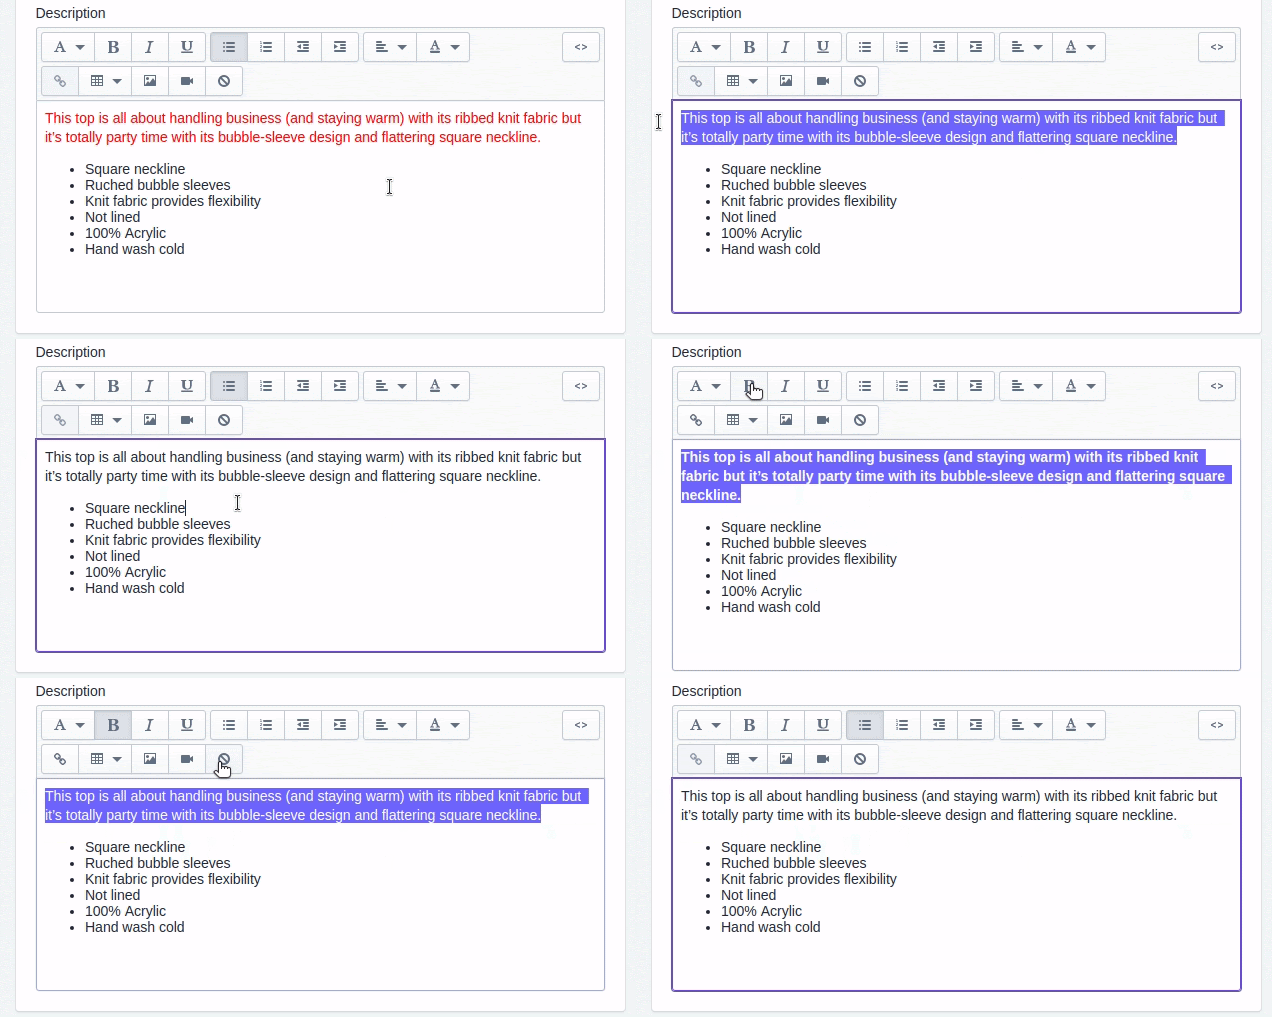
Clear formatting
To remove formatting from text or images, highlight the content, and then click the Clear formatting button as you can see here:
How to add product images
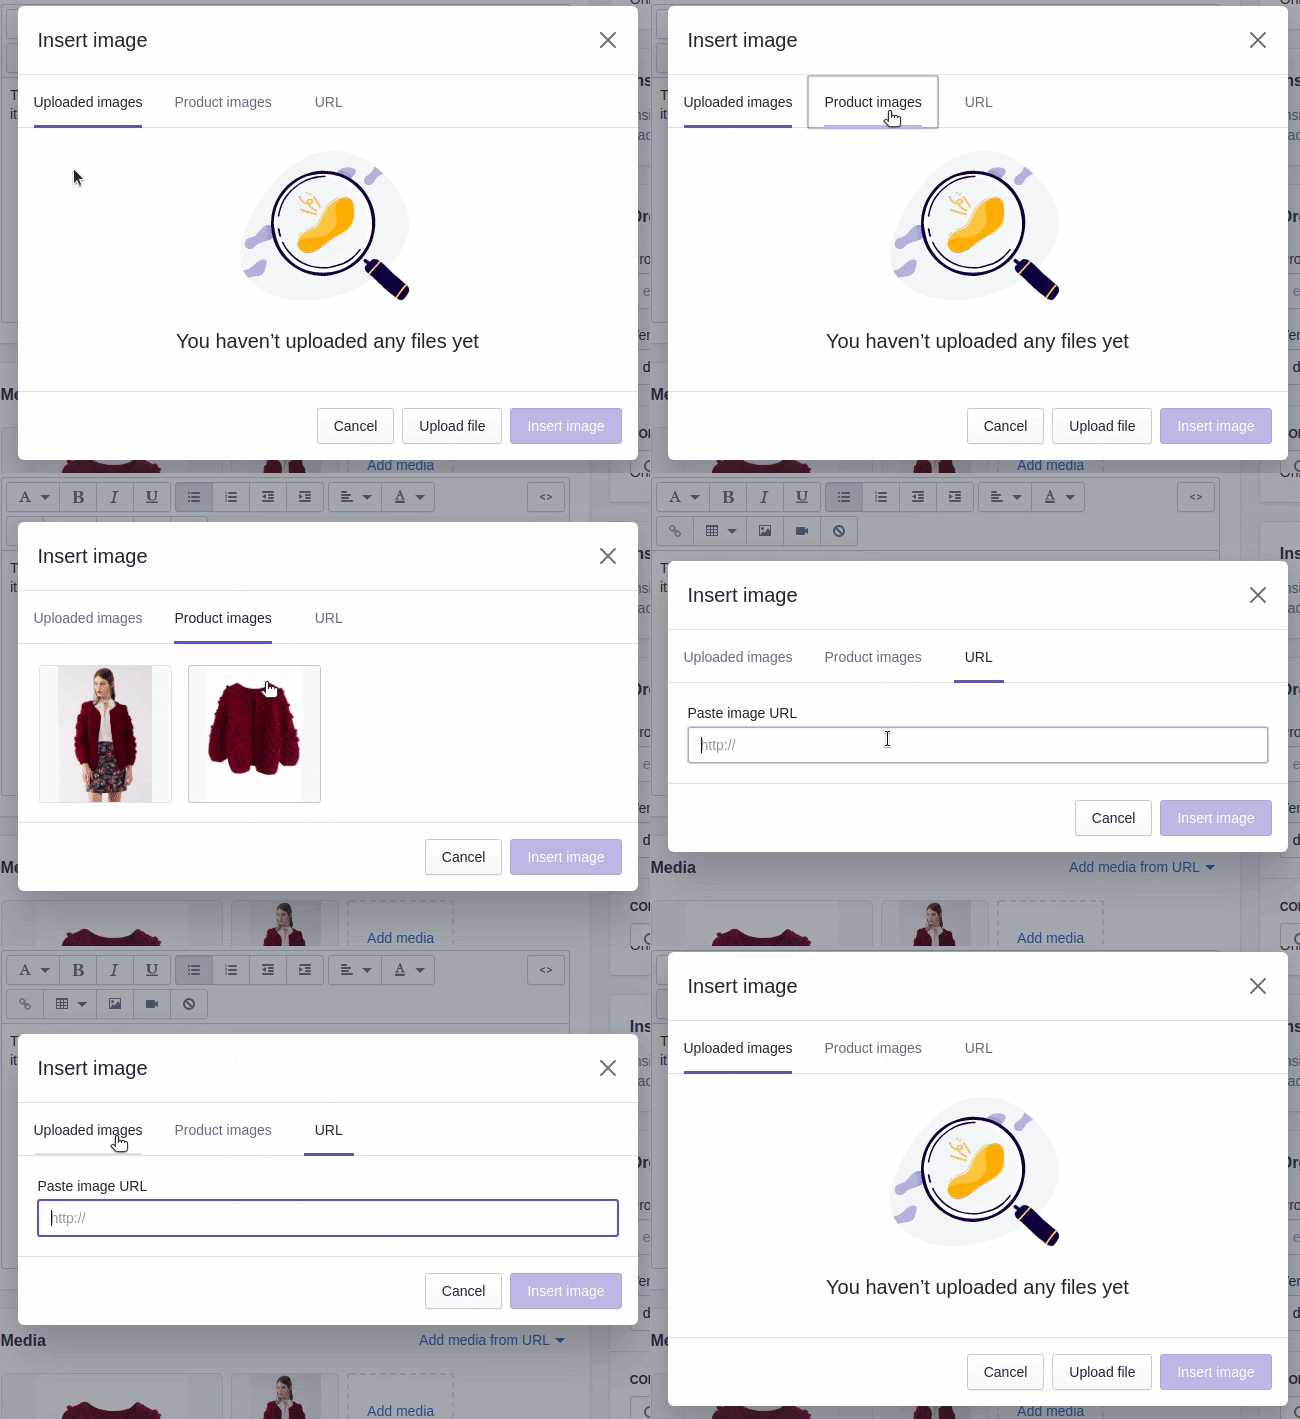
First, you need to click the Insert image button:

Then, you should choose one of three options to add an image:
How to add video to Shopify product page
If you want to embed a video that you’ve created, then you first need to upload it to a video streaming site such as YouTube or Vimeo.
For example, you can insert a video uploaded on Youtube:
1. First, you need to click on Share as you can see below:

2. Here you should select the Embed option:
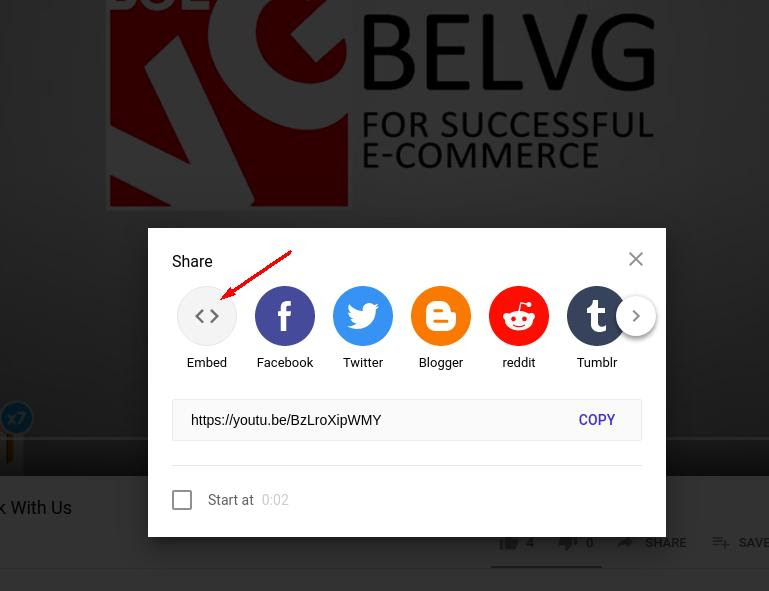
3. Then, you need to copy the code. It should look like this:
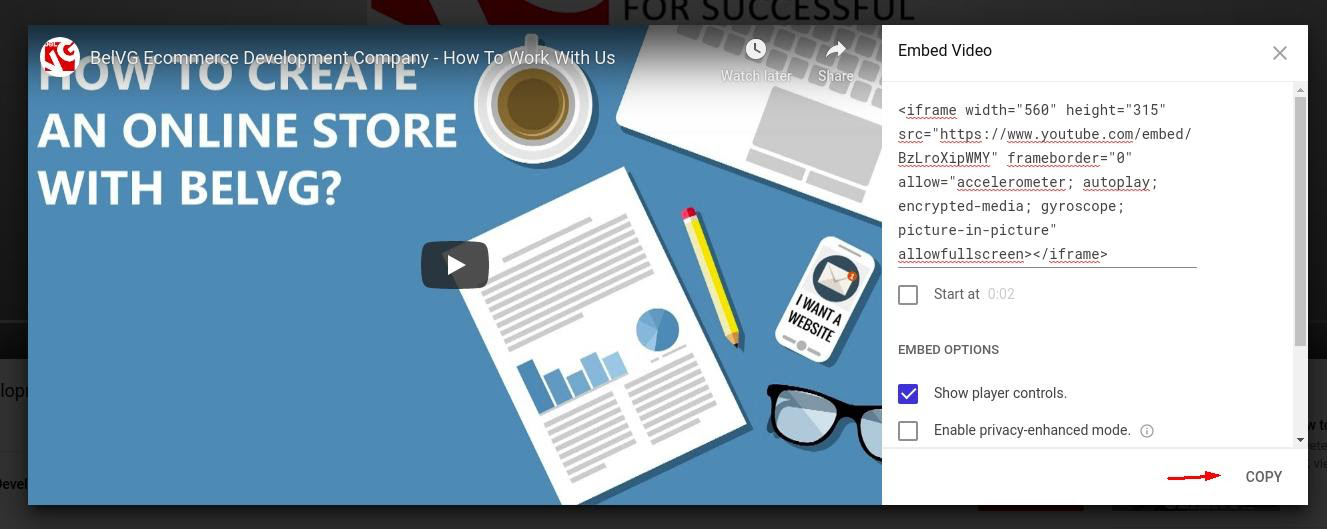
4. Insert this code into the Add video field.
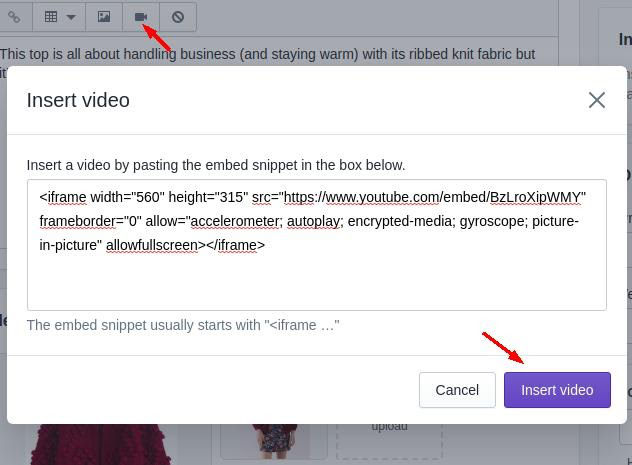
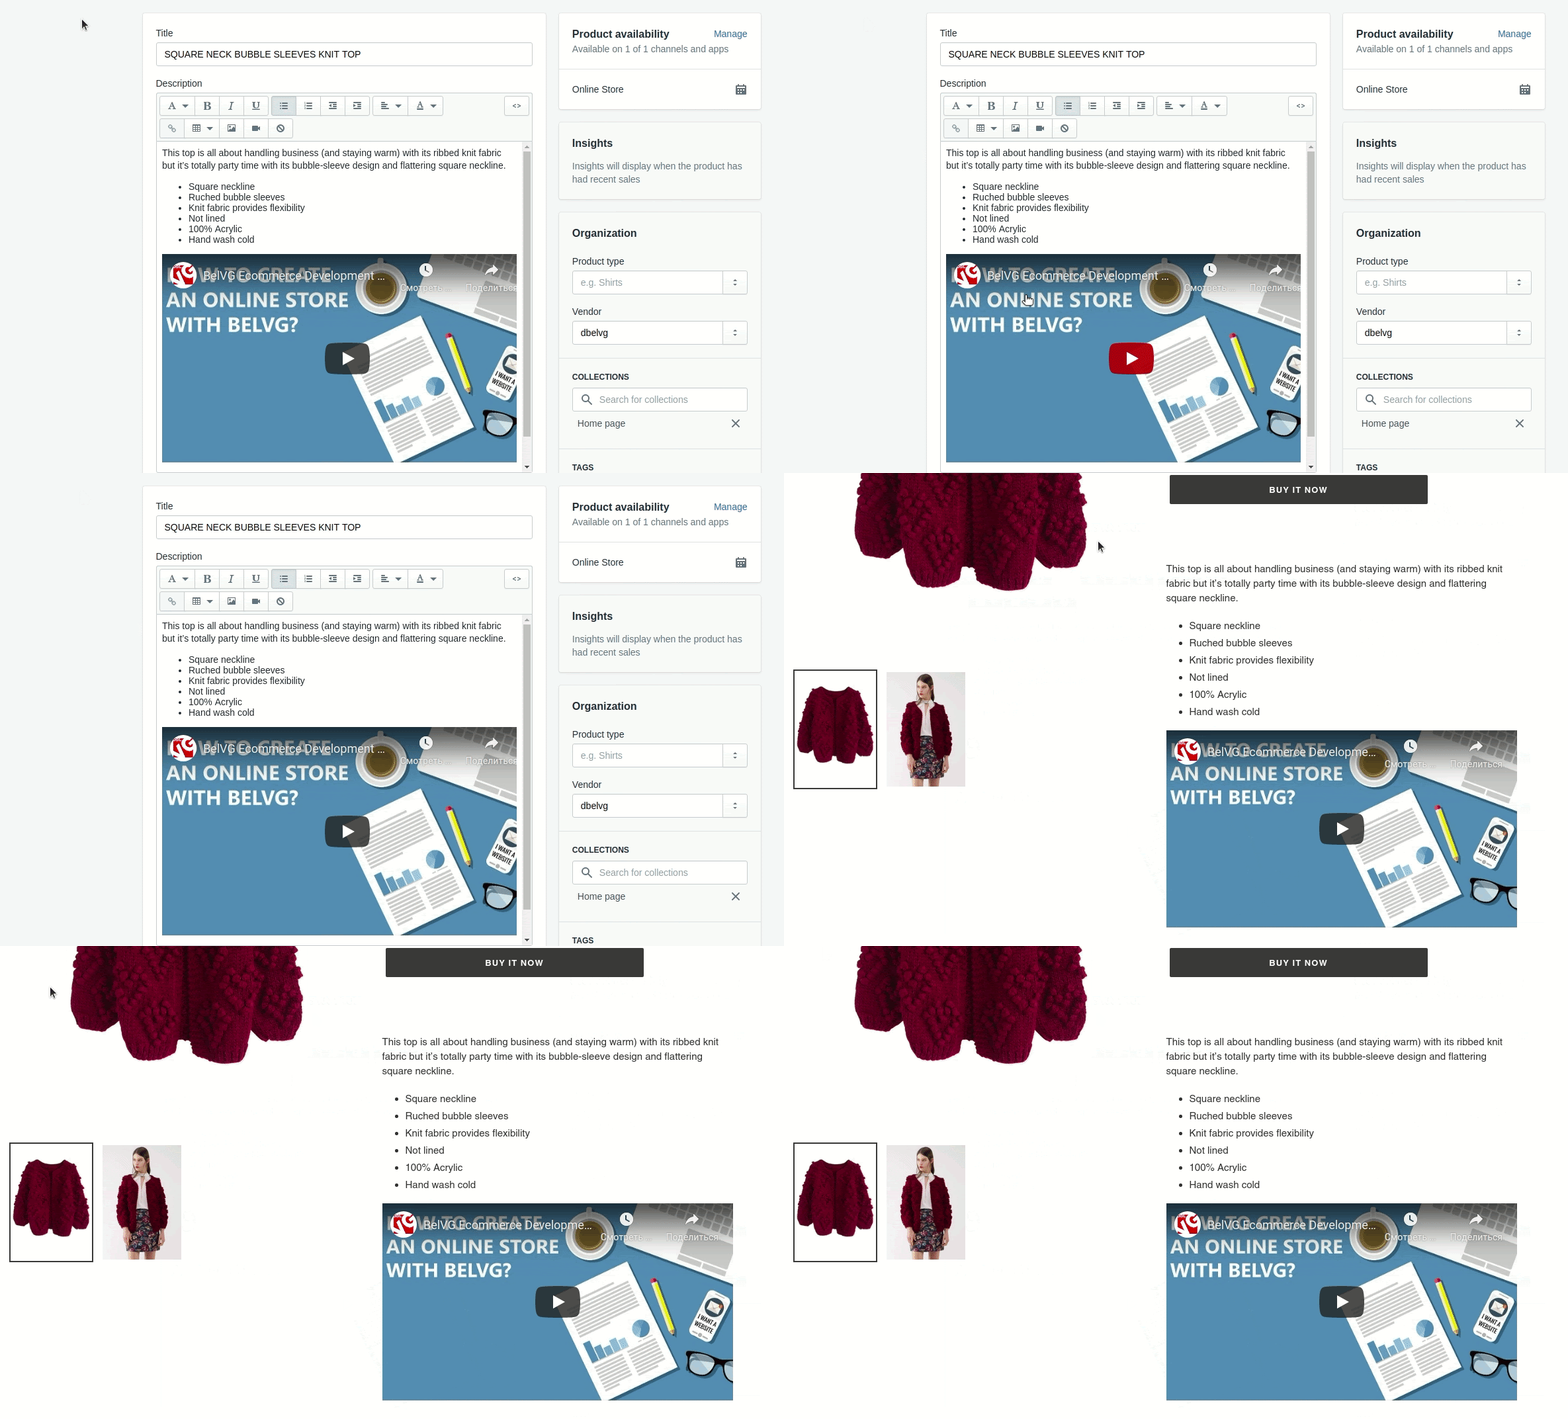
Here is the result:
Compare at price Shopify & other pricing settings
Product Price
This setting defines the price that you are going to charge for the product. You set the needed currency on the General settings page. If you are selling in several currencies, then click Available in other currencies. You need to open Manage currencies to view your currency settings. Click Charge taxes on this product if the product is taxable.
Compare at price Shopify
Compare at price demonstrates the original price for a product that is on sale. When you enter compare at price, the original product price is displayed on the page.


Cost per item setting
For example, if you resell a product, then you can enter the price that you paid to the manufacturer, excluding taxes, shipping, or other costs. If you create the product yourself, then you can enter a value that is based on your labor and material costs.
Shopify SKU, barcode & quantity
Shopify SKU (stock keeping unit)
Stock keeping unit is the code that identifies the product within your online store. For effective tracking and sales reporting, each SKU should be unique.
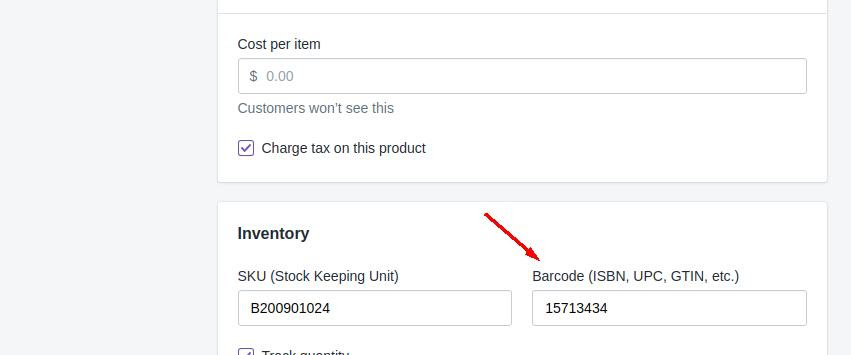
Barcode (ISBN, UPC, GTIN, etc.)
Barcodes are typically used by resellers. The identifier needs to be new or existing Global Trade Item Number (GTIN). Some sales channels require a GTIN before a product can be published via the channel.
You can create a barcode with the help of the Shopify app store:

First, you need to create a barcode template.
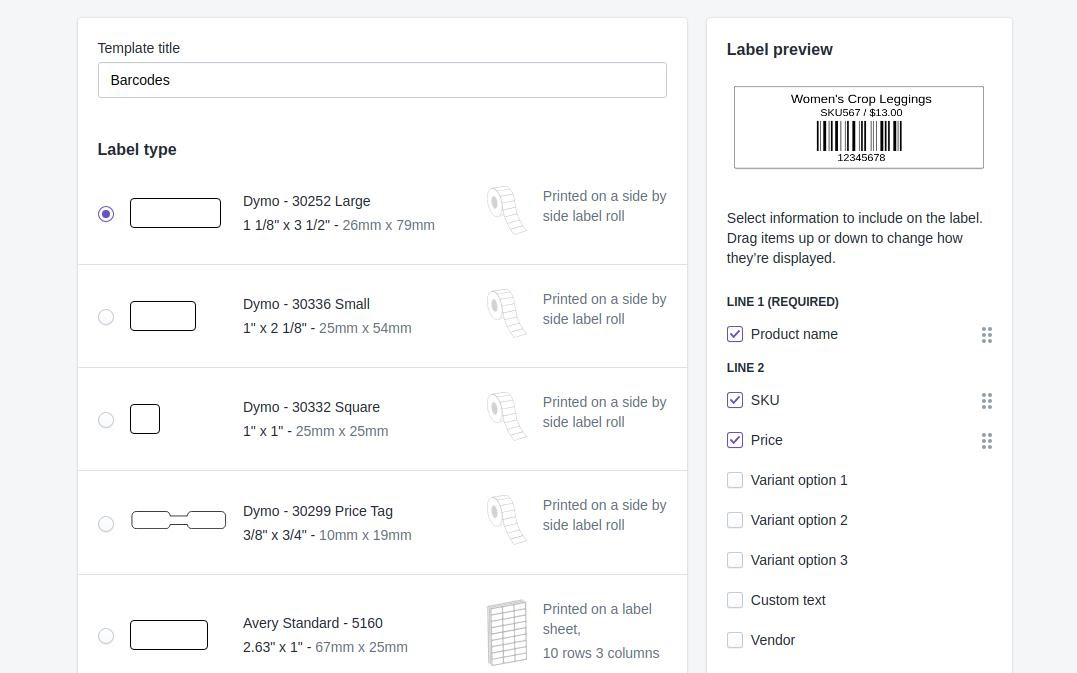
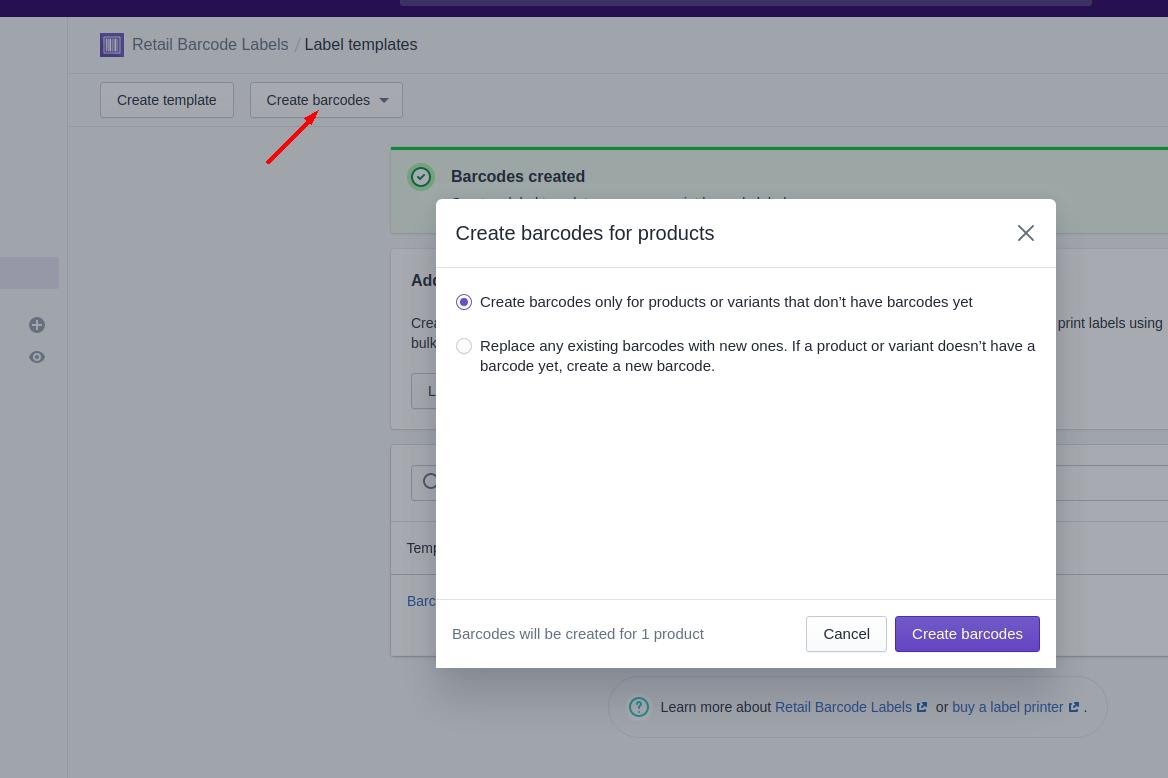
You can create a barcode for one or all products.
After you have completed all the steps, a barcode number is generated for the product:
If you want to print a barcode for a specific product, you need to select a product first:
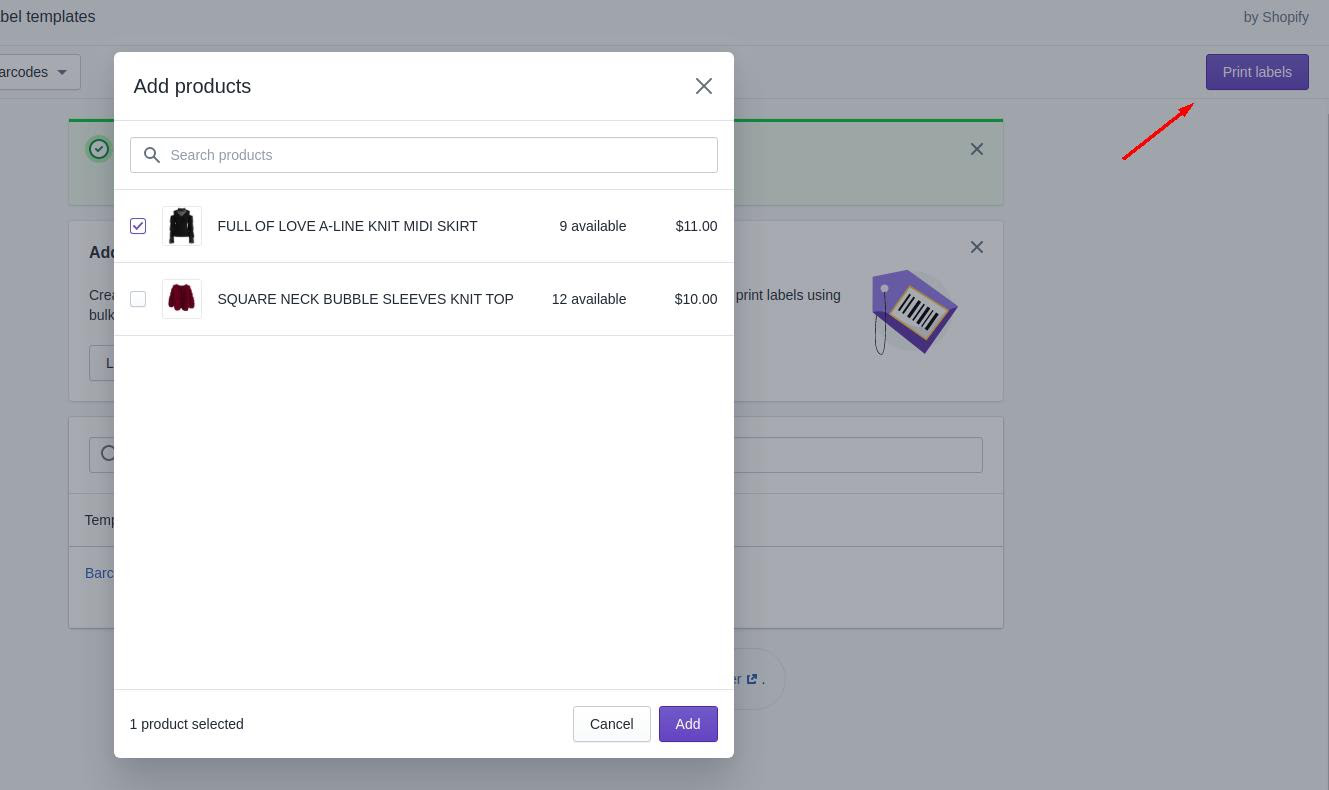
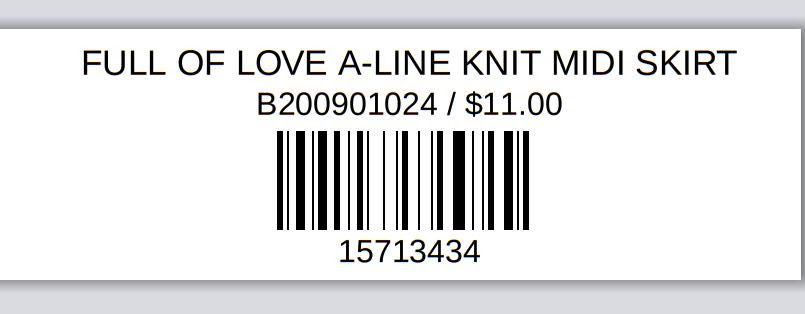
Here you also need to choose a barcode template and the number of labels. The result should look like this:
Product quantity
The product quantity on Shopify is the number of units in stock. If you are managing your inventory across multiple locations, then the quantity is shown for each location.
Shopify shipping rules
Physical product
This setting defines whether a product needs to be shipped. Uncheck it for digital products or services, or for products that you never ship.
Product Weight
This field includes the product’s actual weight. It only appears when This is a physical product option is selected. Product weight has to be exact because it is used to calculate shipping rates. You can buy a shipping scale at the Shopify Hardware Store.
Product Country/Region of origin
This setting defines the country where the product was manufactured or assembled. If the product consists of materials from different countries or regions, then the country or region where it takes its final form is considered to be the country or region of origin. You should keep in mind that different countries or regions of origin have different rules and do not forget to pay attention to international treaties as well.
HS code
If you want to ship the product internationally, then enter the harmonized system (HS) tariff code. These codes provide customs with the necessary information so that the correct tariffs can be applied to the order.
Title and meta description Shopify
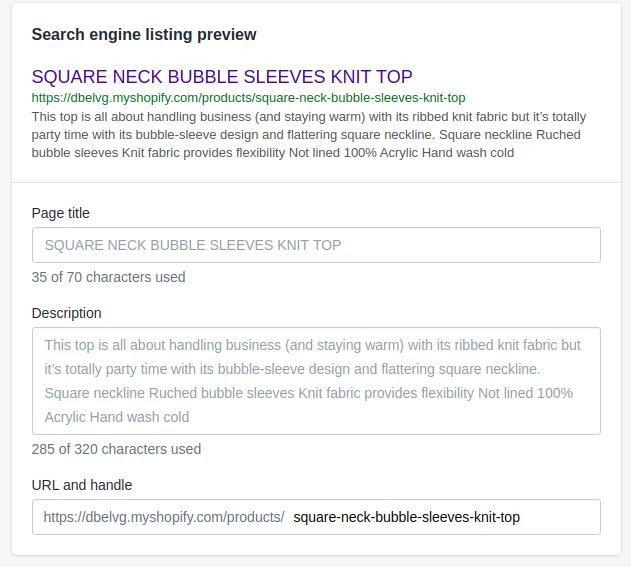
On Shopify, you can find a preview of how your product will appear in search results. Click Edit website SEO to make changes to the preview.
The preview consists of the product title, its URL in your online store, and part of the description.
Shopify product types, tags, collections & vendors
Shopify product types
You can use this category to manage the products. For example, you can use the product type as a condition for an automated collection, or to help you filter your products in the Shopify admin. A product can have only one product type.
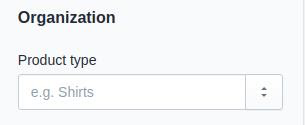
You can choose one of the defined product types, or create a new one. To create a product type, enter it into the Product type field, and then save the product. You can also create and edit product types in the bulk editor.
Product vendor
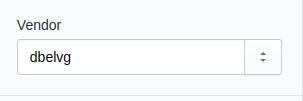
It is the manufacturer, wholesaler, or another vendor for the product. You can filter your product list by the vendor, which can speed up ordering inventory.
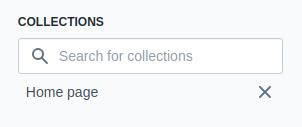
Shopify product collections
These are the collections in which the product is included. You can use this field to add the product directly to the manual collection. Automated collections include the product when it matches the collection conditions.
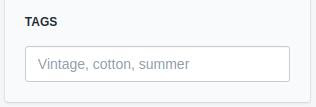
Shopify product tags
Tags are searchable keywords that you can associate with your product. Tags can help customers find your product through your online store search.
Shopify product description split
The default way to display a product description is to show it as a single piece of text. But there are other ways, including splitting the description or making it collapsible.
Making your product description split means dividing the whole text into multiple separate sections or paragraphs. A collapsible product description means that you split it into different sections again but their text expands only after clicking on the section title. Both of the ways are either custom coding or customizing of your HTML product description.
Now let’s create a separate description in tabs.
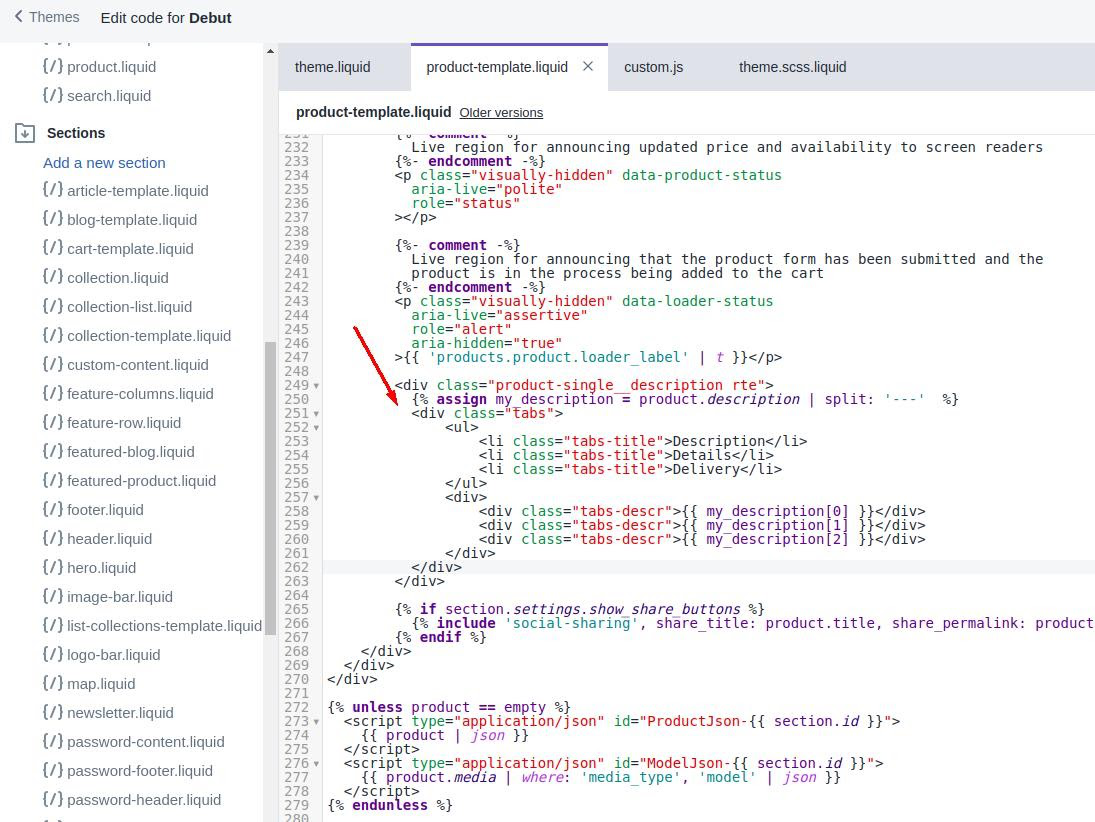
1. In the file product-template.liquid in the product-single__description class, you need to insert the structure tabs:
|
1 2 3 4 5 6 7 8 9 10 11 12 13 |
{% assign my_description = product.description | split: '---' %} <div class="tabs"> <ul> <li class="tabs-title">Description</li> <li class="tabs-title">Details</li> <li class="tabs-title">Delivery</li> </ul> <div> <div class="tabs-descr">{{ my_description[0] }}</div> <div class="tabs-descr">{{ my_description[1] }}</div> <div class="tabs-descr">{{ my_description[2] }}</div> </div> </div> |
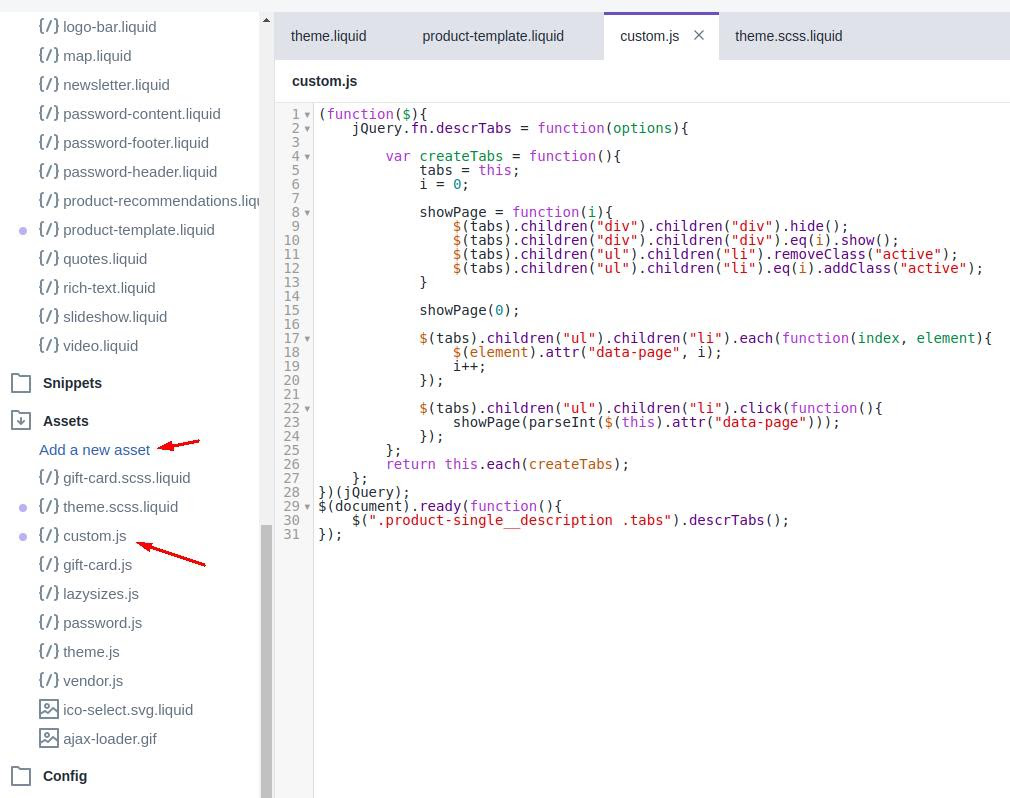
2. Then, you create a new js file in the assets folder. Here you create a js code for tabs:
|
1 2 3 4 5 6 7 8 9 10 11 12 13 14 15 16 17 18 19 20 21 22 23 24 25 26 27 28 29 30 |
(function($){ jQuery.fn.descrTabs = function(options){ var createTabs = function(){ tabs = this; i = 0; showPage = function(i){ $(tabs).children("div").children("div").hide(); $(tabs).children("div").children("div").eq(i).show(); $(tabs).children("ul").children("li").removeClass("active"); $(tabs).children("ul").children("li").eq(i).addClass("active"); } showPage(0); $(tabs).children("ul").children("li").each(function(index, element){ $(element).attr("data-page", i); i++; }); $(tabs).children("ul").children("li").click(function(){ showPage(parseInt($(this).attr("data-page"))); }); }; return this.each(createTabs); }; })(jQuery); $(document).ready(function(){ $(".product-single__description .tabs").descrTabs(); |
3. You need to call the created js file only on the product page in the theme.liquid file.
|
1 2 3 |
{% if request.page_type == 'product' %} <script src="{{ 'custom.js' | asset_url }}" defer="defer"></script> {% endif %} |
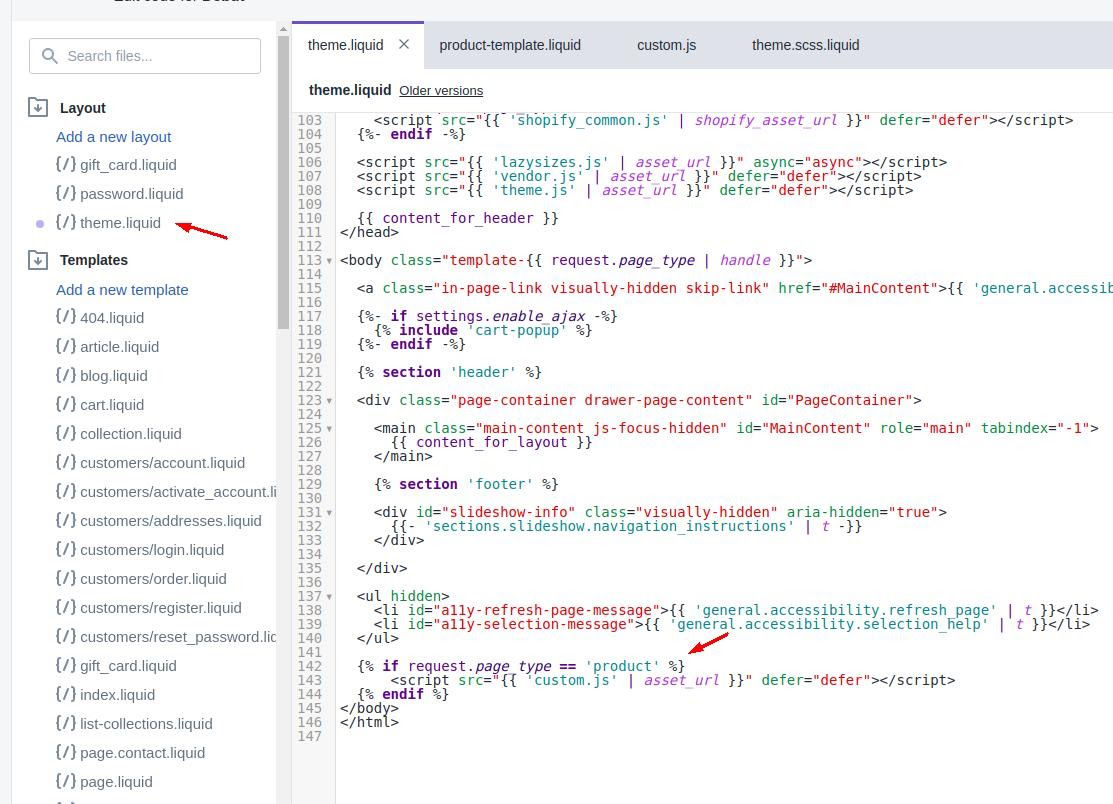
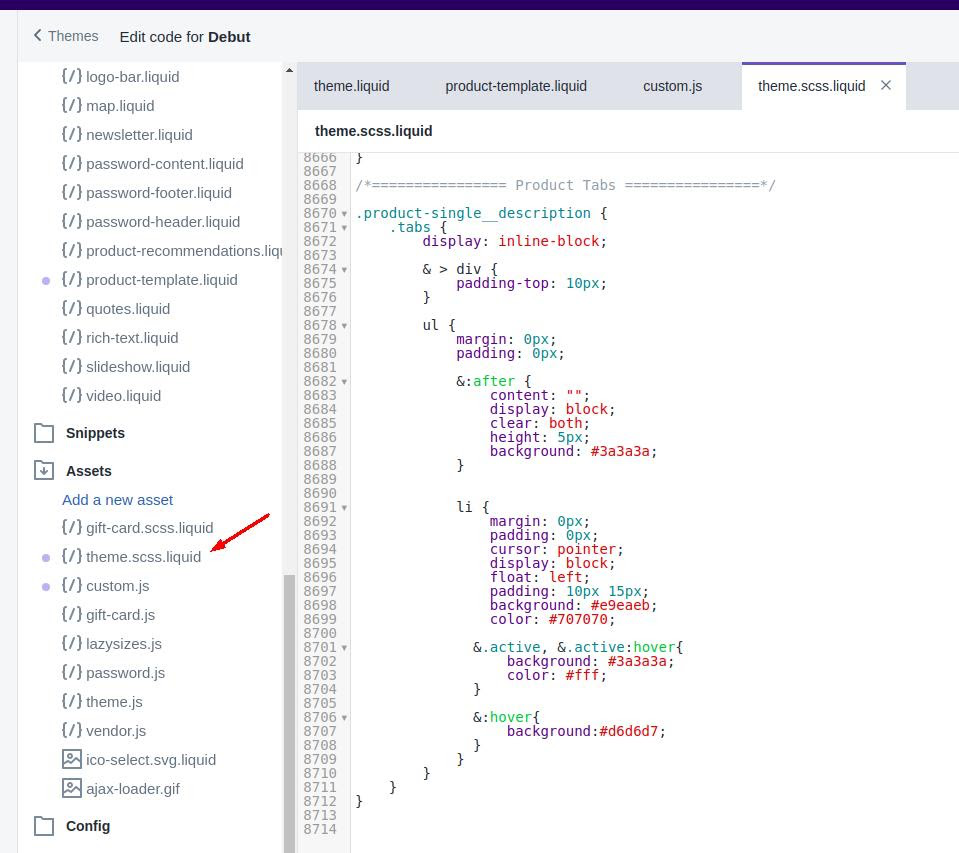
4. The next step is to create styles for tabs in the theme.scss.liquid file.
|
1 2 3 4 5 6 7 8 9 10 11 12 13 14 15 16 17 18 19 20 21 22 23 24 25 26 27 28 29 30 31 32 33 34 35 36 37 38 39 40 41 42 43 44 45 |
/*================ Product Tabs ================*/ .product-single__description { .tabs { display: inline-block; & > div { padding-top: 10px; } ul { margin: 0px; padding: 0px; &:after { content: ""; display: block; clear: both; height: 5px; background: #3a3a3a; } li { margin: 0px; padding: 0px; cursor: pointer; display: block; float: left; padding: 10px 15px; background: #e9eaeb; color: #707070; &.active, &.active:hover{ background: #3a3a3a; color: #fff; } &:hover{ background:#d6d6d7; } } } } } |
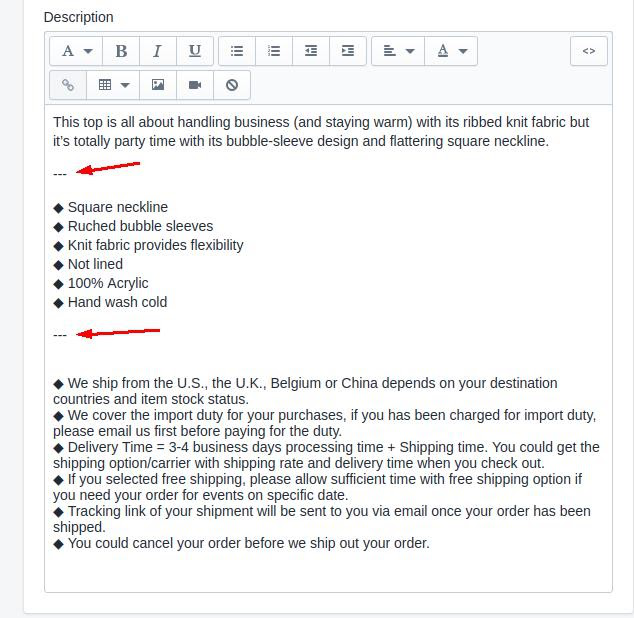
5. Finally, you need to fill in the product description with a separator that splits the content into three tabs.
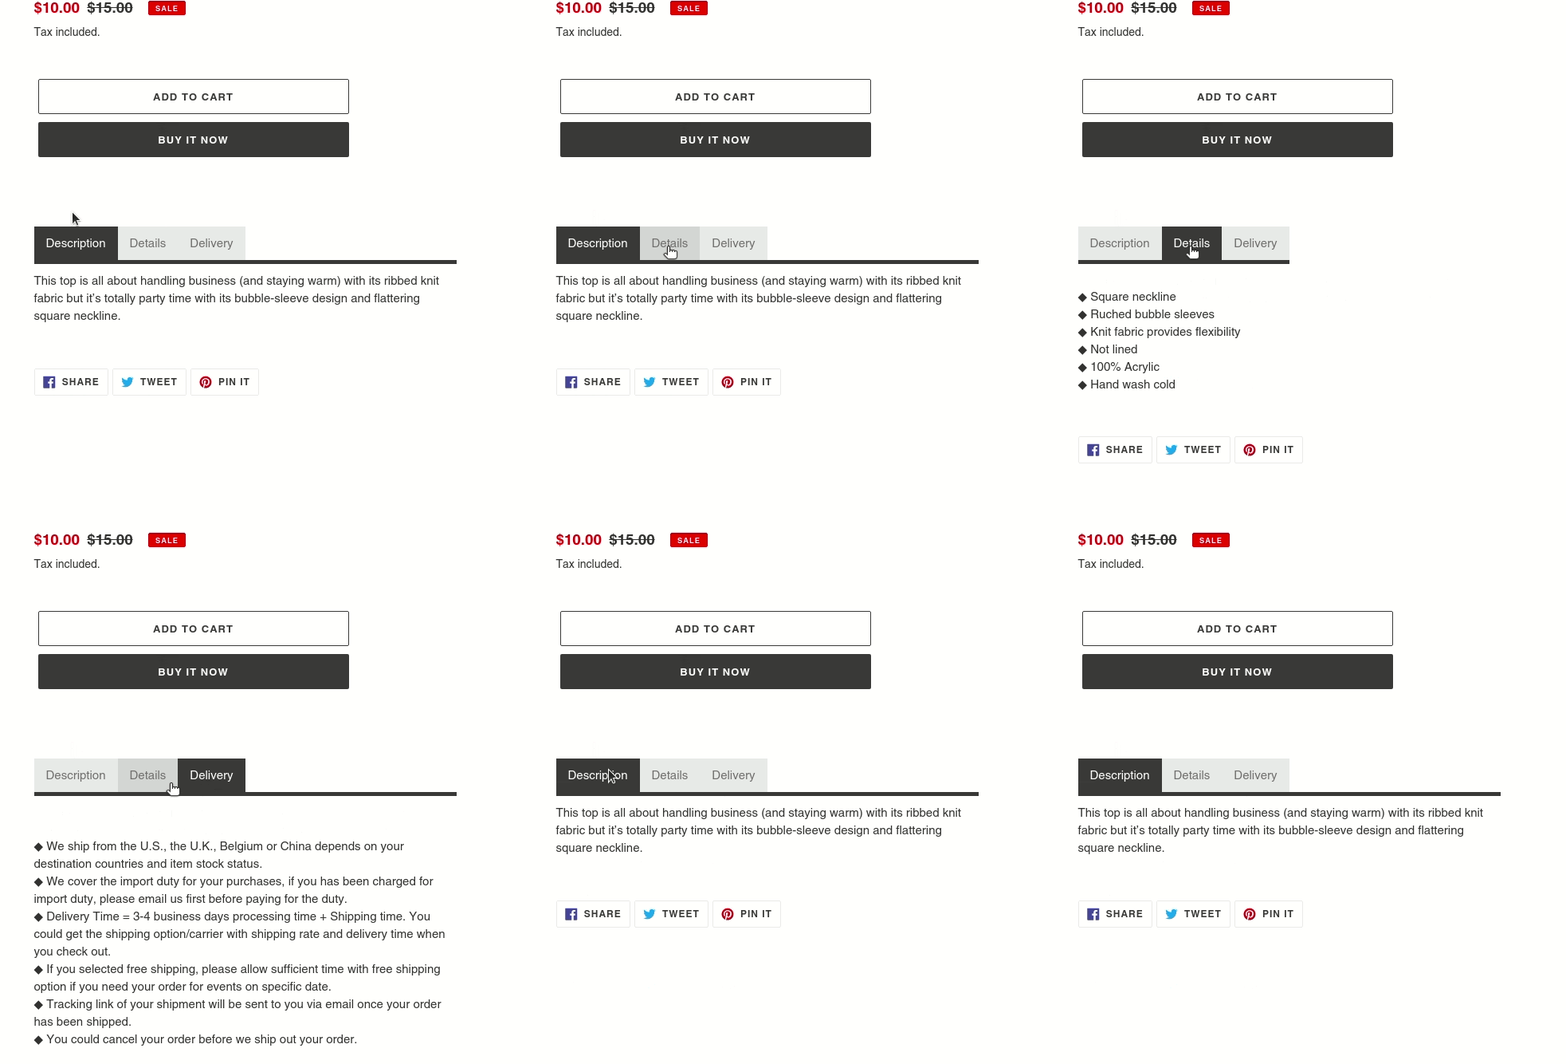
The result is here:
