
Want to find out more about buttons on Shopify? You’ve come to the right place. In this article, you will learn to add the Shopify buy button, add to cart button, dynamic checkout buttons, confiture social sharing, and more. We provide the information step-by-step – check it out!
How to configure Shopify add to cart button & add the Shopify buy button
How to add or remove Shopify dynamic checkout buttons on product pages
How to add PayPal and Amazon buttons to Shopify store
How to configure Shopify social sharing buttons
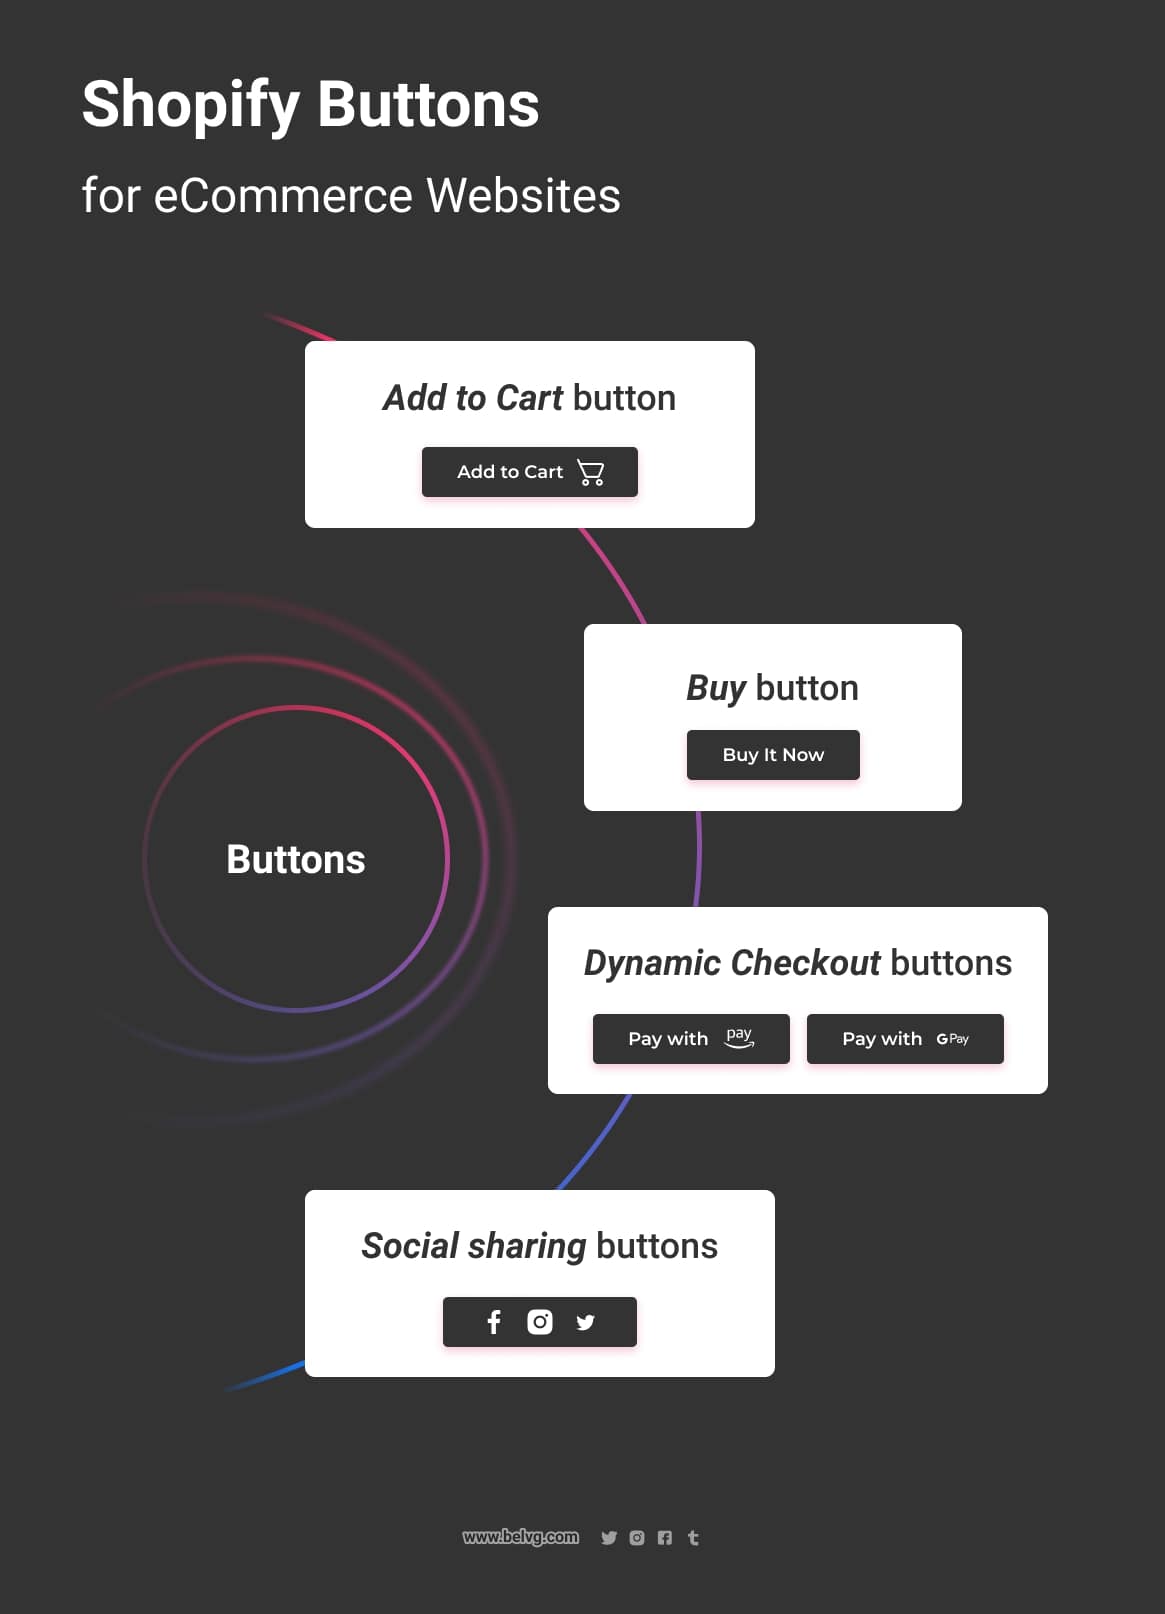
There are lots of buttons on Shopify, each of them aims to make the navigation on your website easier. You can add a button to any page of your store.
For example, you can enable the Quick add to cart option and then add a Paypal payment button to your checkout page to help your customers add to cart and buy products with just a single click. You can customize your page by adding the buttons that are most important for your business, and change them later easily if needed.
So let’s take a look at some of the most popular buttons and the reasons why you may need them.

Style Shopify buttons with BelVG
We will match your web design with your brand's style
Get UI/UX AuditHow to configure Shopify add to cart button & add the Shopify buy button
The checkout process begins with the Add to Cart, so adding it to your checkout page is extremely important. In order to do it, you need to insert a code sample into the Shopify Theme editor in the place of the page where you need this button to appear. Some coding skills may be required.
If you need to add a button with a custom link, then you have to create a new section with the following code:
|
1 2 3 4 5 6 7 8 9 10 11 12 13 14 15 16 17 18 19 20 21 22 23 24 25 26 27 28 29 30 31 32 33 34 |
<div class="container"> <h3> {{ section.settings.text-box }} </h3> <a href="{{ section.settings.link }}" class="btn btn--cta">{{ section.settings.linktext }}</a> </div> {% schema %} { "name": "Call to action", "settings": [ { "id": "text-box", "type": "text", "label": "Heading", "default": "Title" }, { "id": "link", "type": "url", "label": "Button link" }, { "id": "linktext", "type": "text", "label": "Button text", "default": "Click here" } ], "presets": [ { "name": "Call to Action", "category": "BelVG" } ] } {% endschema %} |
You can add a button to any place with any link in the same way. On the page it will be displayed this way:

To add a clickable button that allows you to add a product to the cart you have to install the Buy Button application from the Shopify marketplace. You have to select the necessary product in this application.
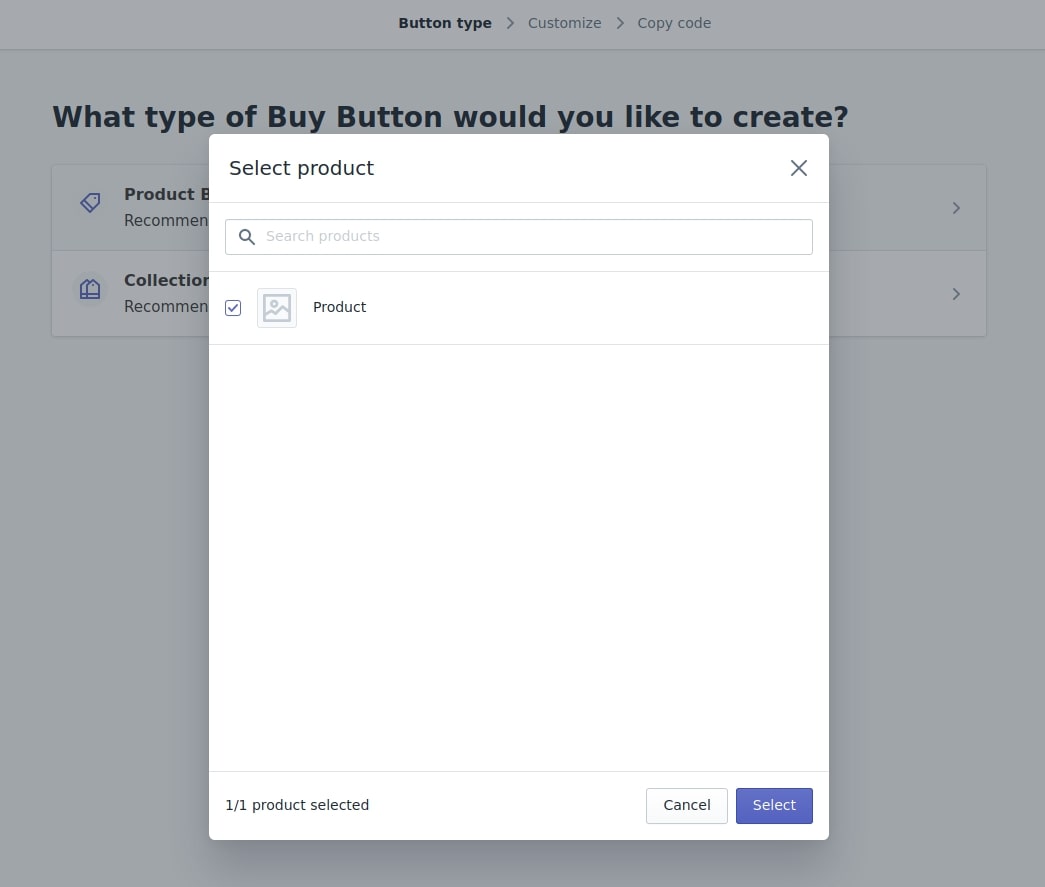
In the settings of this module you can select the relevant type of the link:
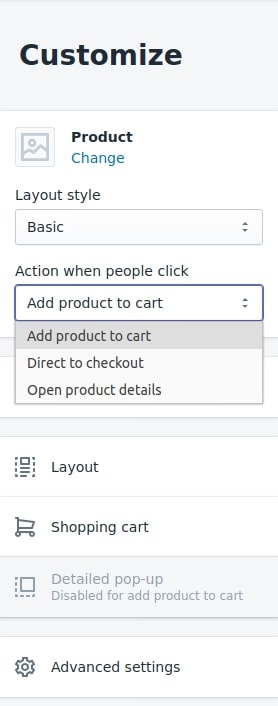
Then, the generated HTML code should be added to the page of your website. Having done this, you will get the link that allows you to add a product to the cart.
How to add or remove Shopify dynamic checkout buttons on product pages
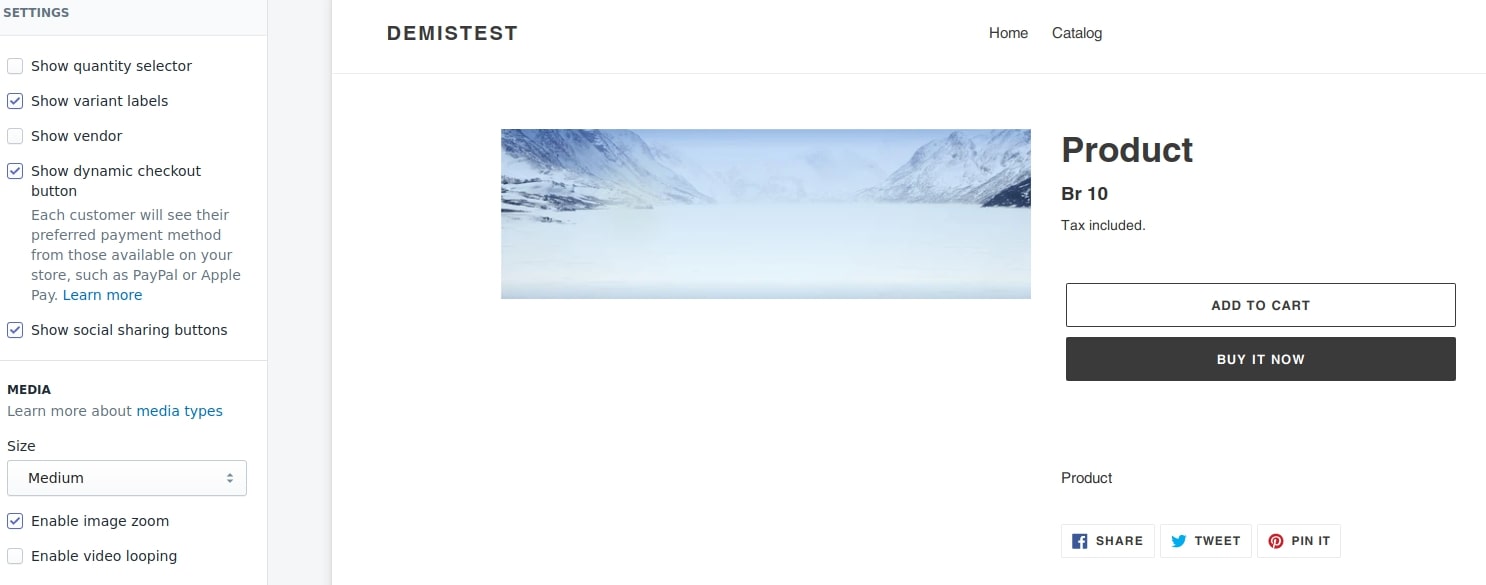
To add or remove Shopify dynamic checkout buttons, you have to open the settings of the product page. In order to do it, you need to open:
Online Store -> Themes -> Customize -> Product pages -> Product pages
And check the Show dynamic checkout button box.
How to add PayPal and Amazon button to Shopify store
If you want to add the PayPal or Amazon buttons to your website, you need to find Settings at the bottom left corner of your admin panel and then go to the Payments section. On this page, you will be able to integrate such popular payment services as PayPal and Amazon. When you add these services, PayPal express and Amazon Pay buttons will appear on your page. Your clients will be able to pay for their orders within just a few clicks.

Want to build a fully custom Shopify store?
Turn to the BelVG experts to get it on time and within budget
Contact usHow to configure Shopify social sharing buttons
Shopify does not provide that many advanced customization opportunities unlike some other popular platforms such as Magento 2 or PrestaShop but you can customize your Shopify store by adding different share buttons. It’s very easy to add and configure them according to your needs. Placing them on your website page will help you increase social shares and followers.
To add or delete social links, you have to open the product page settings. To do it, you need to open:
Online Store -> Themes -> Customize -> Product pages -> Product pages
And check the Show social sharing buttons box.
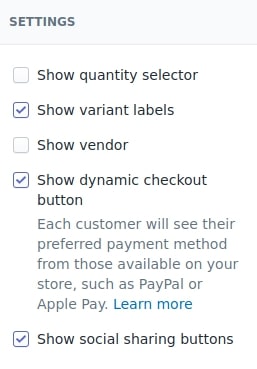
On this page, you can select the necessary social networks only to display. To do it, you have to open the Theme settings section and select all the social networks you need.
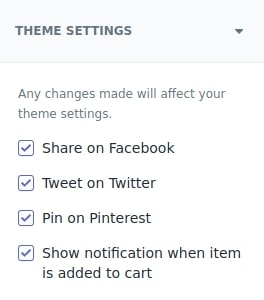
To change the links to the social networks you have to go the following way:
Online Store -> Themes -> Customize -> Footer -> Theme setting


