1. Prestashop installation
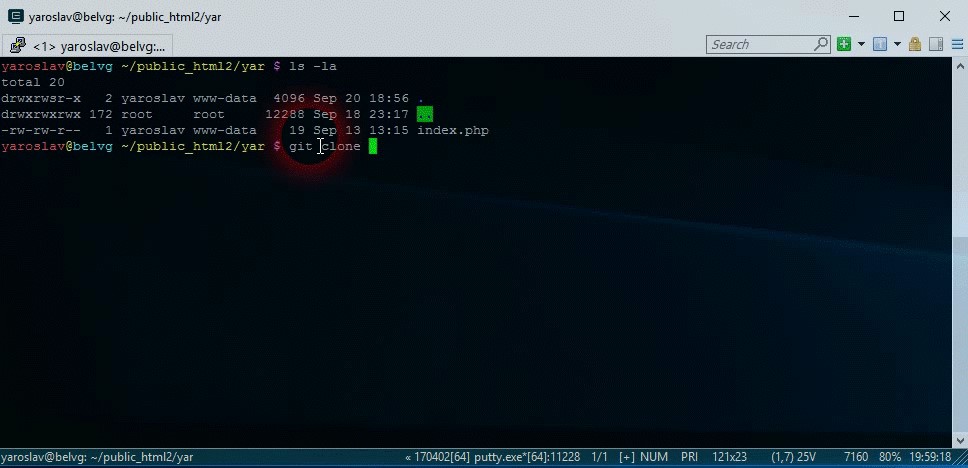
We’re going to use GIT and composer to install Prestashop. In order to complete an installation using GIT, it’s necessary to open the command line and get Prestashop cloned. Let’s execute the following commands:
|
1 2 |
git clone https://github.com/PrestaShop/PrestaShop.git composer install |
Besides, we’re allowed to choose the version 1.7 or 1.6. Since we’re going to set up Prestashop 1.7, we need to use the following command:
|
1 |
git checkout 1.7.2.x |
Now let’s complete the process:
After we got it cloned and chose the version 1.7, we need to create the file .gitignore. As a rule, this file includes the following:
- temporary files
- generated files
- store configuration files (settings.inc.php)
- ide configuration files (for example, Phpstorm .idea)
We’ll add the following files:
|
1 2 3 4 5 6 7 8 9 10 11 |
/cache/ config/settings.*.php /log/* *sitemap.xml themes/*/cache/ modules/*/config*.xml assets/css/* assets/js/* node_modules/ .idea/ .idea/* |
Moreover, you can create your own .gitignore file on the service http://gitignore.io .
2. Your own theme creation using Starter Theme
To create the theme based on Starter Theme, we need to download it via git repository https://github.com/PrestaShop/StarterTheme . We should clone the repository and go to the Prestashop themes folder:
|
1 2 |
cd themes git clone https://github.com/PrestaShop/StarterTheme.git |
When it is accomplished, we need to change StartTheme folder name into a custom one, for example, I’m going to use BelVGRexmix. Then open this folder and rename config/theme.dist.yml into config/theme.yml and fill in the data on your theme:
|
1 2 3 4 5 6 7 8 9 10 11 |
name: YOUR_THEME_DIRECTORY_NAME (BelVGRexmix) display_name: YOUR THEME NAME version: 1.0.0 author: name: "Belvg Team" email: "[email protected]" url: "http://www.belvg.com" meta: compatibility: from: 1.7.0.0 to: ~ |
As an example, let’s consider our theme “Homedesign”:
|
1 2 3 4 5 6 7 8 9 10 11 |
name: craft display_name: Craft Theme version: 1.0.0 author: name: "BelVG" email: "[email protected]" url: "http://www.belvg.com" meta: compatibility: from: 1.7.0.0 to: ~ |
Pay attention to the fact when changing “name” in config.yml, you need to change the folder name into the theme name. I changed the name to BelVGRexmix, so in the next article, I’ll be using this name.
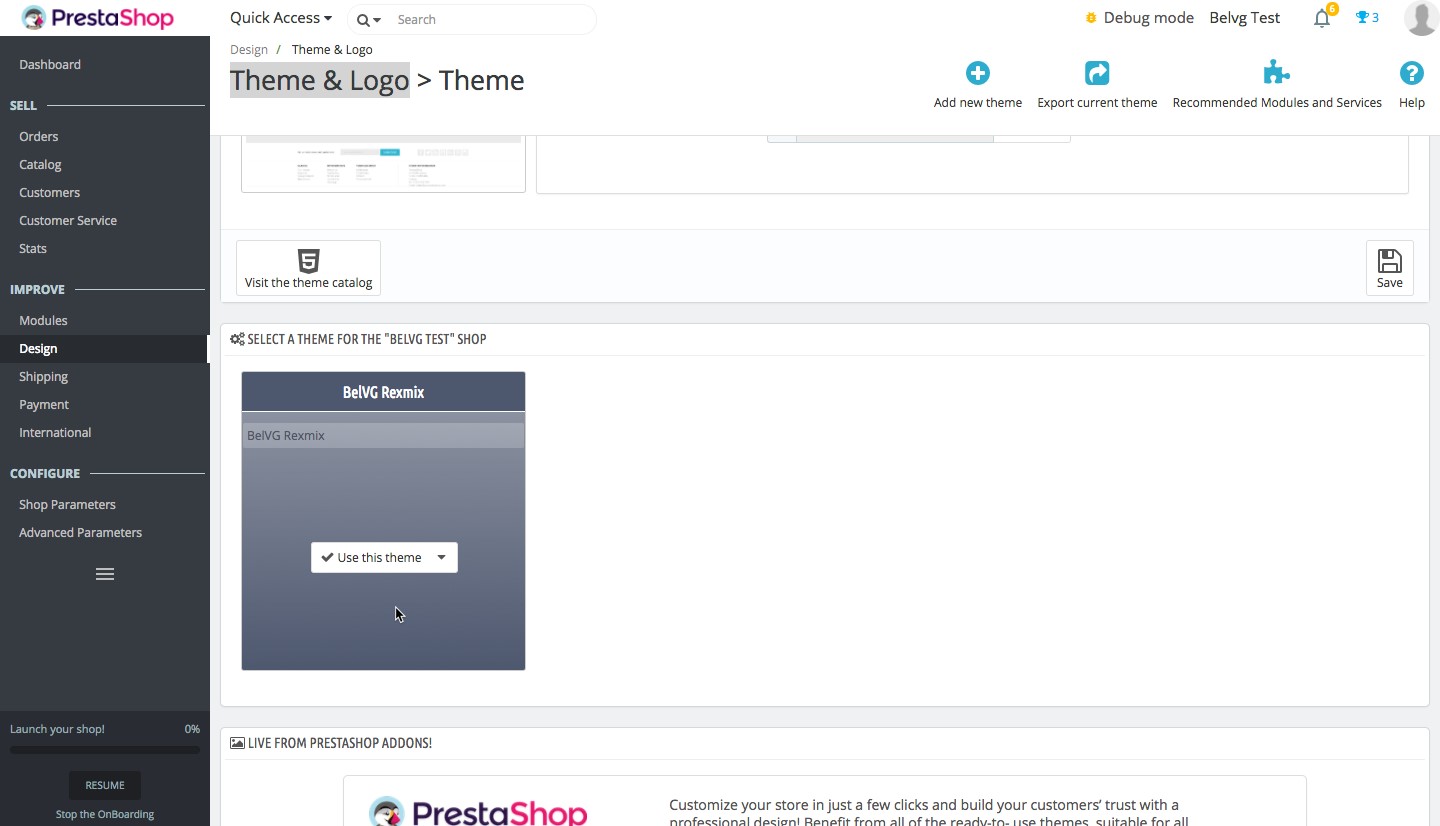
After the main data is completed, we can choose our theme by going to Design > Theme & Logo:
We need to click the button “Use this theme”, to get the theme applied:
Besides, the theme on the main page is also changed:
After we’ve selected it, we can see the incomplete theme that needs to be finished including CSS and HTML development. If you want to create a theme from the ground up, you need to delete all files from dev/css. As for our theme, we’re going to improve it soon.


