The article is about the basic ways to translate text as well as components in Magento 1.9. Additionally, it includes locale settings configuration and currencies for specific stores. Hope you’ll able to apply the knowledge as it’s written in a clear manner and verified by pictures.
Translation priority
1. The database table core_translate
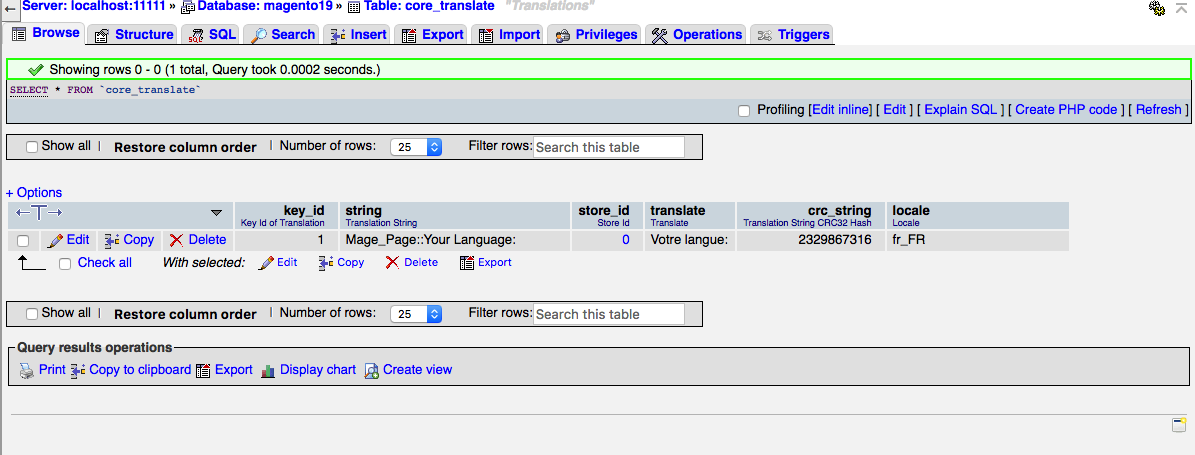
The method is considered to be a top priority, as the translation is provided in the admin panel and stored in the table core_translate:
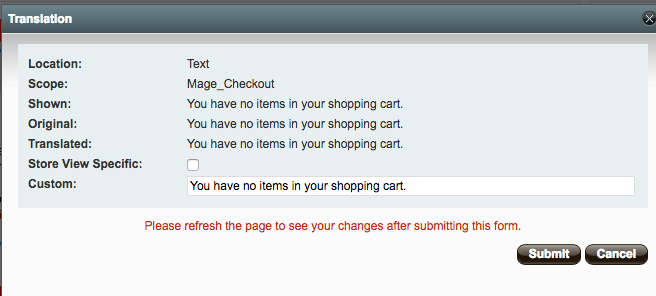
Here is the same inline translation via the admin panel:
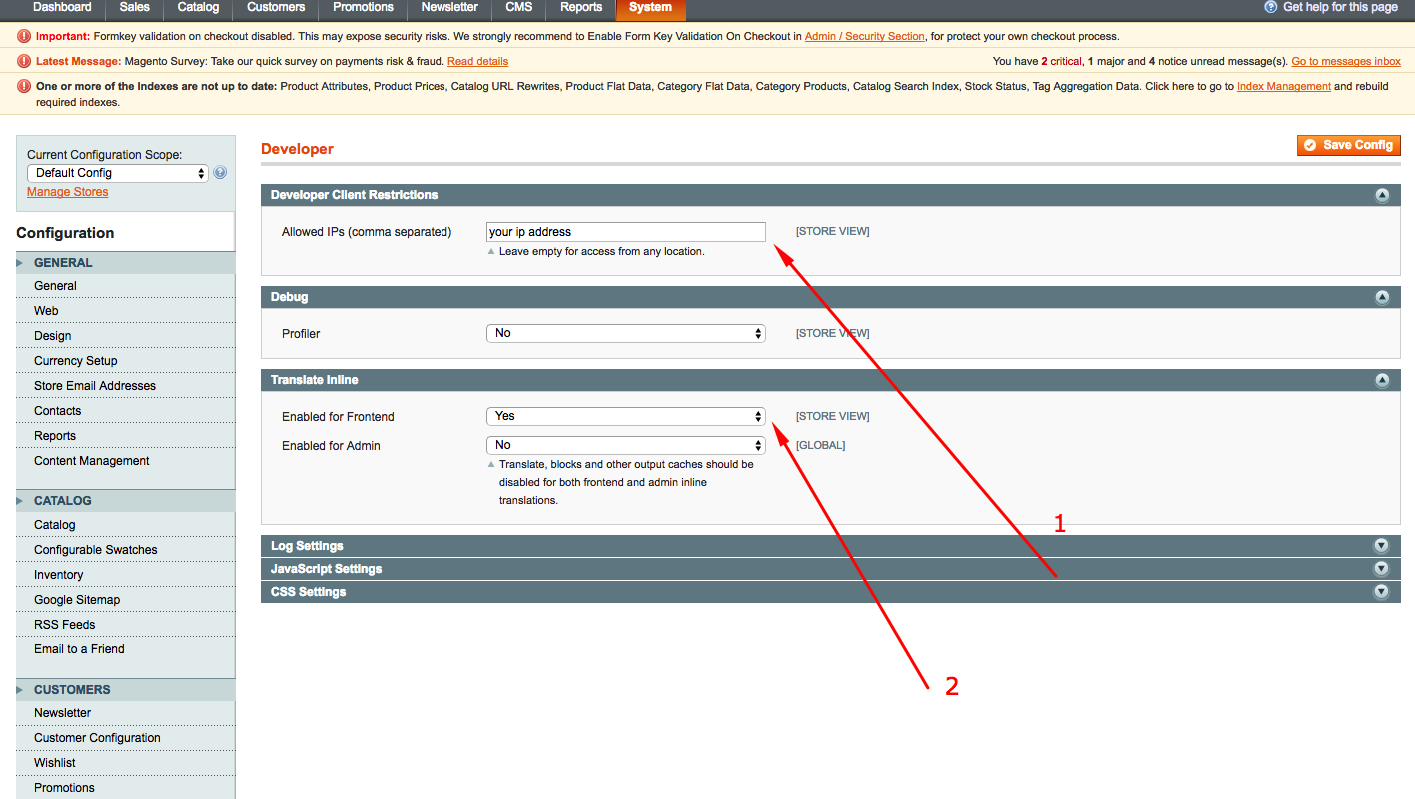
As for the advantages of the method, there’s no need to use additional tools (e.x. FTP clients) and website directory structure. All you need is to go to the admin panel and enable inline-translation: System->Configuration->Developer->Translate inline . Then you should get the necessary phrase edited on front end.
2. Theme locate translate.csv file
The method is the second preferred one. The point is that translation is provided via CSV files which are placed:
|
1 |
app/design/frontend/{interface}/{theme}/locale/{lang_ISO}/translate.csv |
How to apply a module scope to translation
In order to apply a module scope to translation, you need to go the module configuration. As an example, you can see our module Promotional Banner
|
1 |
/app/code/community/Belvg/Halloween/etc/config.xml |
The code structure is much the same:
|
1 2 3 4 5 6 7 8 9 10 11 |
<area> <translate> <modules> <module_name> <files> <node_name>New_file_name.csv</node_name> </files> </module_name> </modules> </translate> </area> |
area is frontend or adminhtml.
We’re considering the translation for adminhtml:
|
1 2 3 4 5 6 7 8 9 10 11 |
<frontend> <translate> <modules> <Belvg_Halloween> <files> <additional_file>Belvg_Halloween.csv</additional_file> </files> </Belvg_Halloween> </modules> </translate> </frontend> |
This is the pathname where csv is to be added:
|
1 |
app/locale/en_US/Belvg_Halloween.csv |
Then add the following lines:
|
1 |
"Position","Position block:" |
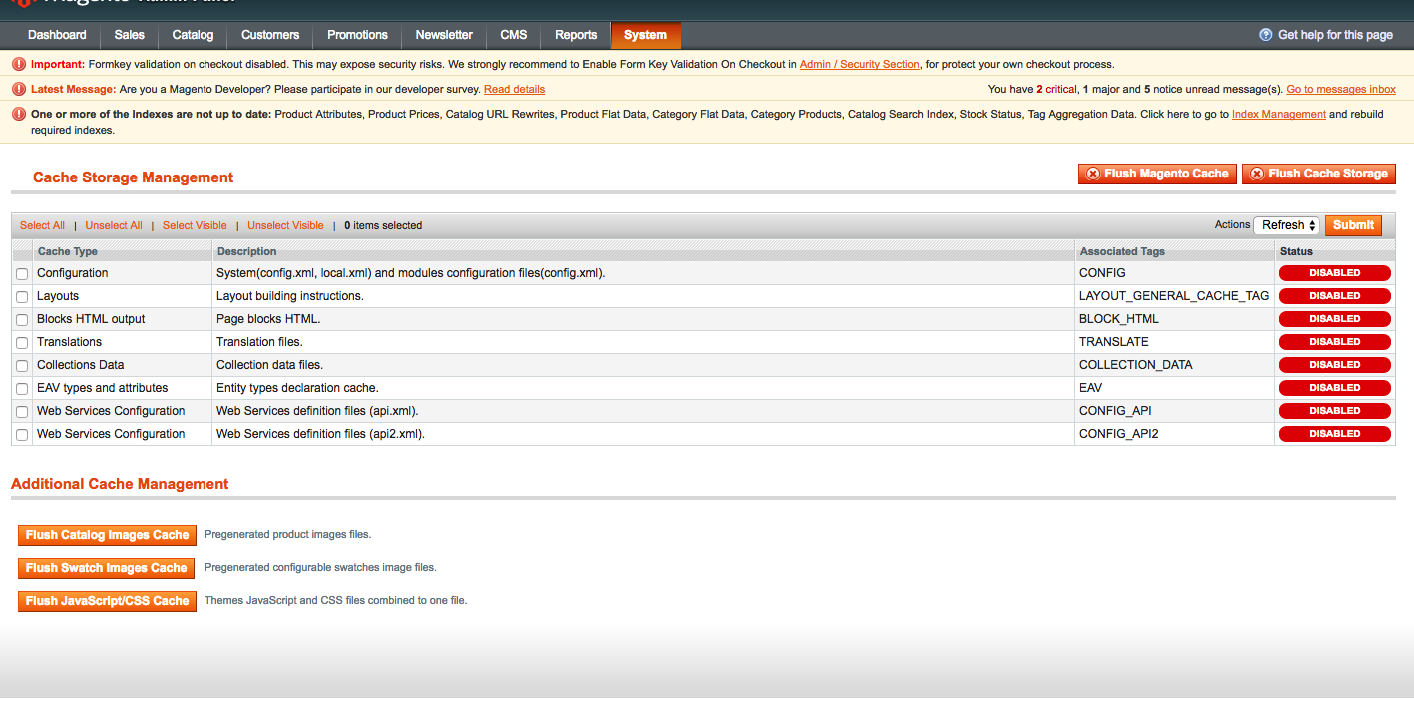
Clear cache:
System->Cache management
As a result, your translation is displayed in the admin panel. In fact, you can do it with any module. More information you can find in the article: Internationalization (Magento Certified Developer Exam).
The inline translation feature
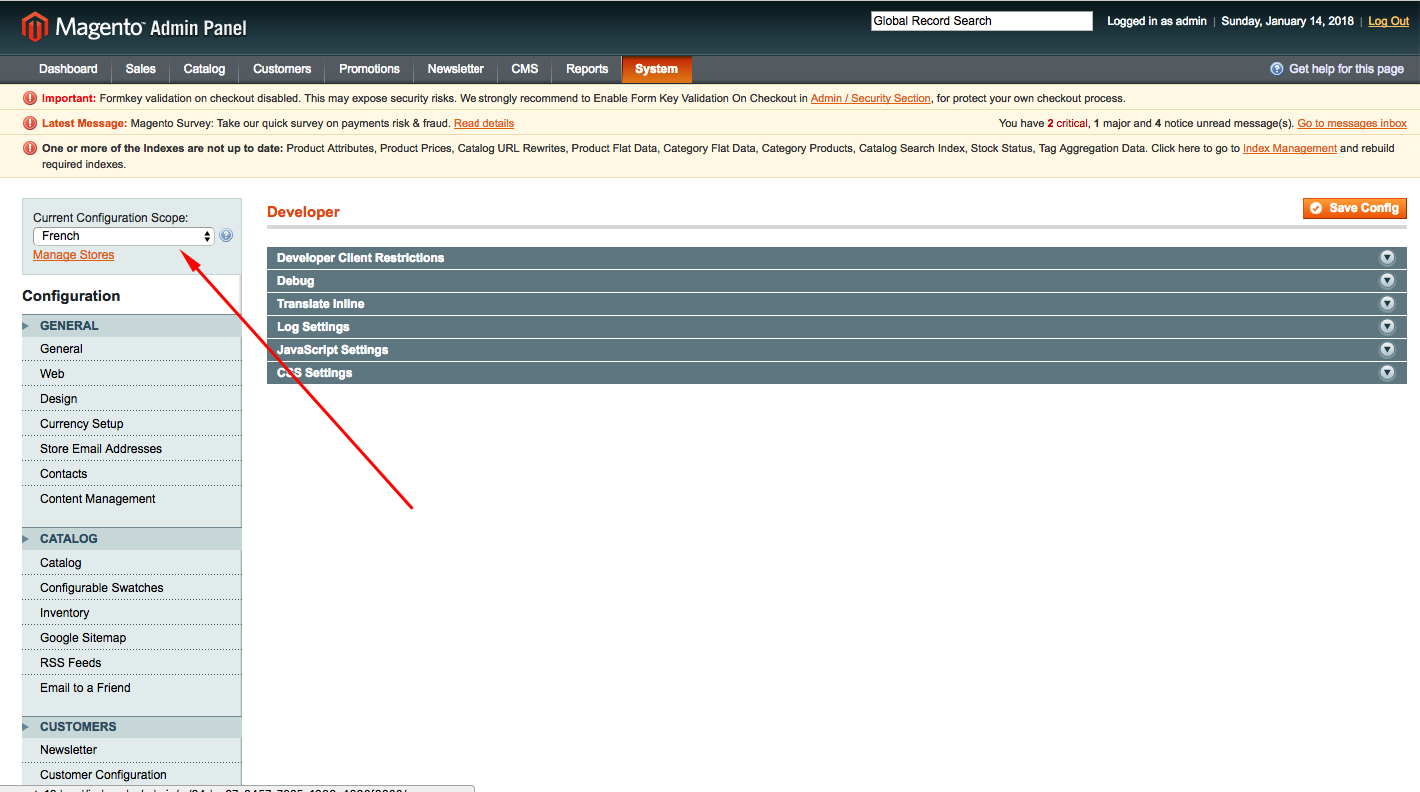
In order to enable inline translation, you need to go to System->configuration->advanced->developer and fill in the fields as it’s shown in the picture:
Here you can choose the appropriate language:
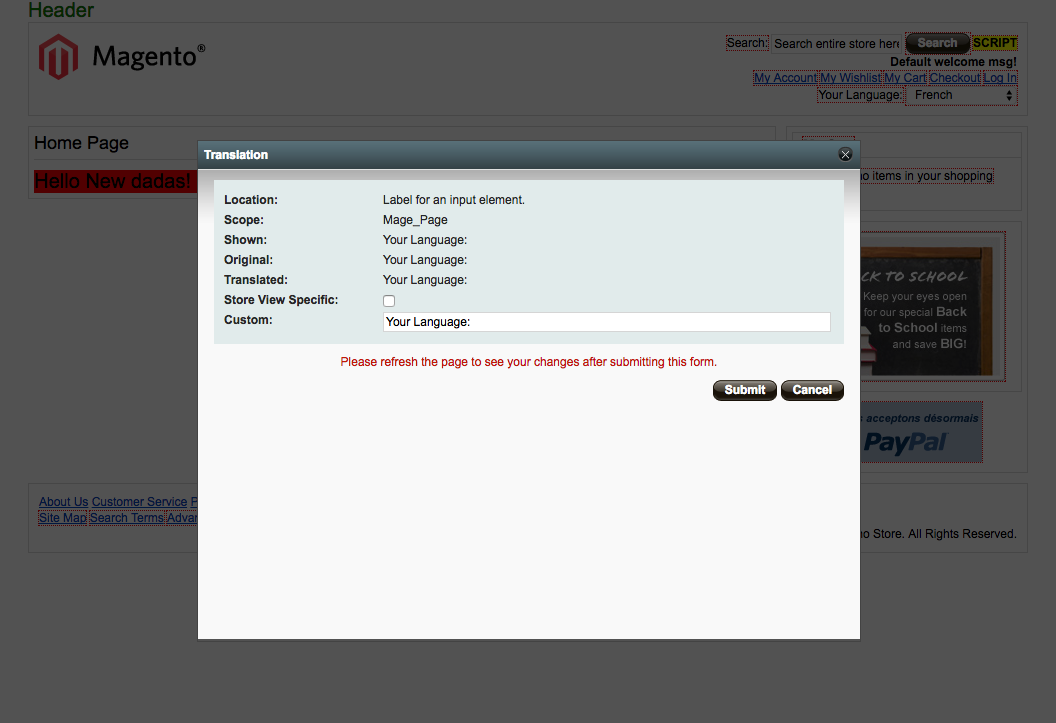
In order to enable inline translation for a specific language, you should head over to front page. Here you can see the text encircled by a dotted line. When mousing over, there’s a dictionary appeared, click on it and see the following:
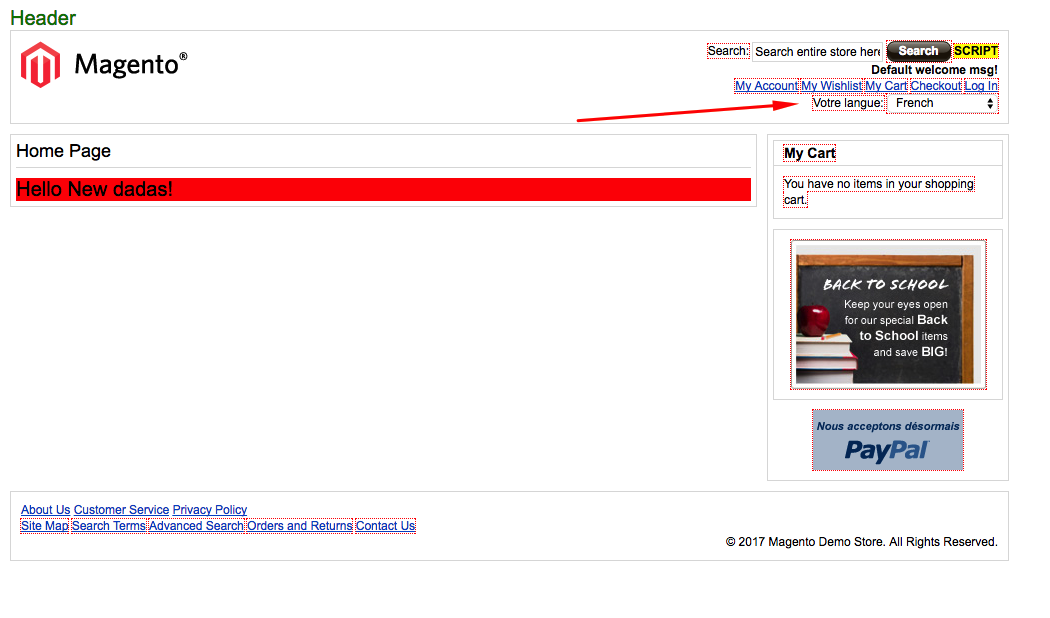
Tick off the point “Store View Specific” and enter translation into input.text. Press the button “Save” and refresh the page to see the translation:
Configure time zones and locale settings using the admin panel
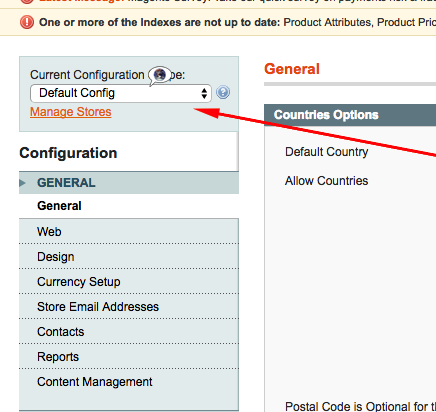
In order to configure time zones, you need to go to System->configuration->general->Locale Options, choose the time zone and save it. In case you want to change locale setting for a specific store, you need to select the option leftward
and change locale settings:
Configure currencies
In order to configure currencies, you need to go to System->configuration->Currency Setup and there select the necessary currency (default currency and allowed currencies) as it is shown in the picture. If you want to choose several currencies in allowed currencies field, you need to press Ctrl and select the necessary ones.
Then go to the left panel with default settings. Go to Catalog and look for the section Price. It looks like that:
Then apply the currency for a specific store.
Need a team of experienced Magento developers? BelVG can help!

