As you have selected PrestaShop for your future online store, to start working with this ecommerce platform, naturally, you will need to install it first. Due to PrestaShop global popularity, “how to install PrestaShop” is a rather common search request and thematic forum question.
In this article, we will explore three ways of installing PrestaShop: the most popular manual installation, installation with cli and installation by cloning from the official PrestaShop repository.
Table of contents:
Method 1: How to install PrestaShop manually
Method 2: How to install PrestaShop with cli
Method 3: How to install PrestaShop by cloning
How to install PrestaShop manually
Step #1: Check system requirements for PrestaShop 1.7
Before you begin installation, make sure your server meets the following server configurations:
- System: Unix, Linux or Windows.
- Web server: Apache Web Server 2.2 or any later version.
- PHP:
| PrestaShop Version | Minimum | Recommended | Not compatible |
| 1.6.1.x | PHP 5.2 | PHP 7.1 | PHP 7.2+ |
| 1.7.0 ~ 1.7.3 | PHP 5.4 | PHP 7.1 | PHP 7.2+ |
| 1.7.4 | PHP 5.6 | PHP 7.1 | PHP 7.2+ |
| 1.7.5 | PHP 5.6 | PHP 7.2 | PHP 7.3+ |
- MySQL: 5.0 minimum, 5.6 or later recommended.
- Server RAM: No specific requirements, but the more memory you have, the better. It is advised to set the memory allocation per script (memory_limit) to a minimum of 256M.
PrestaShop is also compatible with Microsoft’s IIS Web server 6.0 or later, and nginx 1.0 or later.
Moreover, it will be necessary to install, in addition to PHP, the following Php extensions:
- CURL, or the Client URL extension, implemented to download modules, localization packages and other remote resources.
- DOM for parsing XML documents. In PrestaShop, it can be used to perform various functions, like the Store Locator. Moreover, certain modules and the pear_xml_parse library uses it.
- Fileinfo, or the File information extension, utilized to determine the file type of uploaded files.
- GD, that creates thumbnails for the uploaded images.
- Intl, which is the Internationalization extension, implemented to display localized data, like amounts in different currencies.
- Zip extension for expanding the compressed files, for instance, modules and localization packages.
Beginning with 1.7.4.х version, PrestaShop repository contains docker-compose.yml file for launching the project with docker:
|
1 2 3 4 5 6 7 8 9 10 11 12 13 14 15 16 17 18 19 20 21 22 23 24 25 26 27 28 29 30 31 32 33 34 35 36 |
version: '2' volumes: db-data: vendor: var: services: mysql: image: mysql:5 ports: - "3306" volumes: - db-data:/var/lib/mysql environment: MYSQL_ROOT_PASSWORD: password MYSQL_DATABASE: prestashop restart: always apache: container_name: prestashop-git image: prestashop/prestashop-git:7 environment: PS_INSTALL_AUTO: 0 DB_PASSWD: password DB_NAME: prestashop DB_SERVER: mysql PS_DOMAIN: localhost:8001 PS_FOLDER_INSTALL: install-dev PS_FOLDER_ADMIN: admin-dev ports: - "8001:80" volumes: - ./:/var/www/html/:delegated - vendor:/var/www/html/vendor - var:/var/www/html/var restart: always |
Add this file to the project directory and run the command:
|
1 |
docker-compose up -d; |
As a result, you will get a completely configured environment for working with CMS PrestaShop. Follow the http://localhost:8001 link; now you can proceed to PrestaShop installment.
Step #2: Download the PrestaShop platform
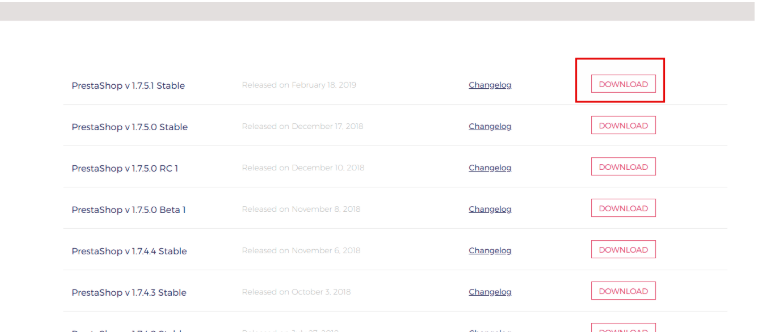
Follow the link https://www.prestashop.com/en/previous-versions and download the latest stable version, which is 1.7.5.1 at the moment.
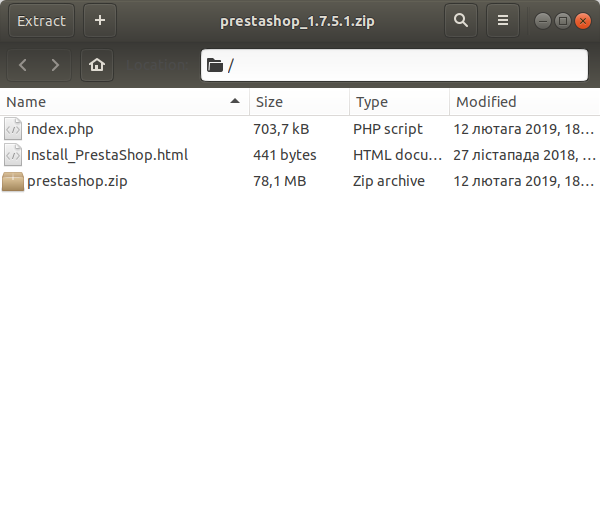
 Step #3: Extract the files from the downloaded archive
Step #4: Server installation
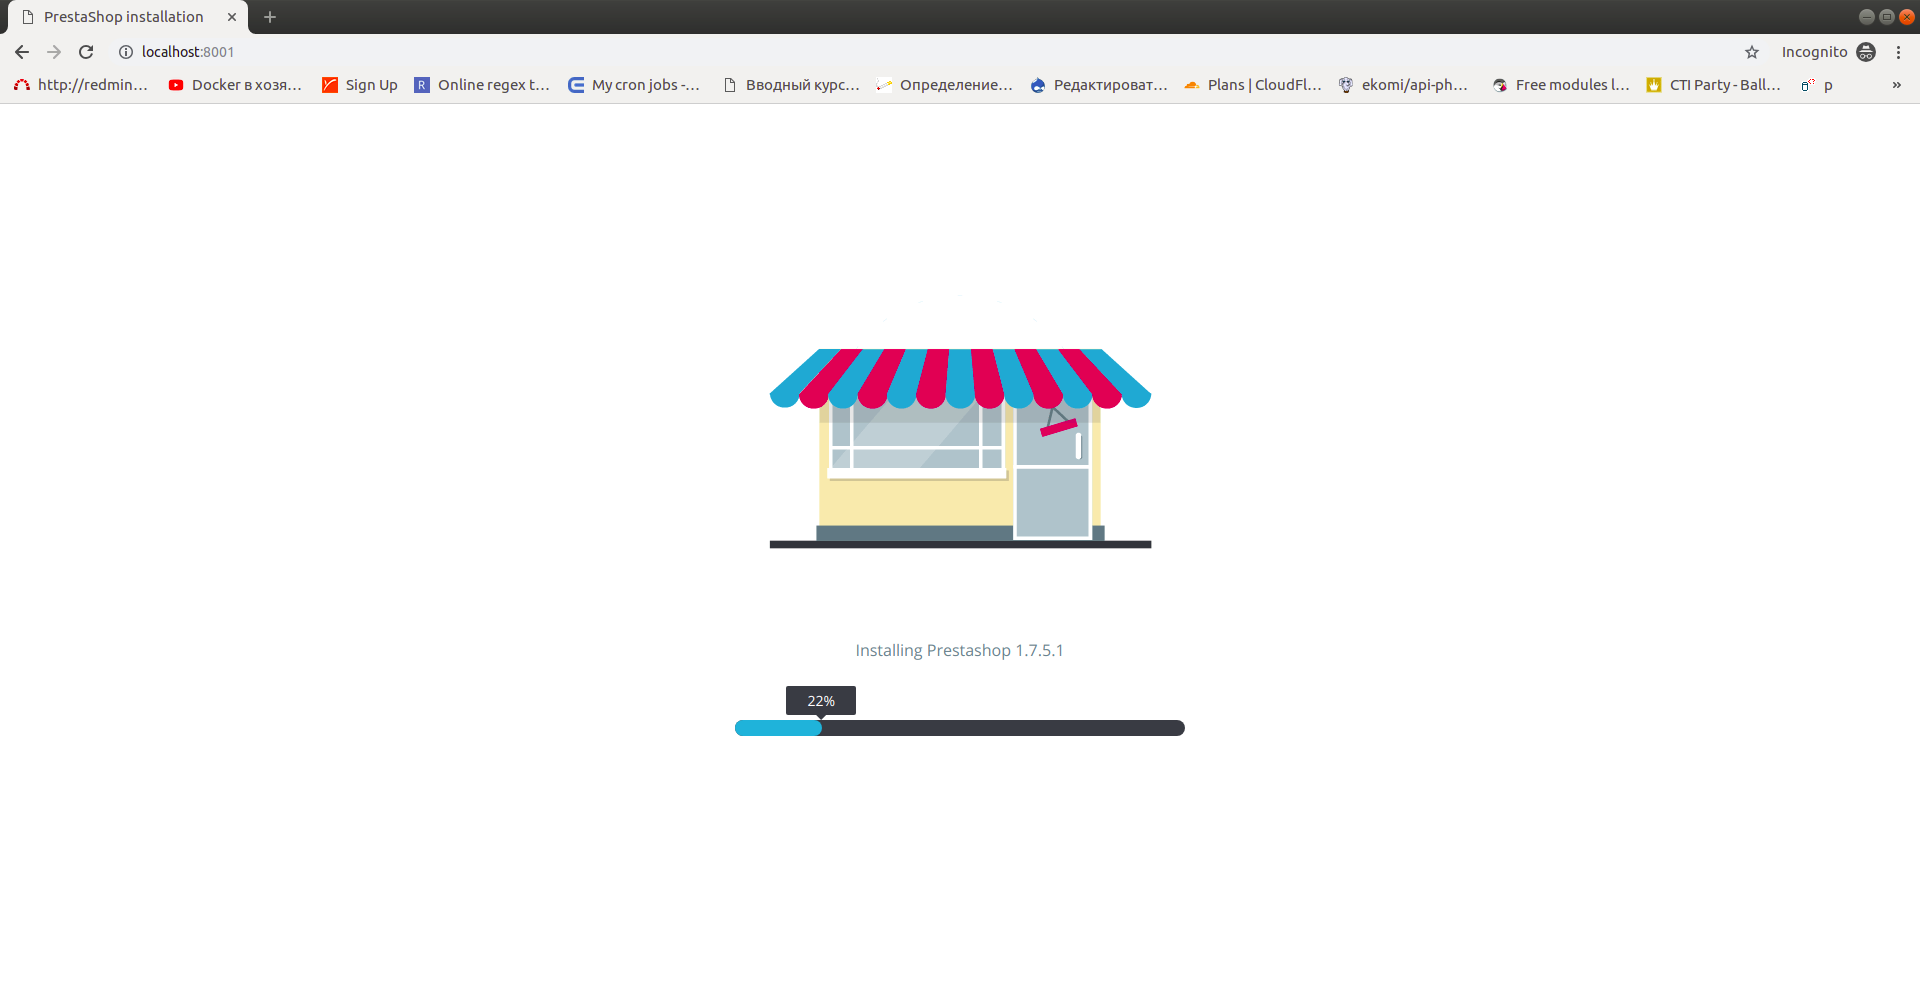
Move the files from the archive to the server and follow to the domain name; in case you use docker-compose.yml, then follow to http://localhost:8001. PrestaShop will perform the rest of the platform files:
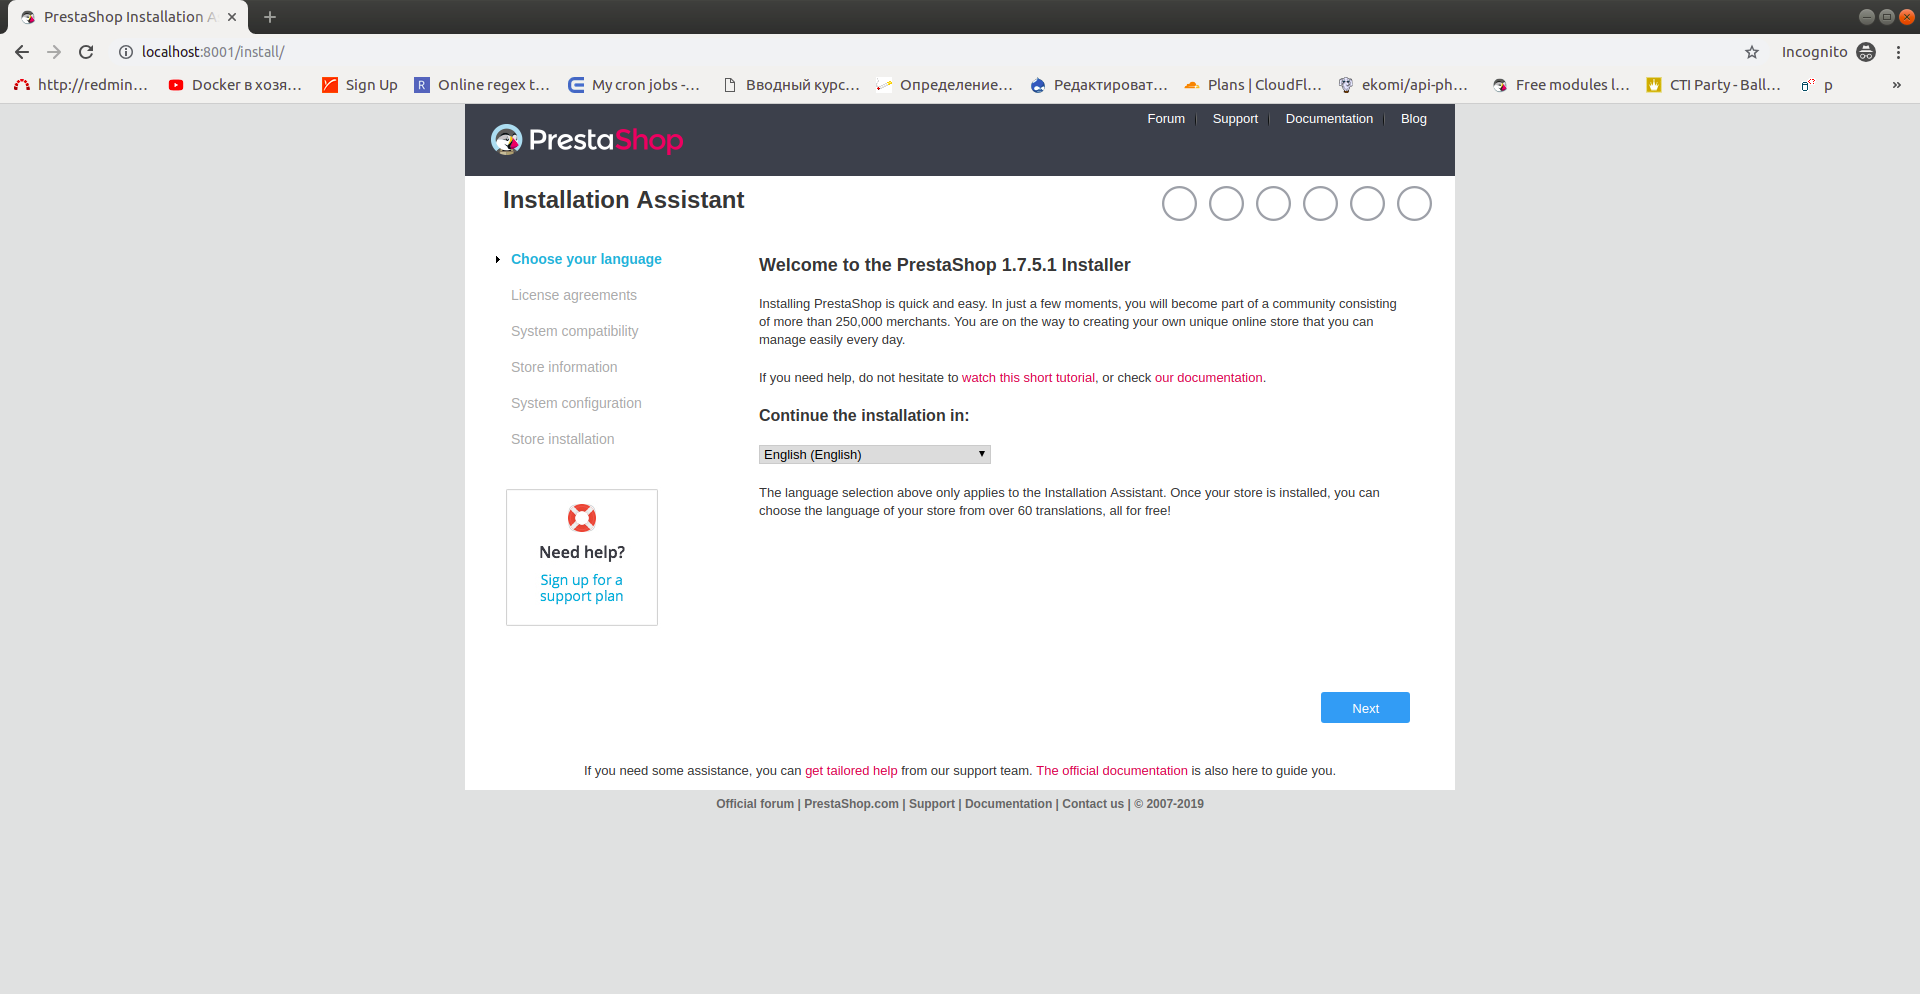
Step #5: Select the installation language
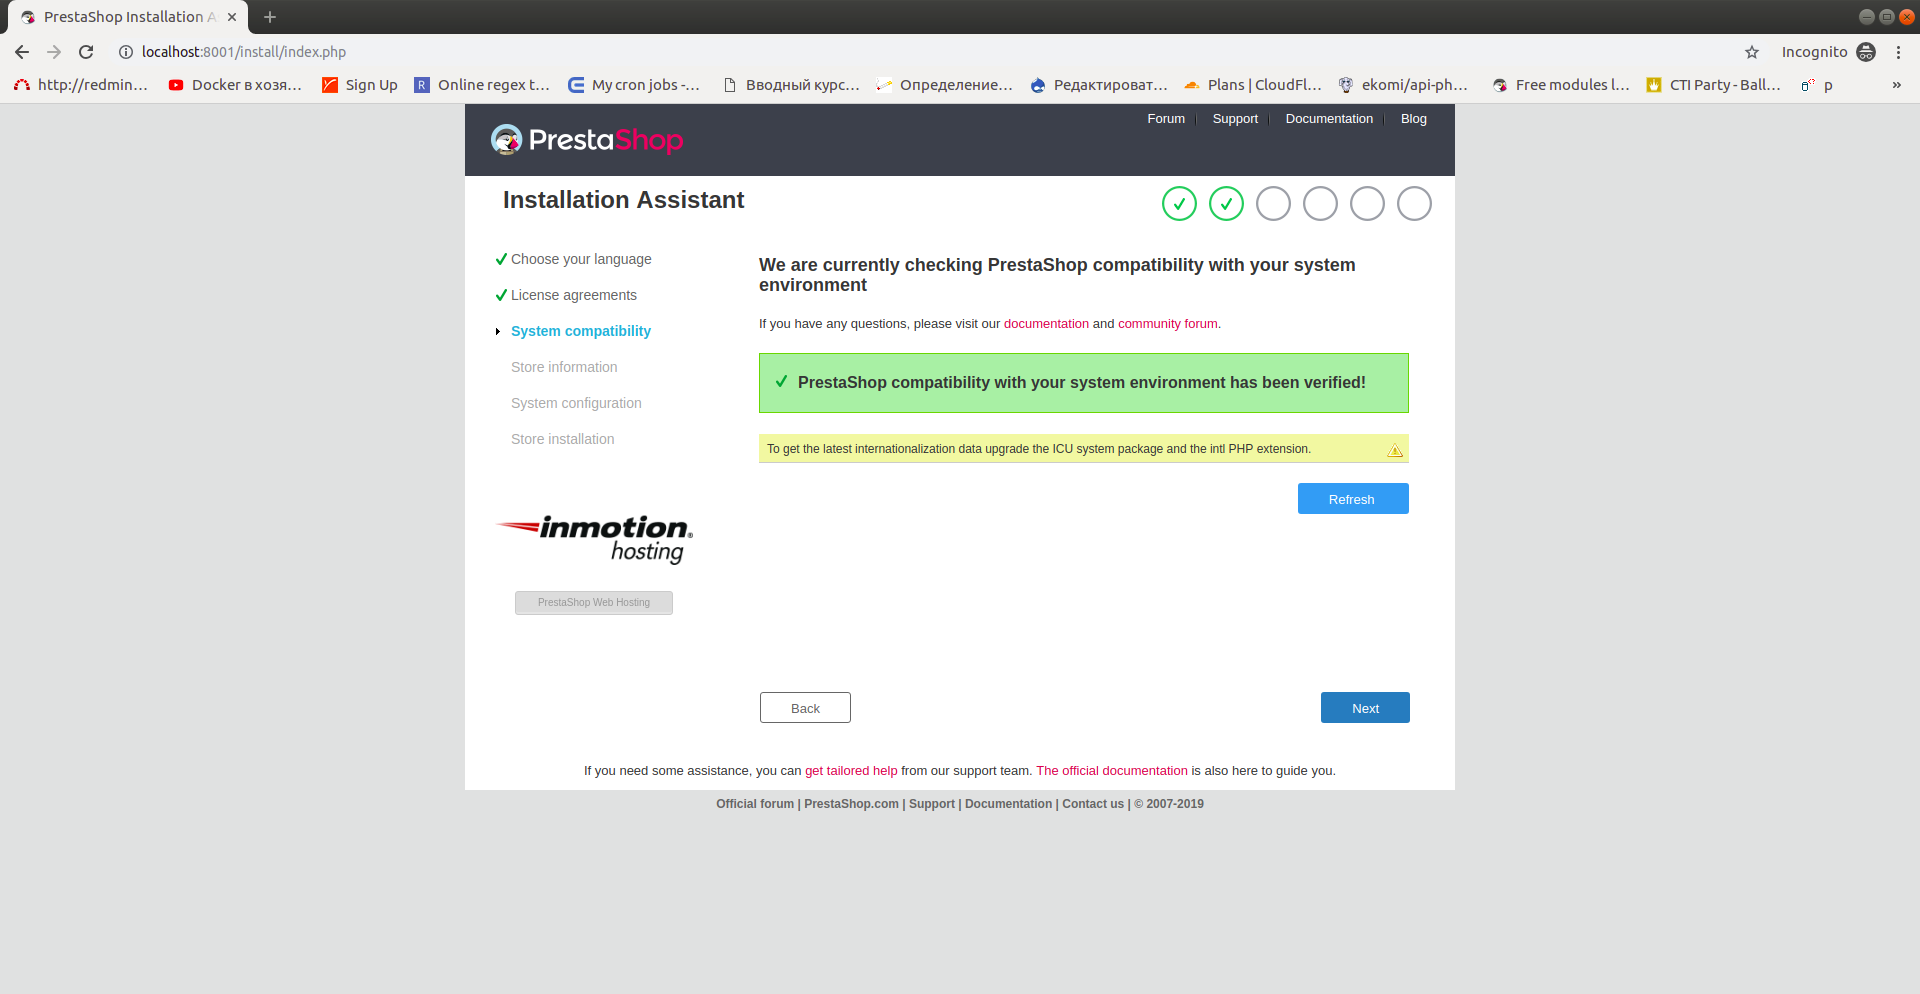
Step #6: Check for the necessary PHP extensions at your server
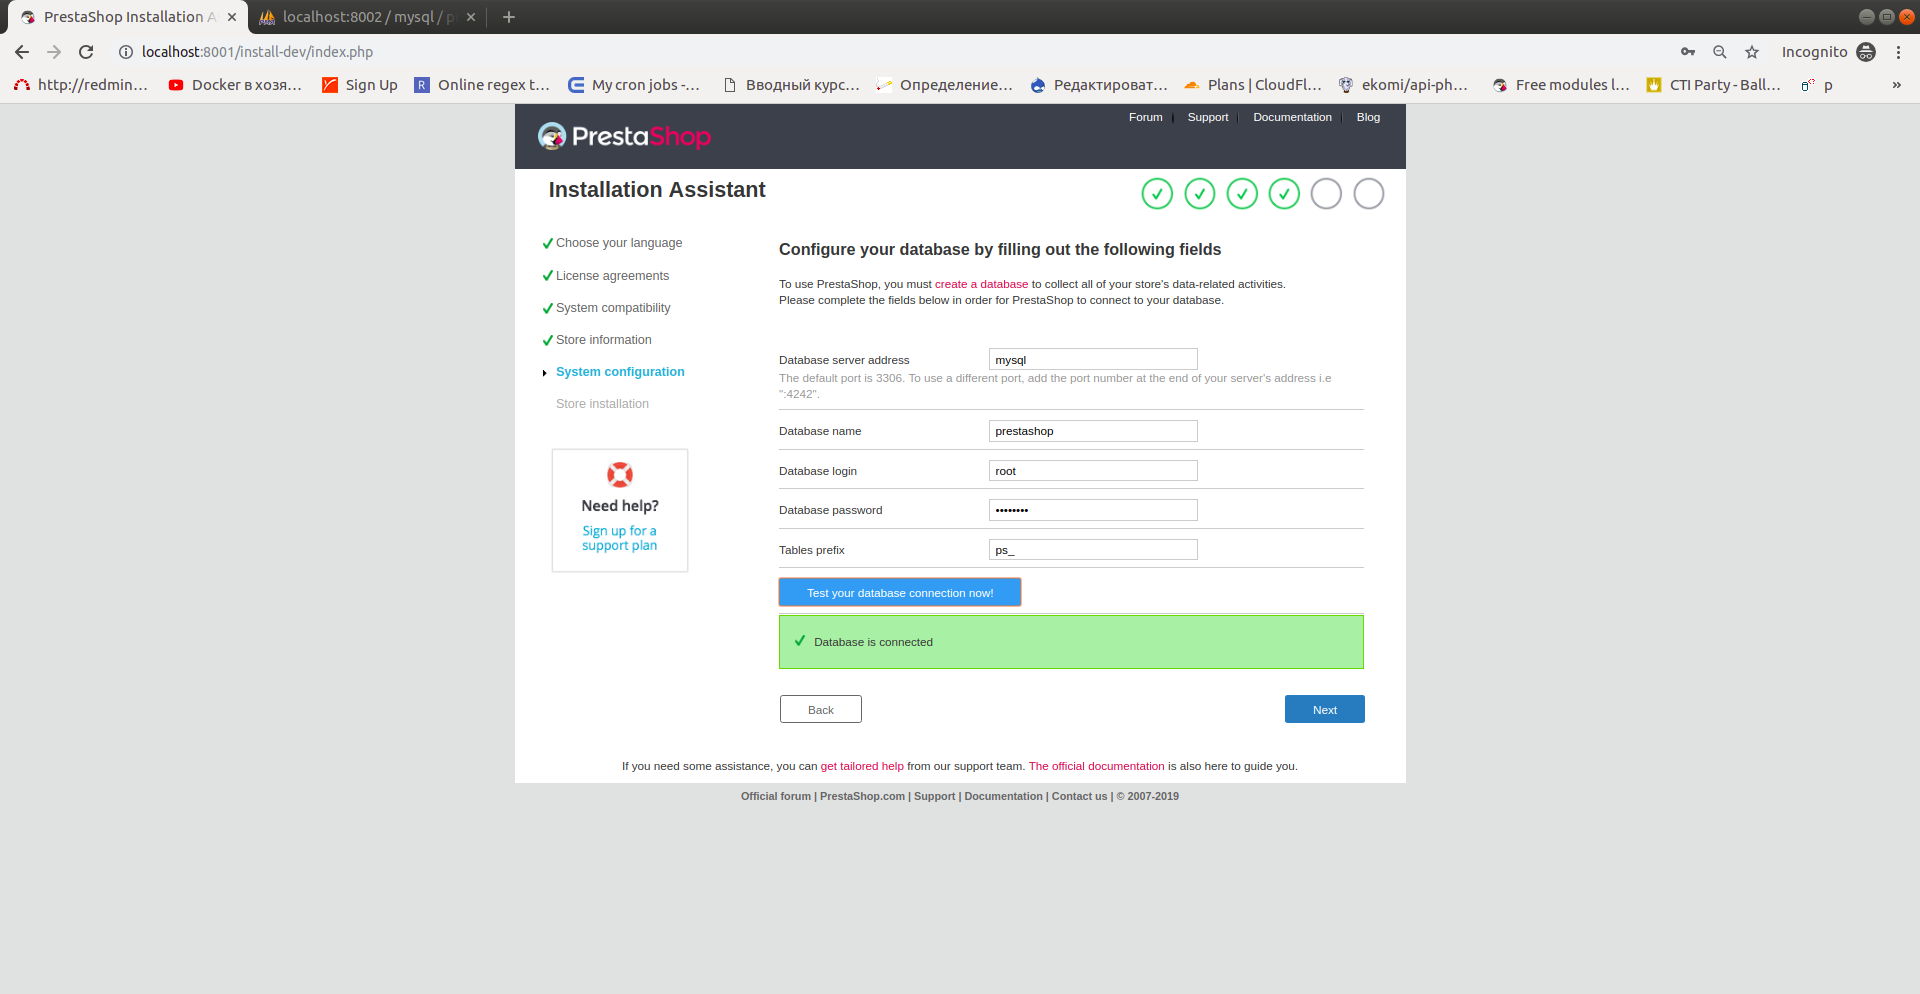
Step #7: Configure your database
Step #8: Configure database connection
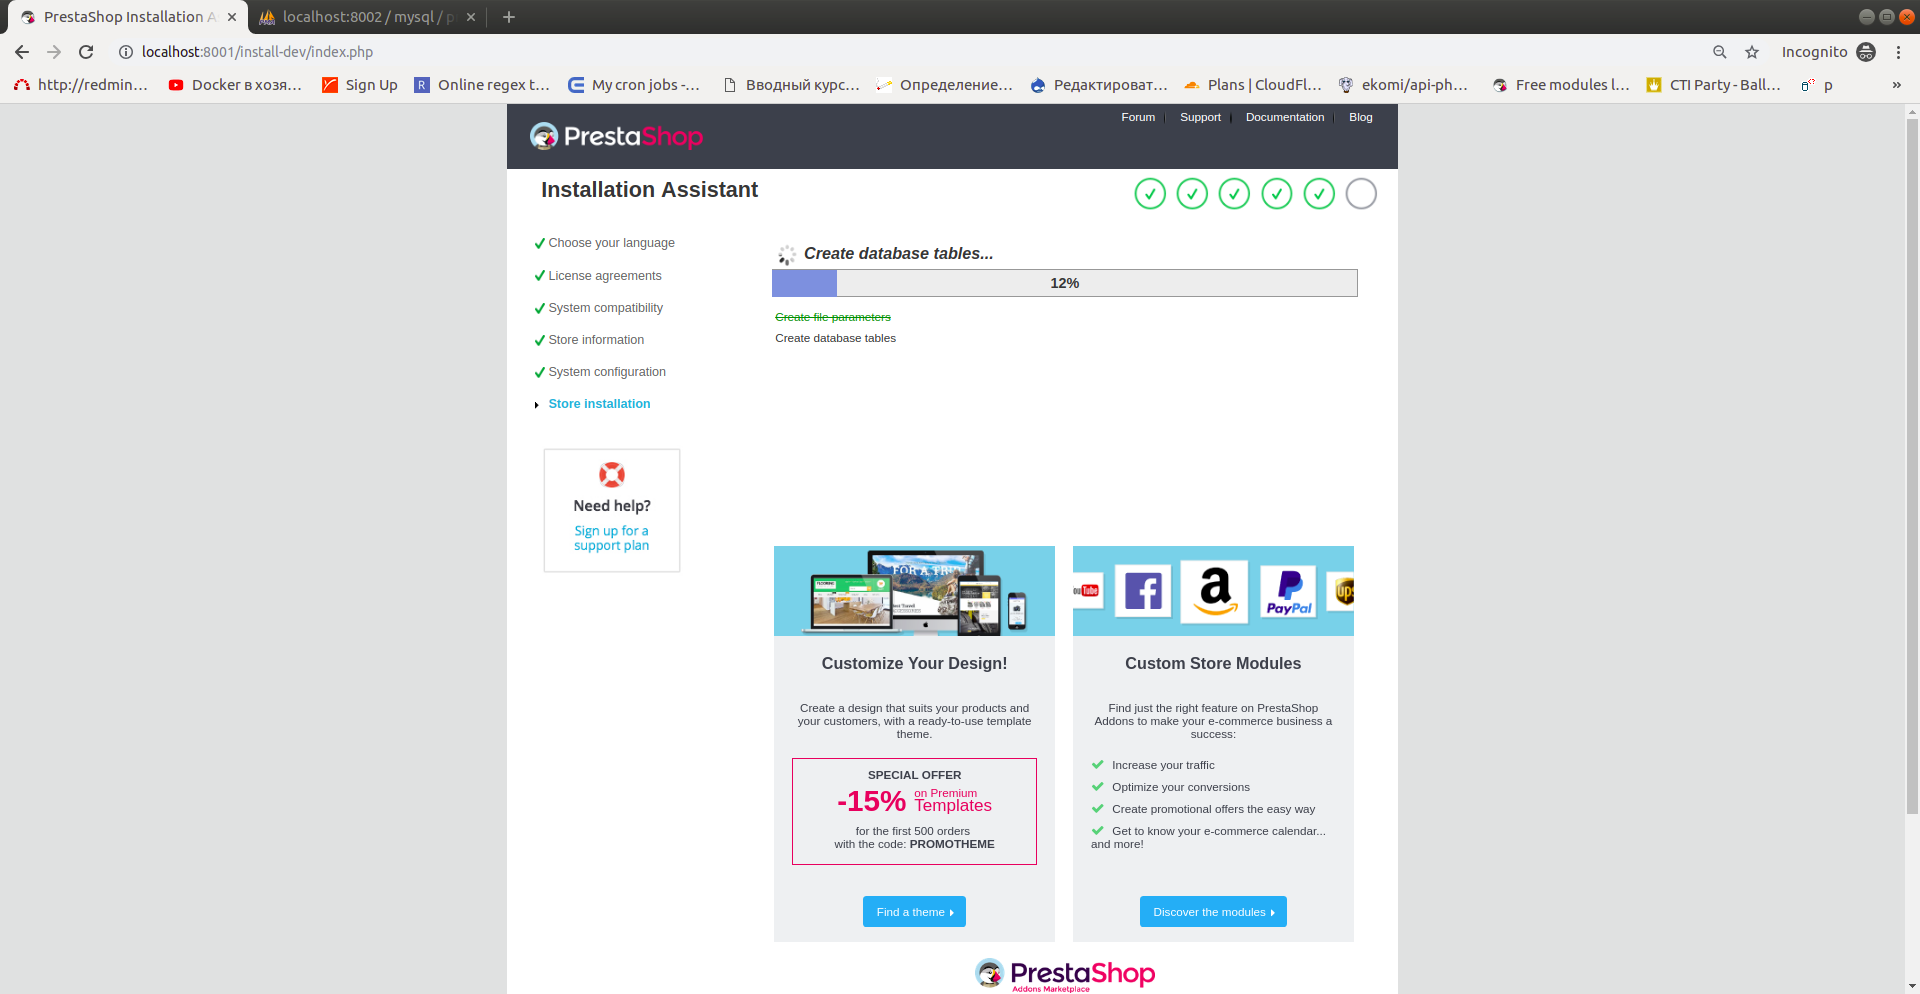
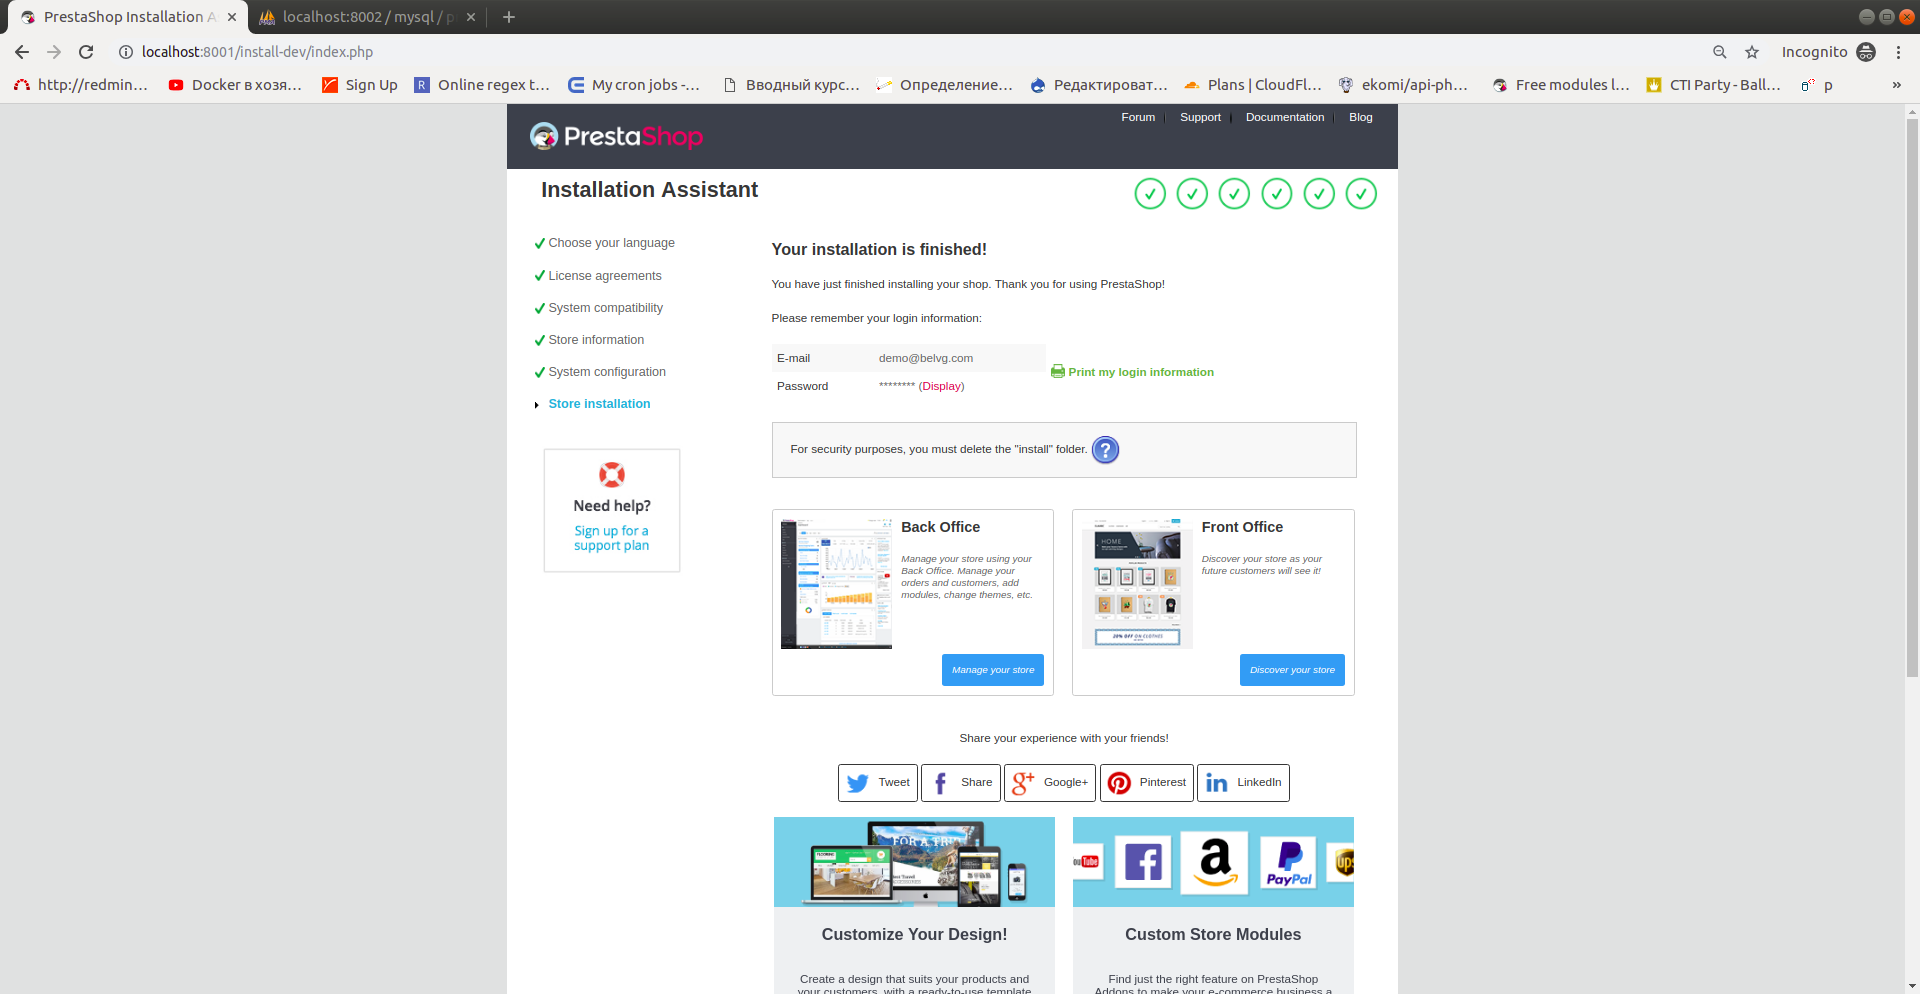
Step #9: Complete the installation process
After the installation is completed, the system will offer you to delete the install directory.
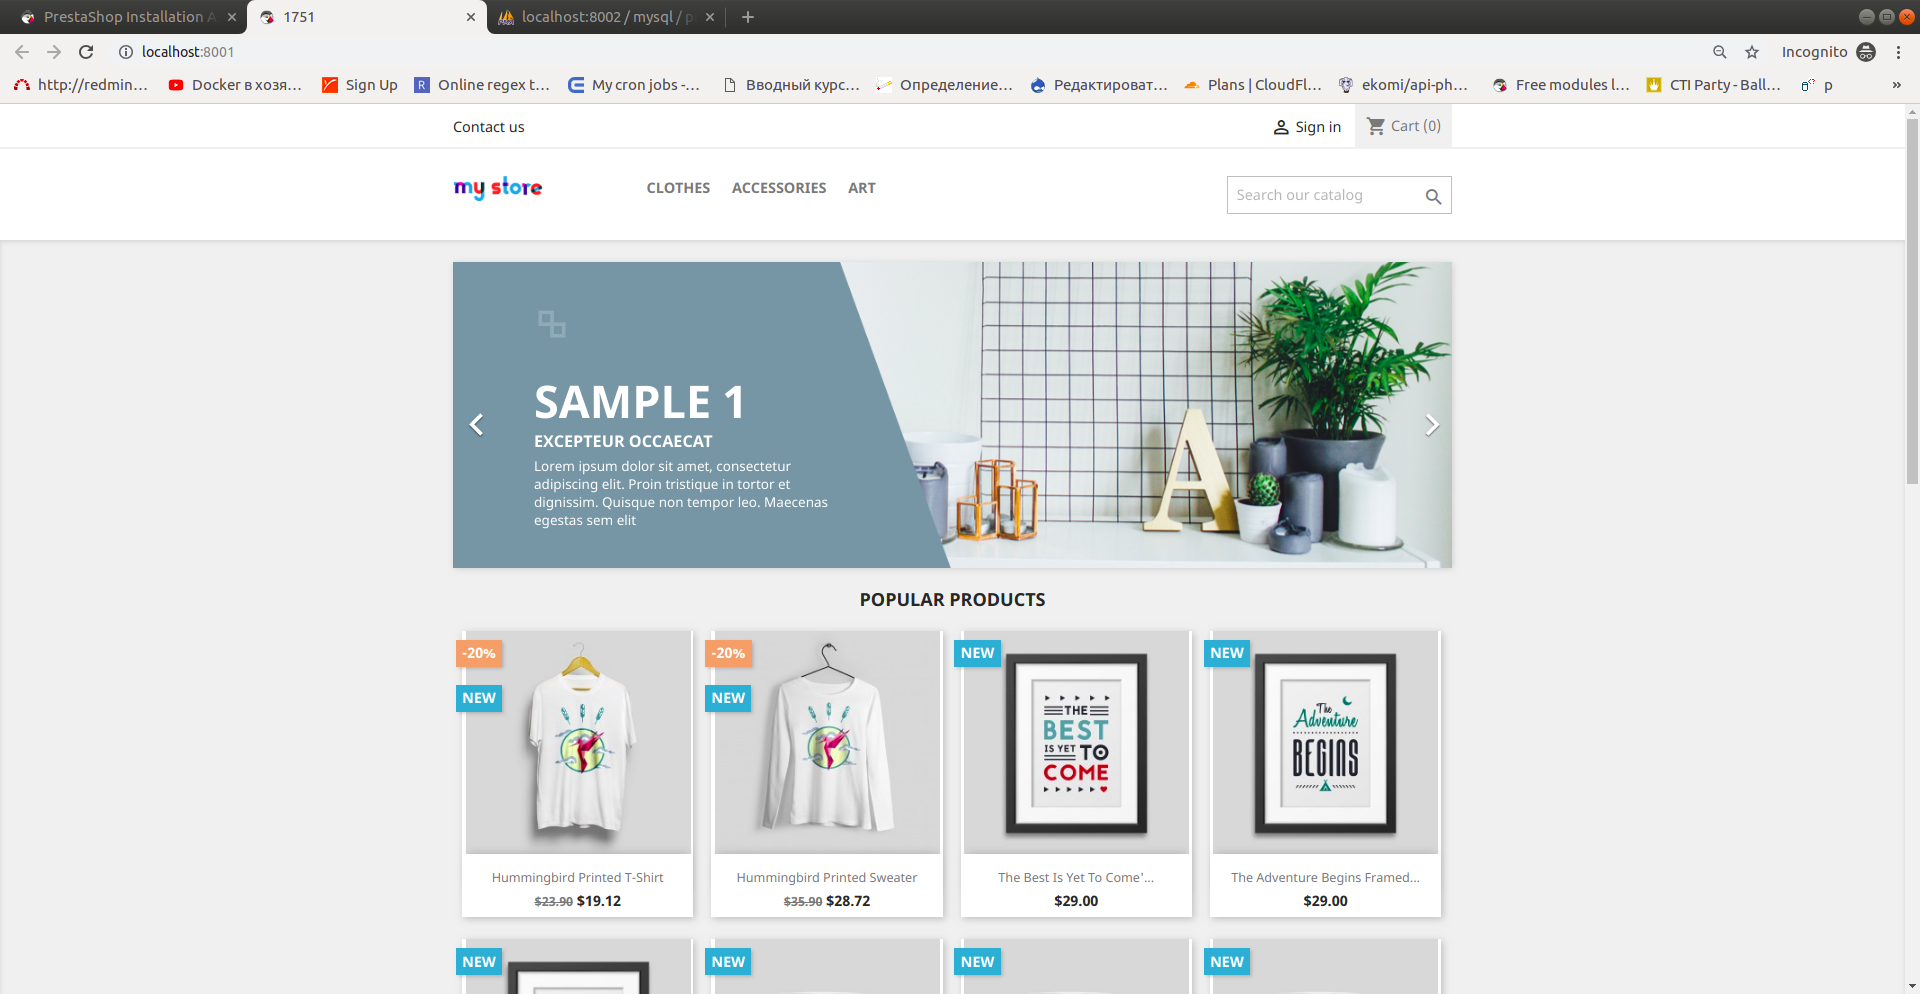
This is how the installed PrestaShop main page looks like.
Method 2: How to install PrestaShop with cli
Step #1: Complete steps #1 to #3 from the method described above.
Step #2: Then, de-archive the prestashop.zip file.
Step #3: Go to install directory and launch the installation script with the following attributes:
|
1 |
php index_cli.php –domain=domain_name.com --db_server=mysql --db_name=prestashop --db_user=root --db_password=password --email=login@domain.com –password=12345678; |
Method 3: How to install PrestaShop by cloning
Step #1: Clone a project from the official CMS Prestashop repository https://github.com/PrestaShop/PrestaShop to a deleted or a local server: git clone https://github.com/PrestaShop/PrestaShop.git.
Step #2: Select the last stable branch in Github
Step #3: Add dependencies to the project via composer
|
1 |
composer install; |
Step #4: Go to the install-dev directory and launch installation script:
|
1 |
php index_cli.php –domain=domain_name.com --db_server=mysql --db_name=prestashop --db_user=root --db_password=password --email=login@domain.com –password=12345678; |
Wrapping it up
In this article, we went over three methods of PrestaShop installation. Personally, I find method #3 the most preferable one, for it is faster and easier to perform than the 1st and the 2nd.


