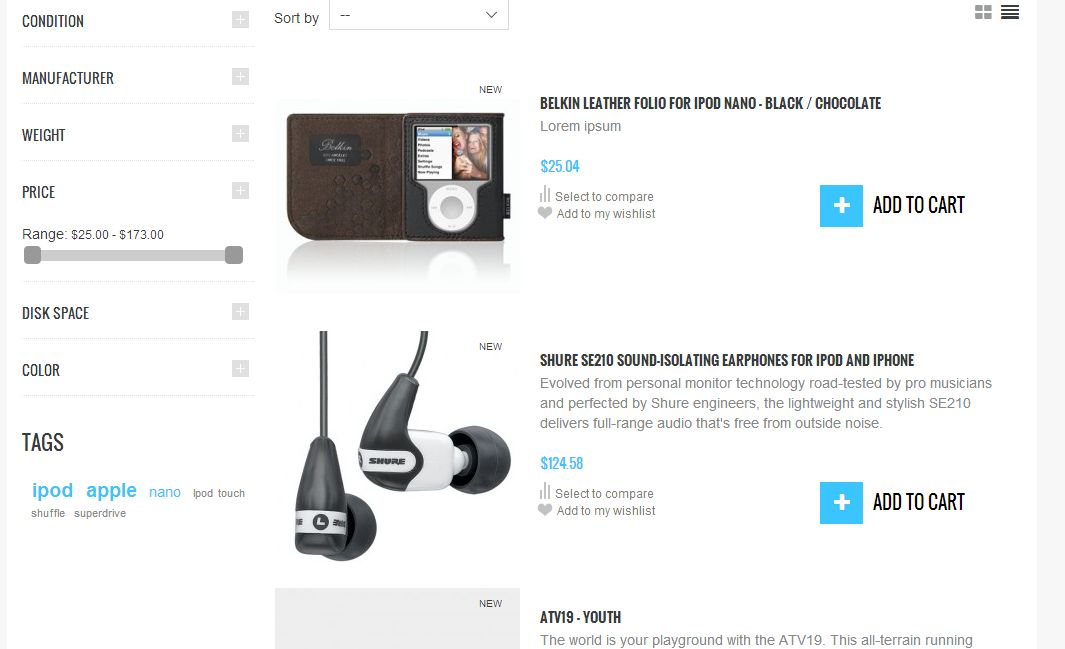
As you know, designers pretty like to complicate life for programmers and frontend-developers. So once I saw some Prestashop theme design where a whishlist was displayed on a category page with products. But as you know, the default theme does not provide these options. Therefore, today’s article will describe how to add a whishlist to a category page.

So, in order to output the link which will add whishlist to a category page you need to edit the template ‘product-list.tpl’: place the below code to the most suitable part of the template.
|
1 2 3 4 5 |
<p class="buttons_bottom_block" style="margin-left:-3px;"> <a href="#" id="wishlist_button" onclick="WishlistCart('wishlist_block_list', 'add', '{$product.id_product|intval}', {$product.id_product_attribute}, 1); return false;"> {l s='Add to my wishlist'} </a> </p> |
In this code we change the default link behavior by introducing changes through the event ‘onclick’. WishlistCаrt is an object that is possible to use due to the js-code of the module blockwishlist (js/ajax-wishlist.js). Before using the code described above, please, make sure that the module “Wishlist block” is installed and enabled. Let’s take a closer look at the semantics of the function:
|
1 |
WishlistCart('wishlist_block_list', 'add', '{$product.id_product|intval}', {$product.id_product_attribute}, 1) |
- ‘Wishlist_blосk_list’ is the id of the block containing a whishlist for a product
- ‘Add – action’ is the parameter which will be used in the controller ‘modules/blockwishlist/cart.php’
- ‘{$id_product|intval}’ is a product id
- ‘{$product.id_product_attribute}’ is an attribute id
- 1 – quantity

PrestaShop Support & Maintenance
Take your online store to the next level with BelVG PrestaShop Support & Maintenance
Visit the page


