Every brand should obligatory has its own logo. And the logo should represent all the advantages of your company. Your brand will be recognized and associated with the logo you will create. And of course, it should be placed in the most visible place on your web store. We are talking about the header and main menu block. So let’s overview one of the most frequently asked questions — how can I change the Logo in my Prestashop 1.7 website?
At first, you should prepare the file with your logo, and this file should meet some requirements:
- Allowed formats are: .gif, .jpg, .png;
- Suggested size for default theme logo: < 370 x 99 pixels.
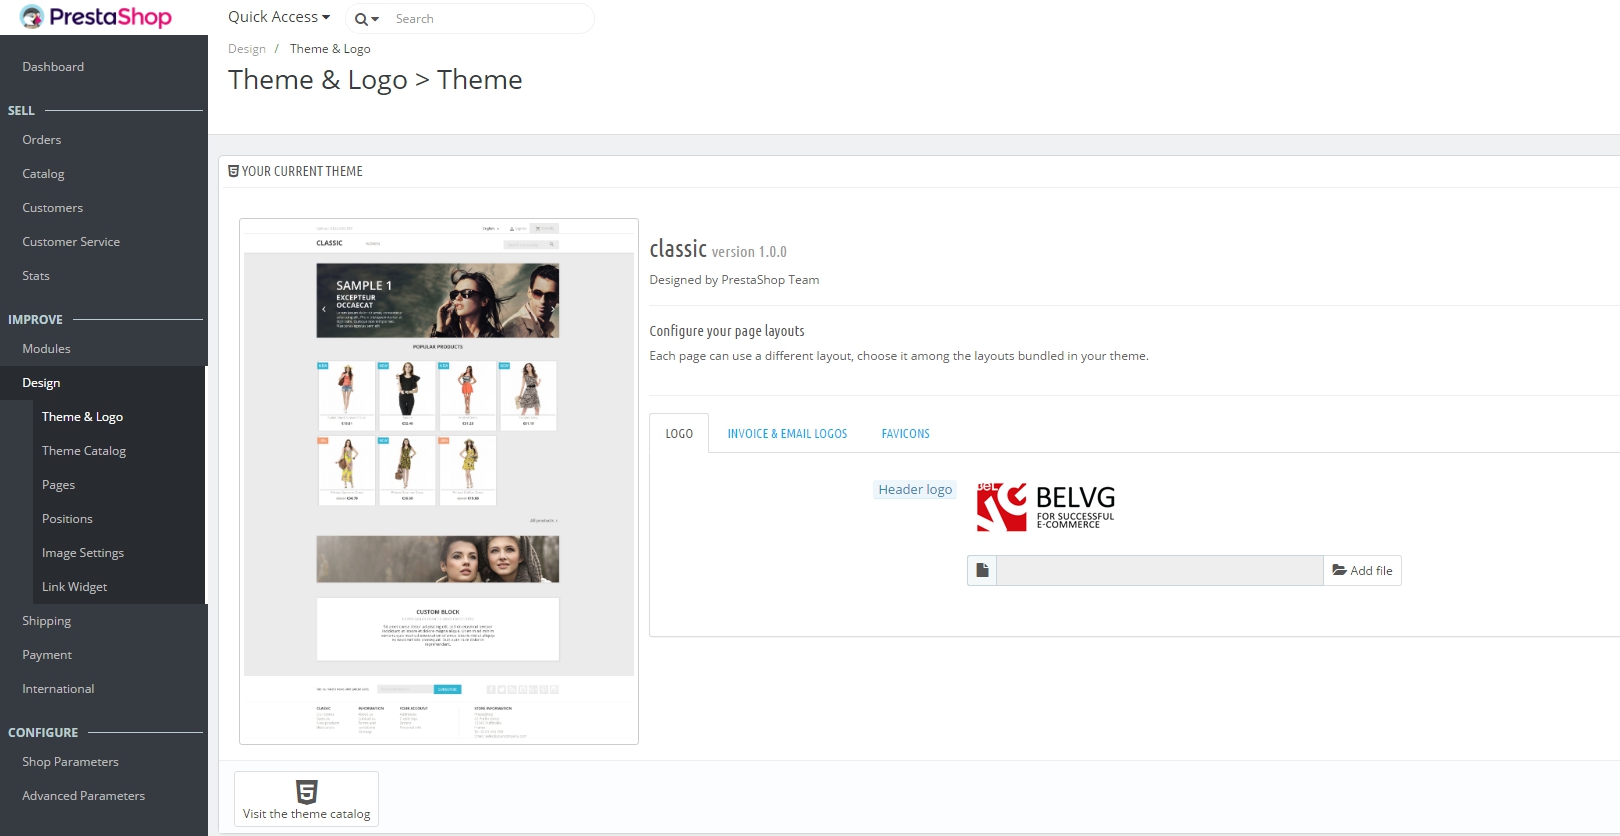
Since you have a logo, you can easily upload it to your website through the admin panel. Just log in and navigate to:
Design -> Theme & Logo

 Changing Header Logo
And here you can see 3 tabs, where you can add:
- Logo. The logo that will appear on all the pages of your shop.
- Invoice & Email logos. The logos that will respectively appear in your shop’s email notifications, and its invoices (Read also: How to Edit Email Templates in Prestashop 1.7).
- Favicons. Your shop’s favicon. This is the small image displayed at the left of the web browser’s address bar and on the browser’s tabs.
So in the first tab, you can simply choose your Logo file and add it. The same procedure can be performed to add logos for email and invoices and favicons as well.
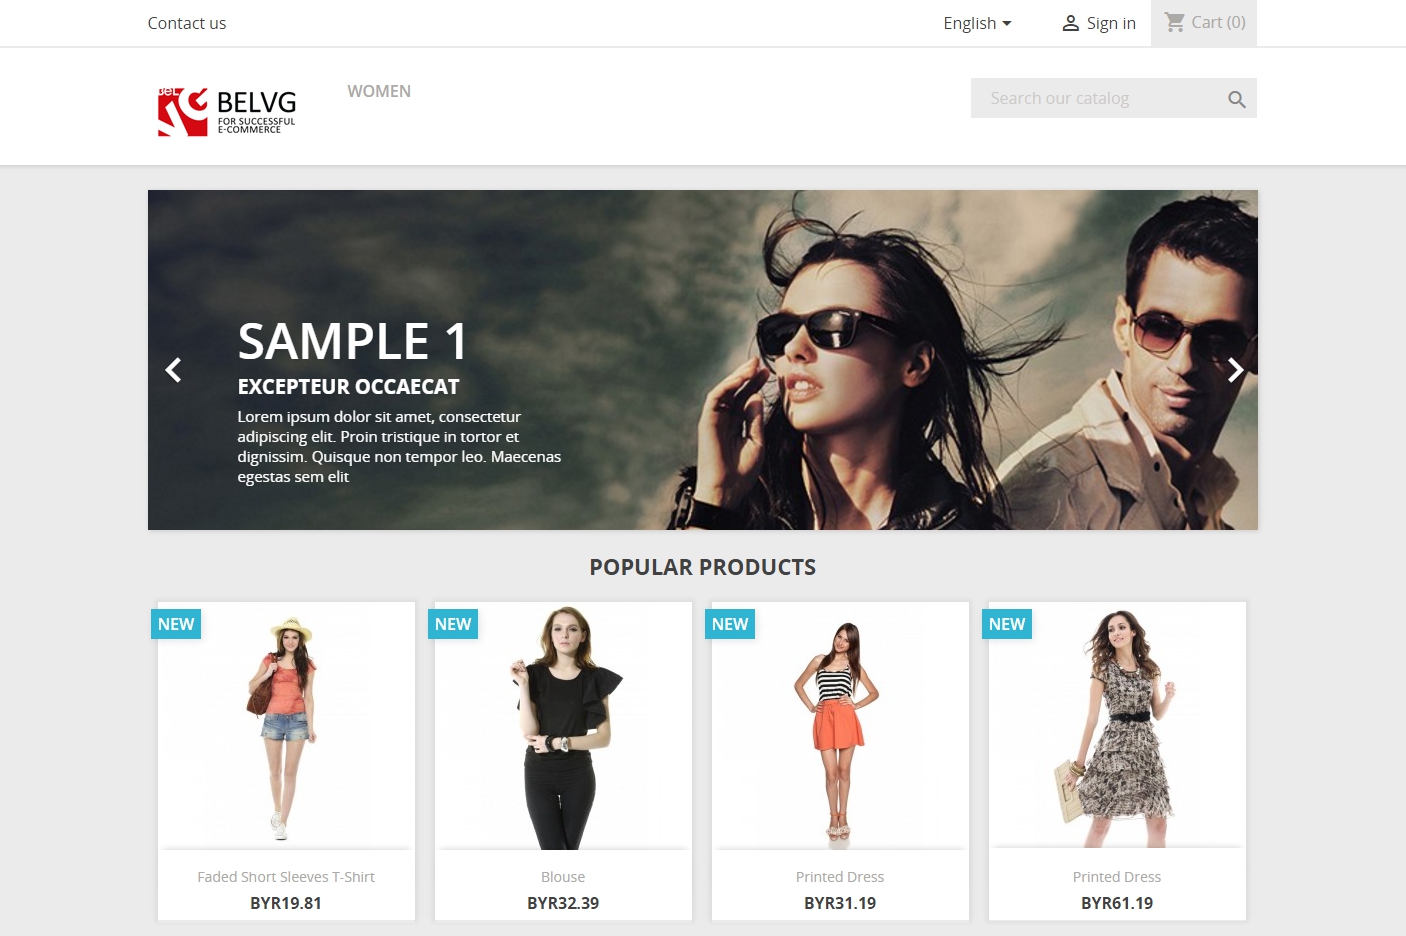
That’s it, just click Save button and check out applied changes on the frontend.

PrestaShop Development
Take your online store to the next level with BelVG PrestaShop Development
Visit the page


