Want to learn how to take care of your PrestaShop store? In this article, we are going to teach you how to change header logo PrestaShop, add new social networks which are not in the list by default, add social media icons, share buttons, customize PrestaShop footer and configure a homepage slider. On top of that, you will also learn how to create a new shop!
How to configure a PrestaShop homepage slider
How to change header logo PrestaShop
How to customize PrestaShop footer: change copyright message
How to add new social networks to PrestaShop
How to add PrestaShop share buttons & social media icons
How to create a PrestaShop multistore
How to configure a PrestaShop homepage slider
PrestaShop slider configuration interests multiple users as we receive a lot of questions regarding this topic. The task itself is rather simple and doesn’t require any special development knowledge or skills. Still, let’s make it clear how you can do it on your own.
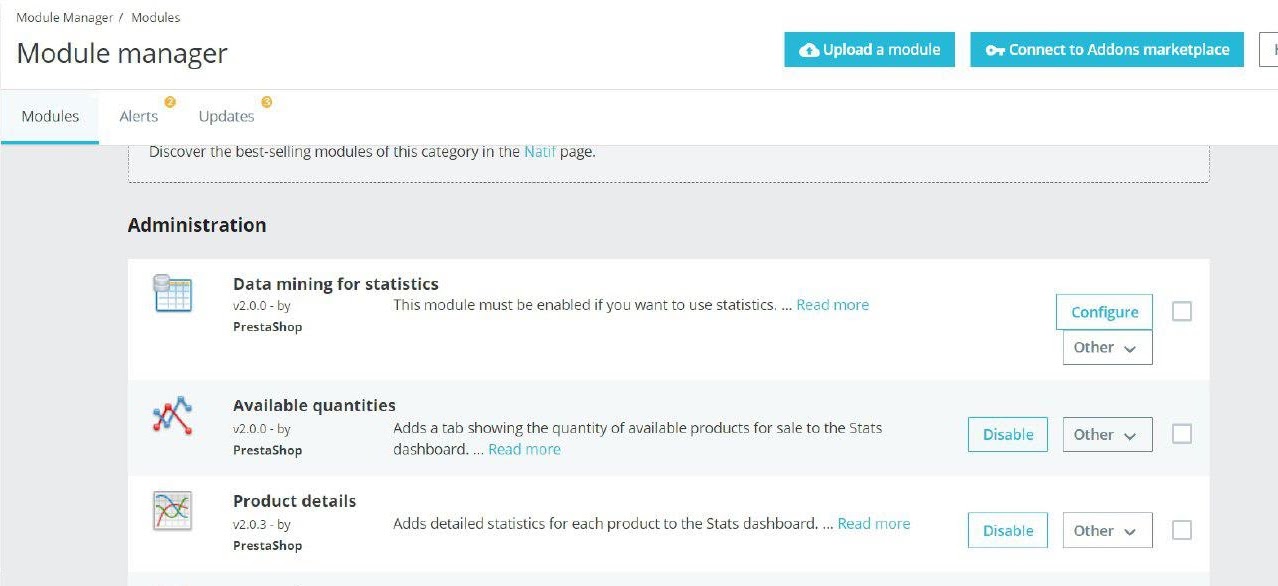
First, you need to open the Modules section and select the Module Manager tab. Here, you will see all the modules that you have installed.
In the Design & Navigation section, you need to find the Image Slider module.
Once you click the Configure button, the Slider settings menu will open.
In this panel, you can configure slider’s behavior, particularly:
- Speed. This function allows setting the duration of transitions between slides.
- Pauses on hover. This setting turns on or off stopping slide transition by placing a mouse cursor on it.
- Loop forever. Here you can choose whether slides will loop forever or stop after the first round.
Below, you can take a look at the Slides List section where a specific slider can be configured.
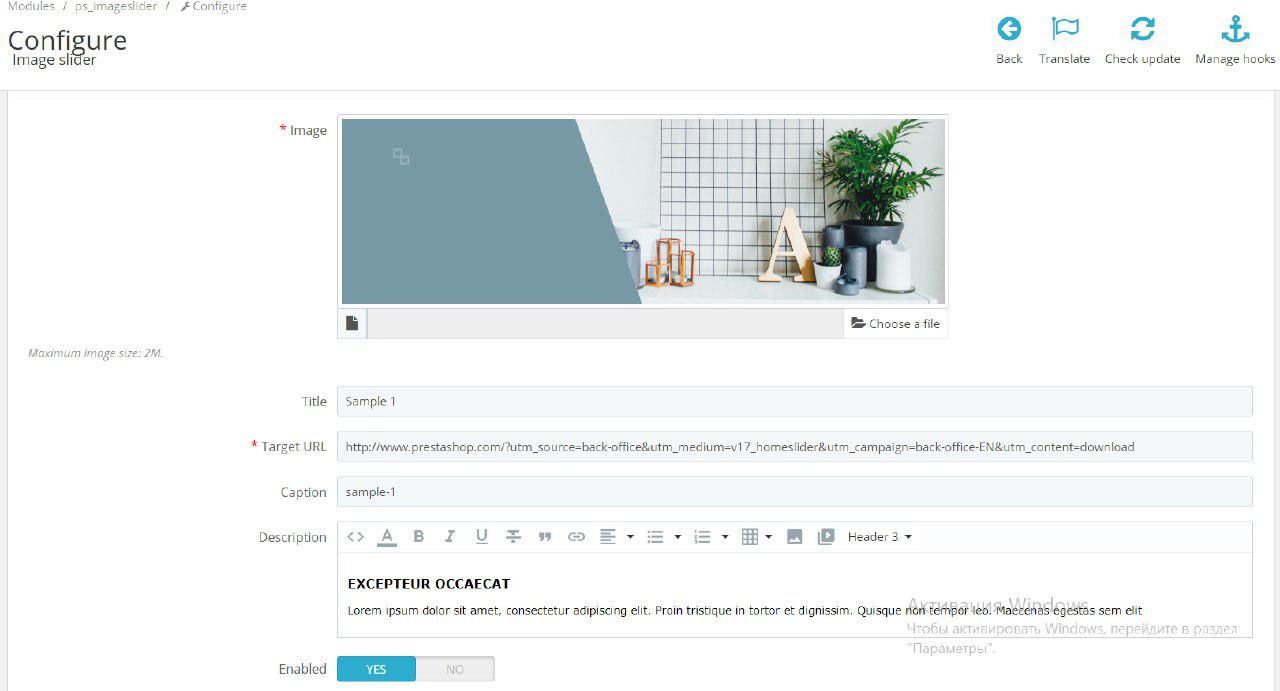
If you click the Edit button, you will proceed to the following page:
Here you can specify:
- Title
- Target URL
- Caption
- Description
- Enabled / disabled status
It is all the homepage slider configurations that you need to know about. This information should be enough to create and configure a nice-looking slider for your webstore homepage. However, more custom solutions require above-average developer skills and knowledge about PrestaShop specifics.
How to change header logo PrestaShop
The company without its own logo is unlikely to be remembered for a long while. It’s crucial to have a sign or an image that will be associated with your brand only. It should be unique enough to be recognized by your clients and partners.
Needless to say that your logo should be placed not only on the door to your office, packaging of your products, corporate letters, etc., but on your webstore as well, particularly, on the homepage. So – how do you change a logo in the PrestaShop online shop?
First, you need to have a logo picture that meets the following requirements:
- .gif / .jpg / .png; formats;
- < 370 x 99 pixels prefered picture size.
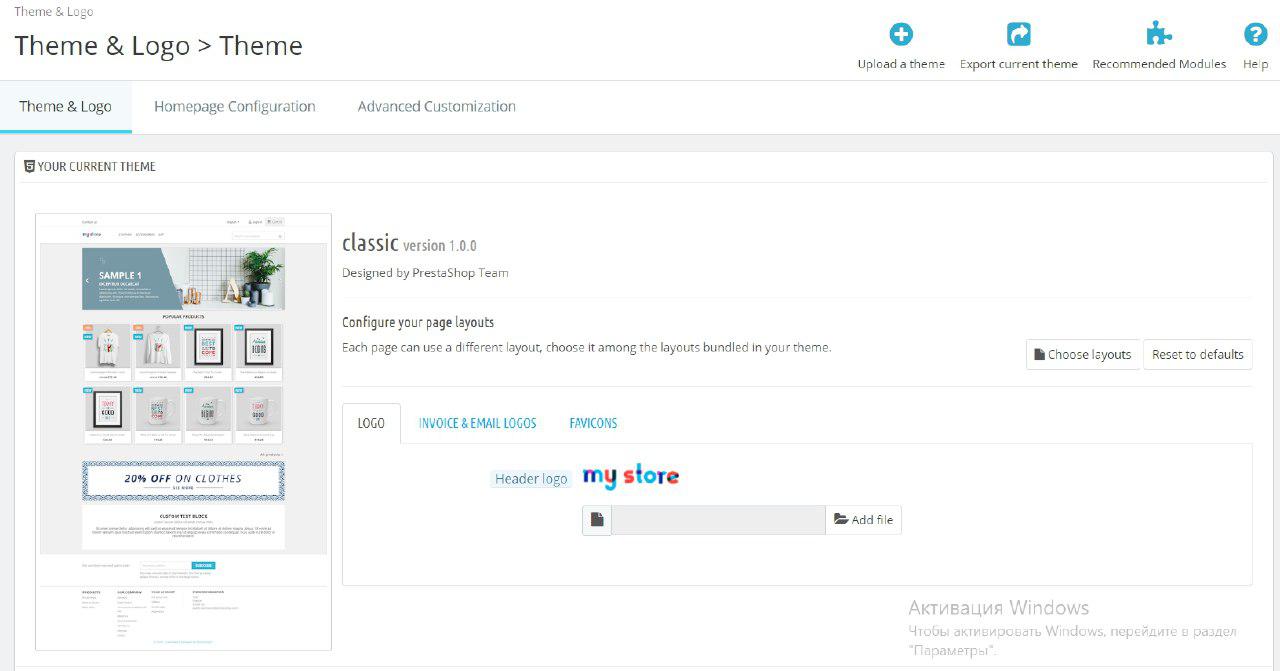
Once you have a logo, you can proceed to uploading it. When you enter the admin panel of your shop, find the Design section and click on Theme & Logo tab.
It is where you can add and configure your store logo and manage related settings, including:
- The logo itself
- Logo placed on emails and invoices
- Favicon. It is a small picture that appears next to the title in the browser tab. If you want to find out how to create a custom favicon, visit this article.
From now on, uploading a logo picture is not any different from uploading any other picture. First, you need to click on the Add file button and find the needed picture in your file tree.
In settings, you can create different variants of your logo and for any situation. It is a wonderful customization opportunity which is taken to ensure that the logo will look good on any page.

PrestaShop Development
Take your online store to the next level with BelVG PrestaShop Development
Visit the pageHow to customize PrestaShop footer: change copyright message
By default the message in PrestaShop footer will look like this “© 2020 – Ecommerce software by PrestaShop™”, with the link leading to www.prestashop.com website. This copyright message is definitely alright but you can make it even better – get a custom one with your own message. So this is how you configure the copyright message from footer.
First, you need to go to International -> Translations. What you need is the Modify Translations section.
Then, you need to select Themes translation option in Type of translation, choose your theme, (we chose classic, it can be any other for you) and language (English in our case). Click Modify to save changes.
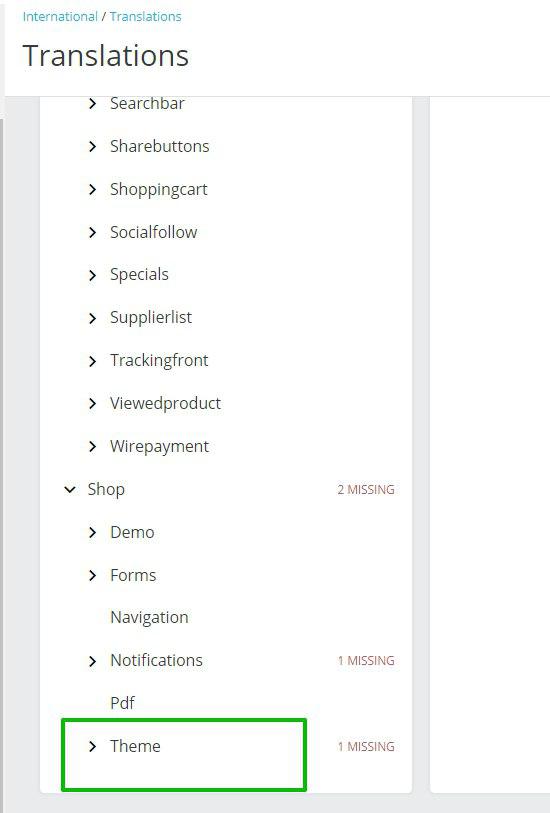
You will proceed to the large menu where you need to find the Theme drop-down.
Find the Ecommerce software by field and change its content for “Created by”. Save changes.
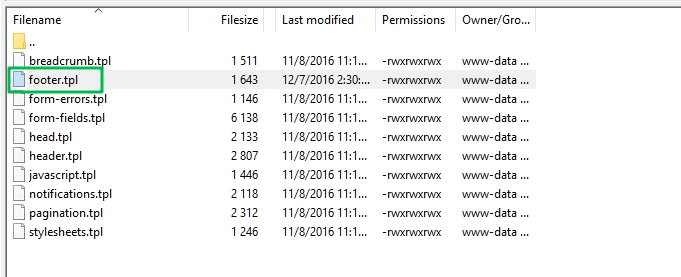
After that, you need to follow this path: themes/classic/templates/_partials/footer.tpl.
Open footer.tpl and find the following strings:
|
1 2 |
<a class="_blank" href="http://www.prestashop.com" target="_blank"> {l s='%copyright% %year% - Ecommerce software by %prestashop%' sprintf=['%prestashop%' => 'Prestashop™', '%year%' => 'Y'|date, '%copyright%' => '©'] d='Shop.Theme'} |
Here, you can change the link and the name to the ones you want to be reflected in your footer:
To top it off, you need to save the changes and check if they are applied in the frontend. It is all you need to know about copyright modification in footer.
How to add new social networks to PrestaShop
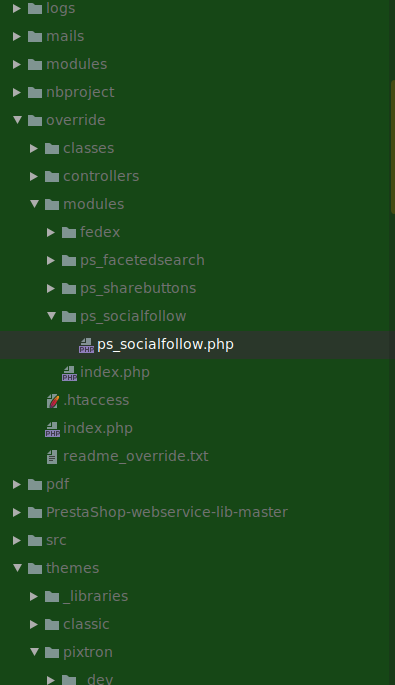
First of all, you need to proceed to the {base_url}/override folder. This folder is needed to override standard modules that we will use. Here, you need to create the Modules folder and put there a module that we want to change. In our case, it is ps_socialfollow and ps_sharebuttons. Then, we put the ps_socialfollow.php and ps_sharebuttons.php files copied from the module’s folder in these modules.
Let’s take a look how to override the ps_socialfollow class correctly. We add Override to Ps_Socialfollow and put the name of a parent class after “extend”. In our example, it is Ps_Socialfollow. You can also delete “implements”
Before:
class Ps_Socialfollow extends Module implements WidgetInterface
After:
class Ps_SocialfollowOverride extends Ps_Socialfollow
You should also delete everything unnecessary from the file and use what you want to change.
Let’s add a new social network to a standard module which is not in the default list of social networks. We will use vkontakte as an example. In order to do it, we need to enter a standard {base_url/}modules/ps_socialfollow/ module, open the ps_socialfollow.php file and add the following code:
|
1 2 3 4 5 6 7 8 9 10 11 |
const SOCIAL_NETWORKS = [ 'facebook', 'twitter', 'rss', 'youtube', 'pinterest', 'vimeo', 'instagram', 'linkedin', ‘vkontakte’ ]; |
We add in the function public function install()
And add to the function public function uninstall()
Configuration::updateValue('BLOCKSOCIAL_VKONTAKTE') &&
In the $fields_form massive, we look for the Input 'input' => array( massive.
Then, we add a new field.
|
1 2 3 4 5 6 |
array( 'type' => 'text', 'label' => $this->trans('Vkontakte URL:', array(), 'Modules.Socialfollow.Admin'), 'name' => 'blocksocial_vkontakte', 'desc' => $this->trans('Your official Vkontakte account.', array(), 'Modules.Socialfollow.Admin'), ), |
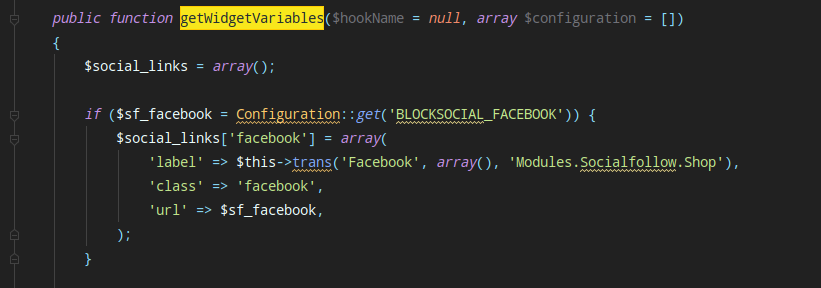
Add to the function public function getWidgetVariables
|
1 2 3 4 5 6 7 |
if ($sf_vkontakte = Configuration::get('BLOCKSOCIAL_VKONTAKTE')) { $social_links['vkontakte'] = array( 'label' => $this->trans('Vkontakte', array(), 'Modules.Socialfollow.Shop'), 'class' => 'vkontakte', 'url' => $sf_vkontakte, ); } |
We save our file and proceed to the admin panel.
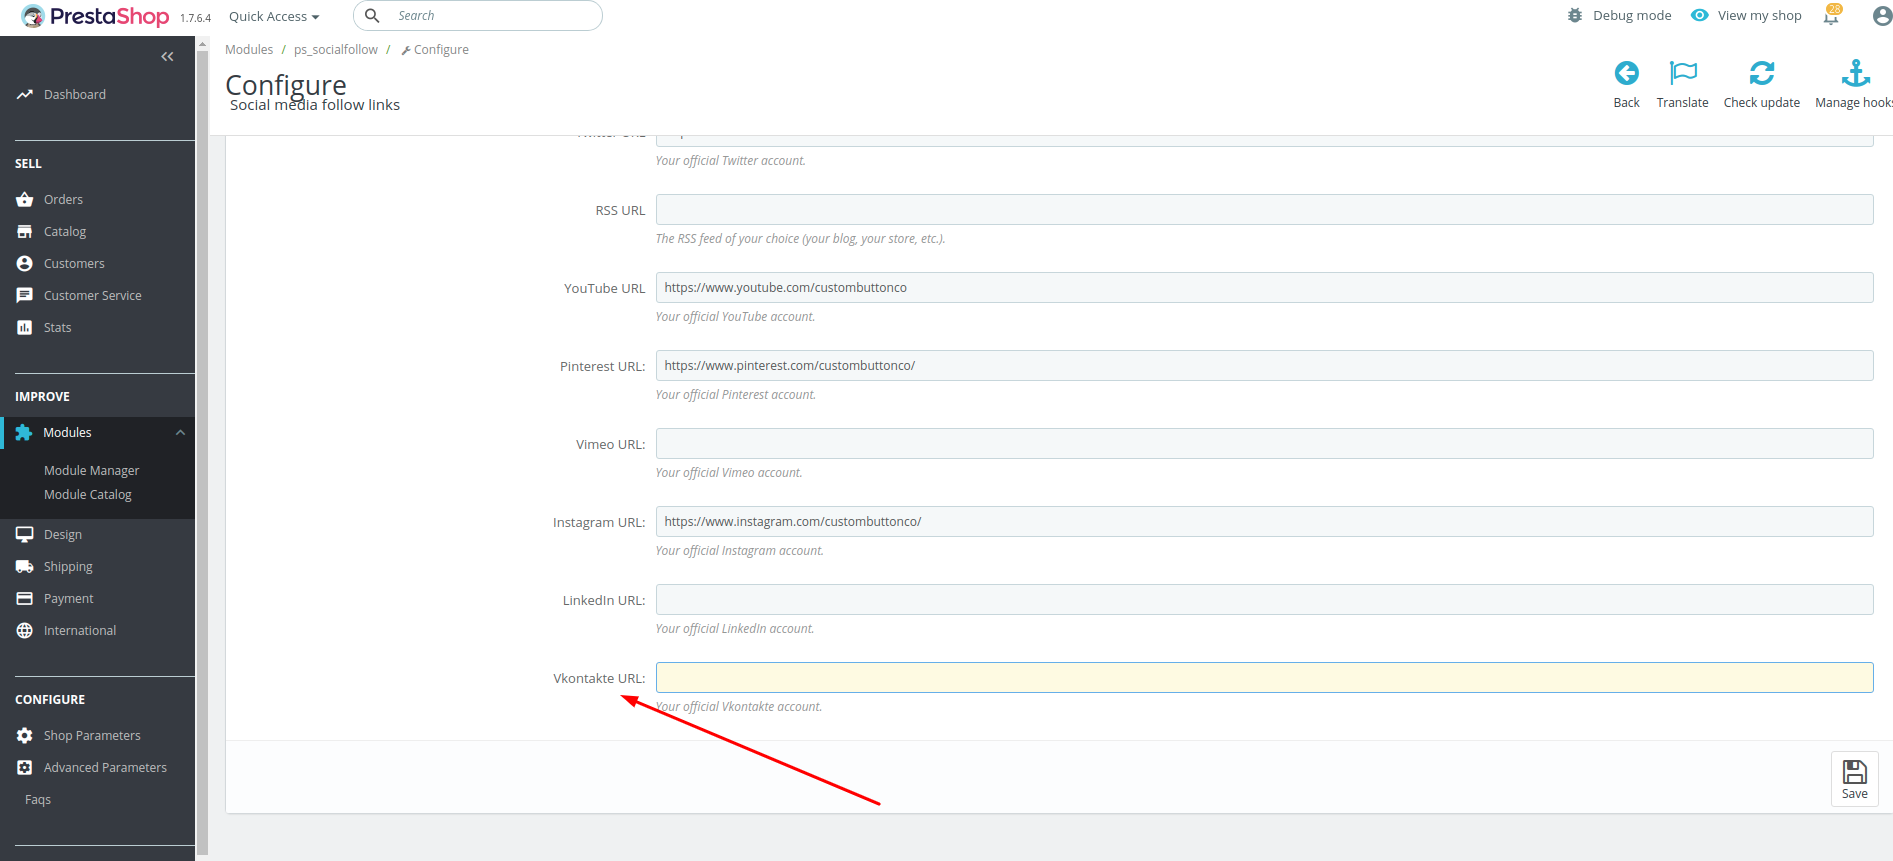
Here, we see our new field:
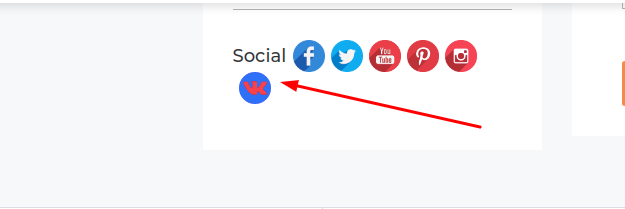
We fill it and look how it displays at the front. (You can configure necessary styles and icons on your own via CSS).
Now, we add a Share button with the help of the standard \{base_url}/modules/ps_sharebuttons/ module in the ps_sharebuttons.php file.
We add the name for our social network where we will share.
protected static $networks = ['Facebook', 'Twitter', 'Pinterest', 'Vkontakte'];
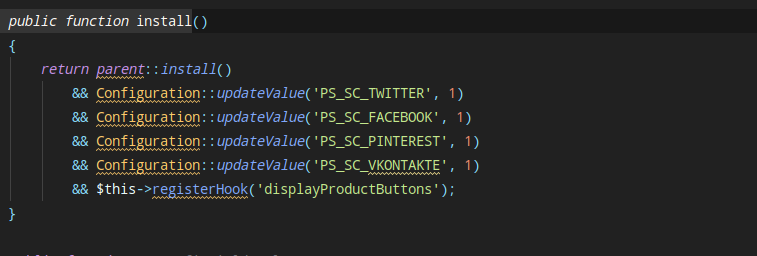
Add to the function public function install
&& Configuration::updateValue('PS_SC_VKONTAKTE', 1)
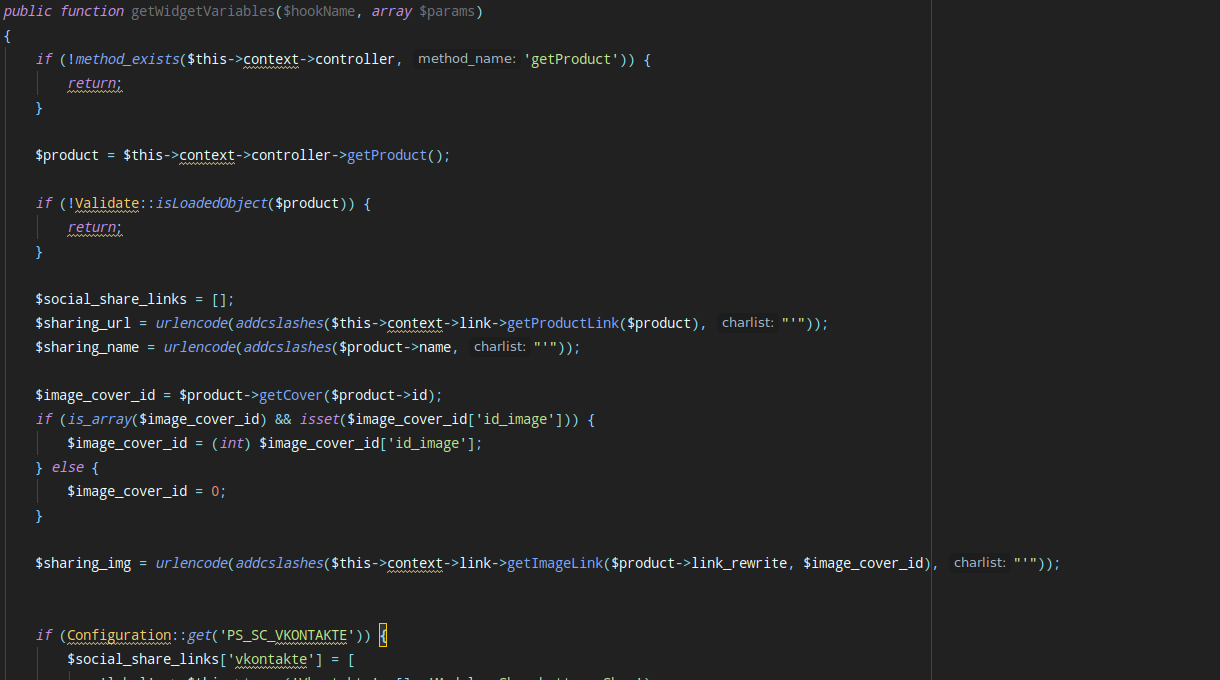
Add to the function public function getWidgetVariables
|
1 2 3 4 5 6 7 |
if (Configuration::get('PS_SC_VKONTAKTE')) { $social_share_links['vkontakte'] = [ 'label' => $this->trans('Vkontakte', [], 'Modules.Sharebuttons.Shop'), 'class' => 'vkontakte', 'url' => 'https://vk.com/share.php?url='.$sharing_url, ]; } |
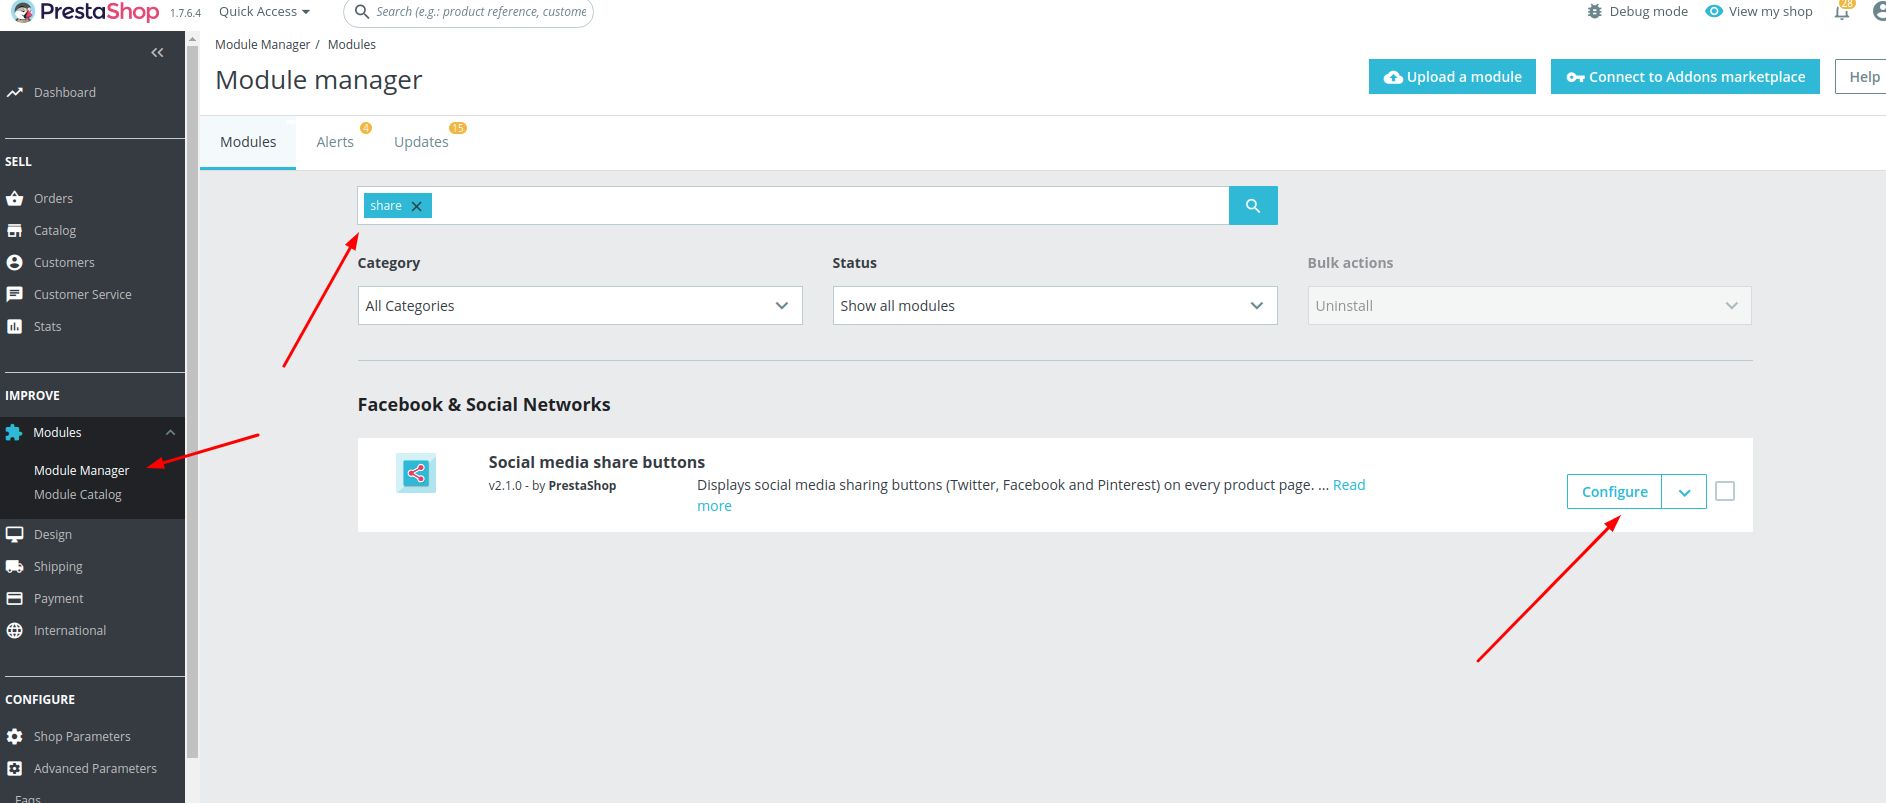
The next step is to save everything and open the admin panel:
You need to find your social network, turn it on, save and go to the front.
Important. The button data should be located at the product page only as there are all the necessary parameters (id_cart id_product). These parameters can be missing on other pages and it will cause an error or won’t function properly.
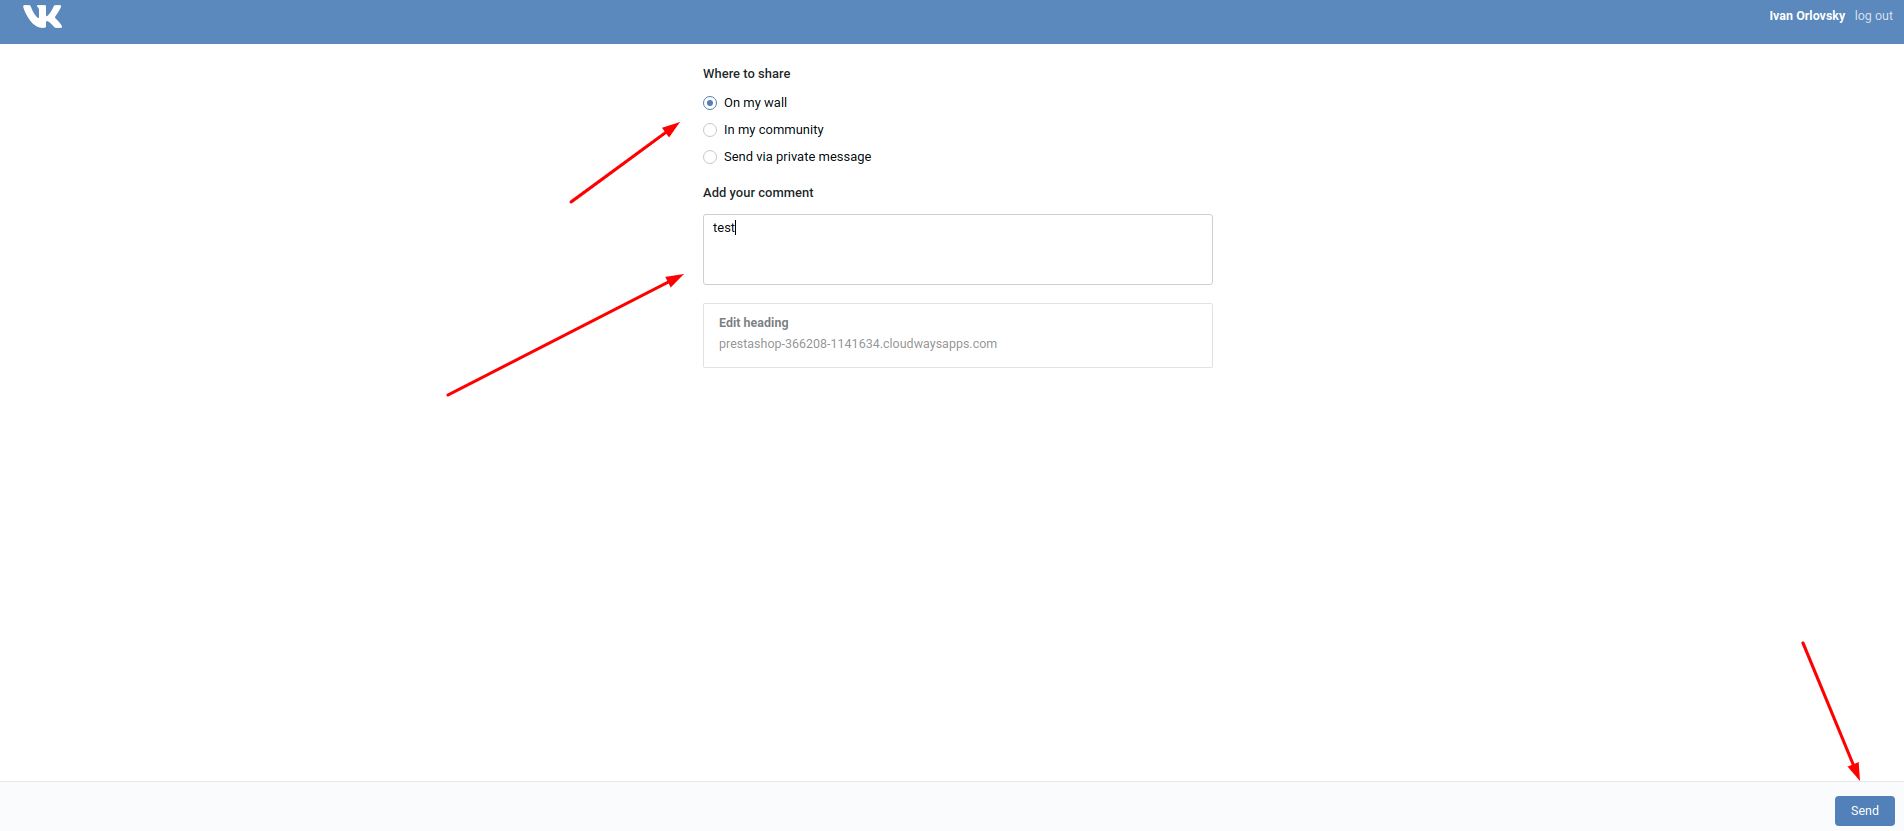
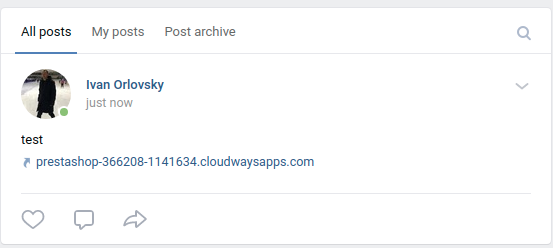
The last step is to fill all the needed information and click on the button. Now, it works:
How to add PrestaShop share buttons & social media icons
To effectively promote your ecommerce from every side, you should manage social media integration. It is one of the first and most significant steps that allows your customers to share your products and promote them among their connections for you.
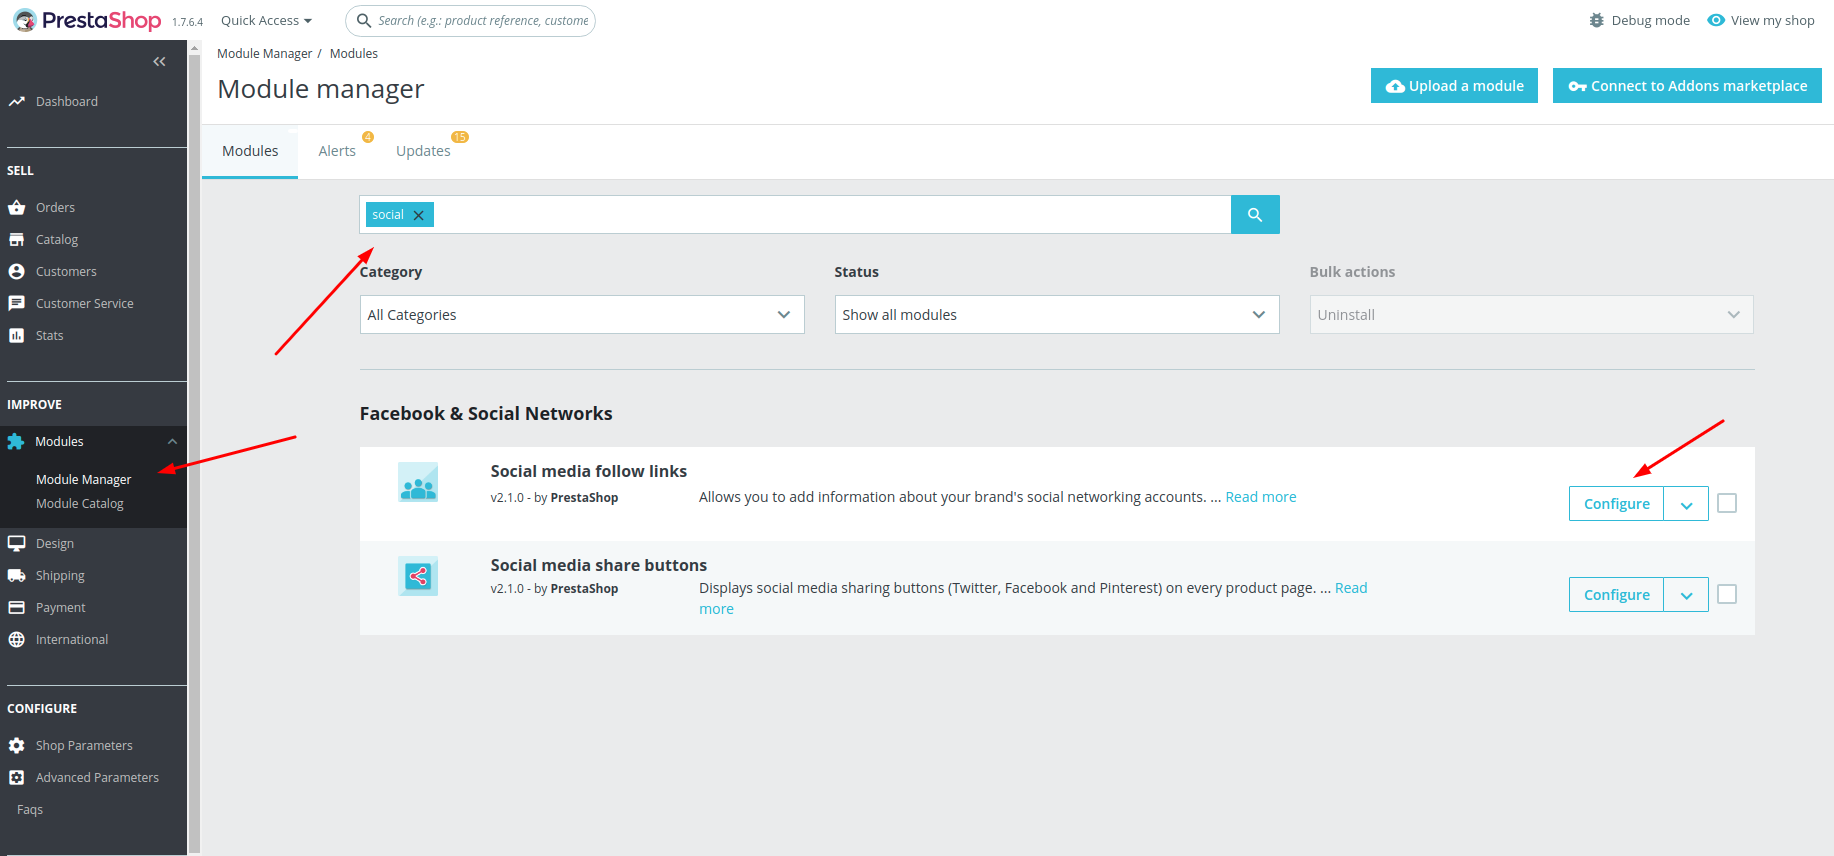
To begin adding social media on your webstore, open Modules -> Module Manager and find the following modules: Social media follow links and Social media share button.
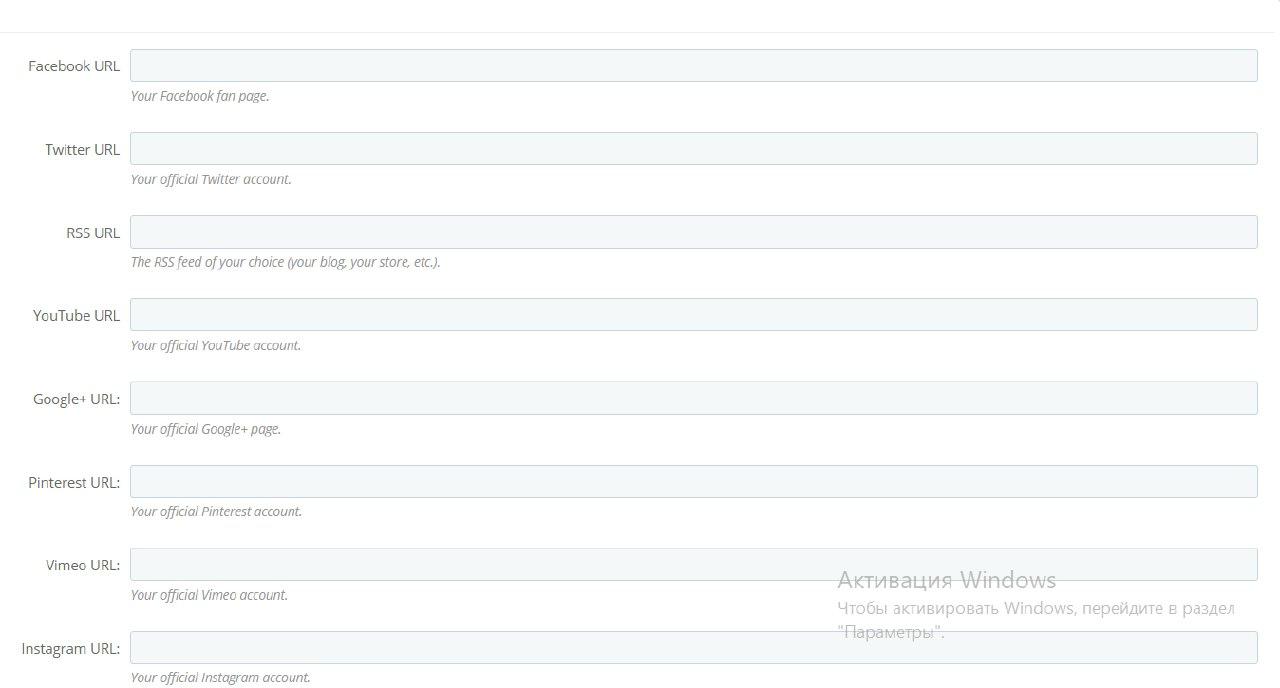
First, you need t click on Configure at Social media follow links. This action will take you to the following menu:
Here, you can see fields for 8 most popular social networks:
- Youtube
- Vimeo
- and RSS (your blog, your store, etc.).
Fill in the fields with the right social page of your store and click on Save.
As a result the following buttons will appear on your homepage:
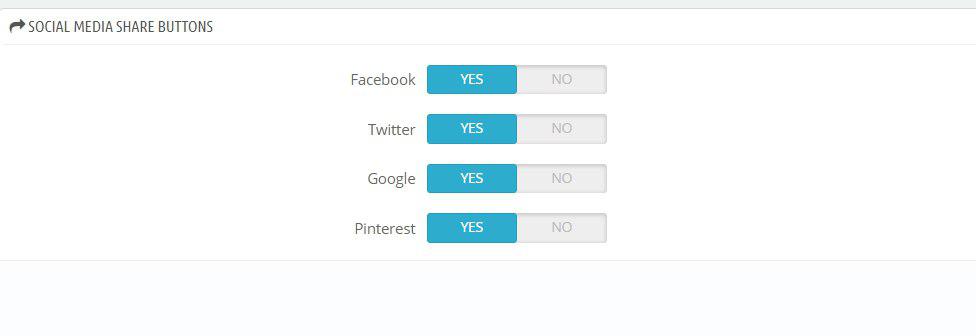
Done! Now, to add the Share buttons, go to Social media share button module and press Configure. You’ll get to the following panel, where you can enable Share buttons for the following four media:
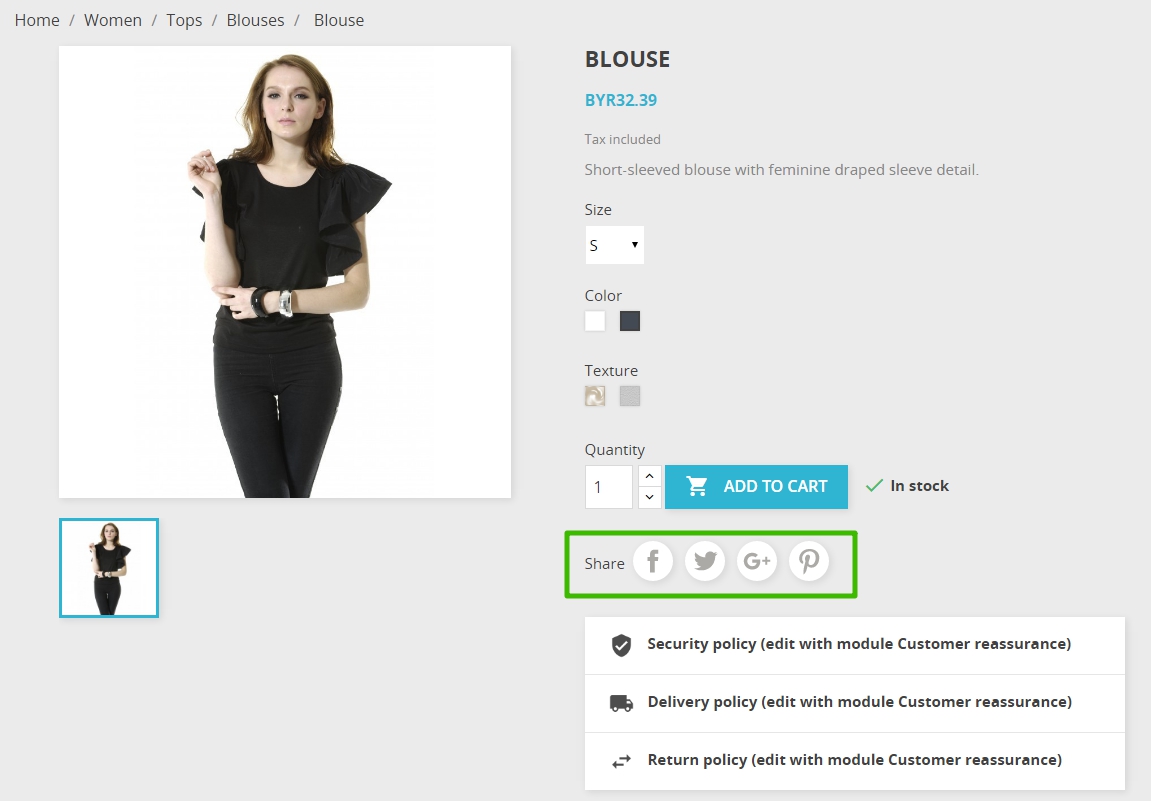
Once you enable them, the logos will appear on your product page:
How to create a PrestaShop multistore
PrestaShop allows you to not only create, manage and configure one store – you can create multiple stores and work with them simultaneously, in one admin panel. It’s very convenient and sufficiently decreases site management time.
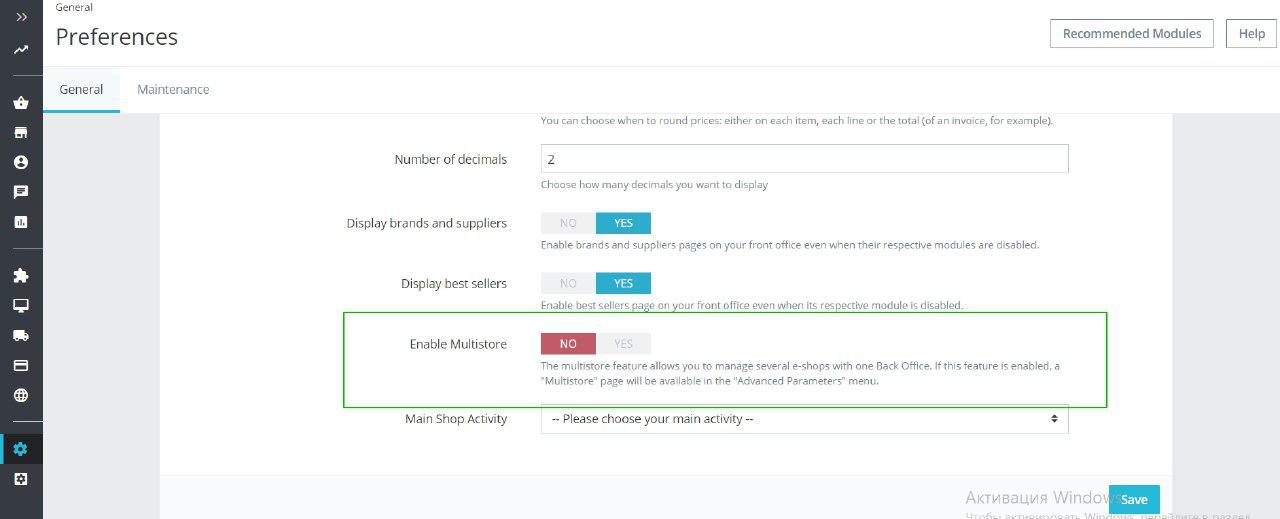
If you have decided to create a PrestaShop multistore, you need to go to Shop Parameters -> General. Find the Multistore tab, enable it and click on Save.
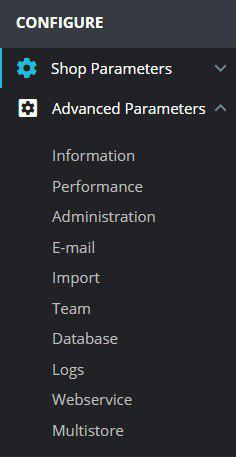
After that, the Multistore tab will appear in the Advanced Parameters segment, and it is the place where you will manage your other shops.
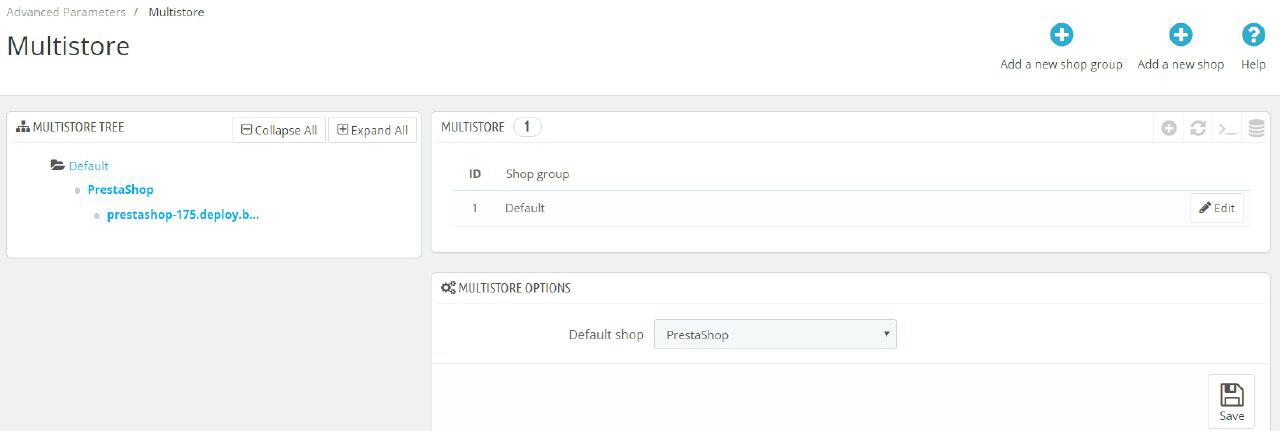
On the way, you will come across the following layout. Here, we need to click on the Add a new shop button.
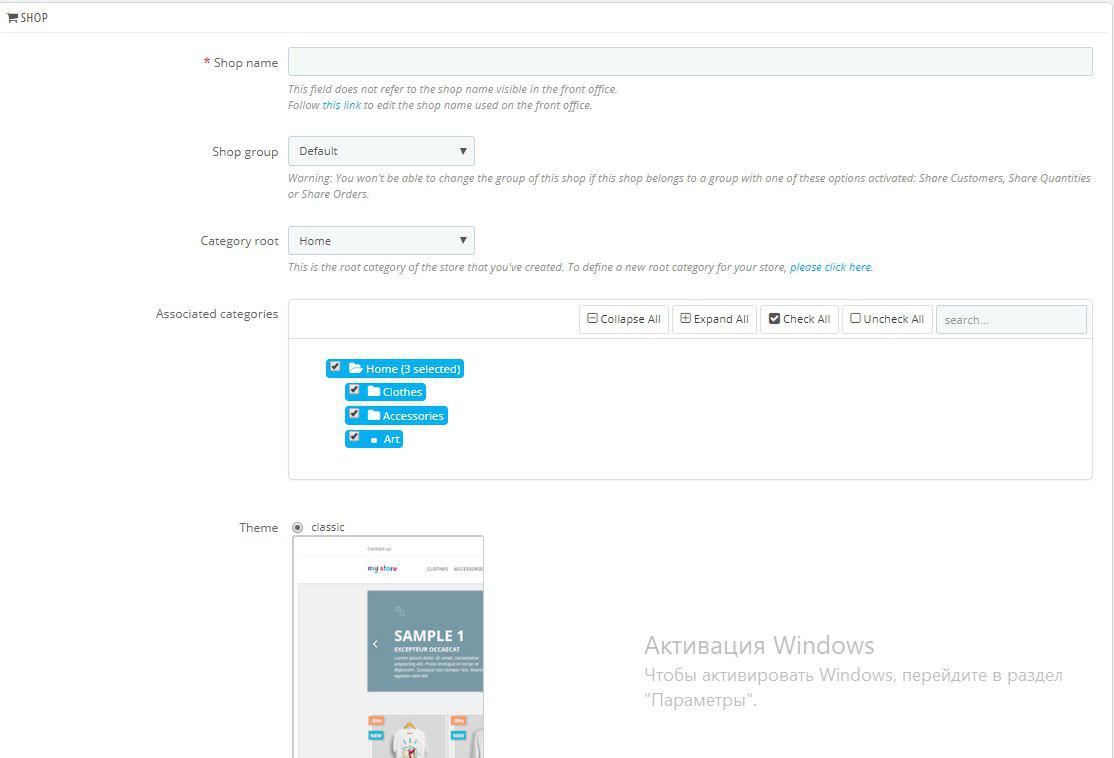
It will take you to the page where you need to put in the general info.
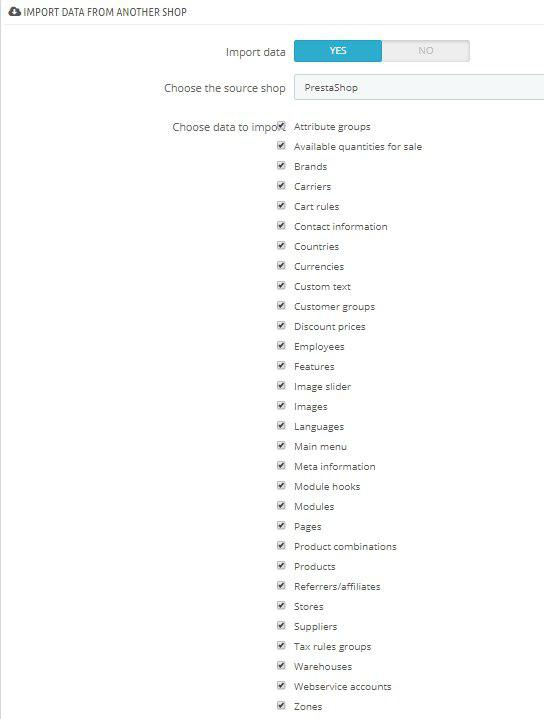
Below, you will find the Import data from another shop section. This is where you decide which information should be copied from your main shop.
Choose the source shop is where you indicate from which shop (if you have more than one) to import the data.
In Choose the data to import you mark the data you want to import to the target shop. This is where each shop owner decides for themselves, but I would recommend to import at least the modules.
After you configured everything described above, specify URL as a final touch and your shop is ready for work.
We hope the information was useful to you, and if you have questions or comments, feel free to leave them down below.
















Hi, Dee! Thanks for your question.
To find the files you need, please follow the theme/Your_theme_name/templates/checkout path.
Hi there. I might sound really foolish right now. But to be honest.. When i open up theme&logo it does not have an option to click on default theme / Classic theme where i could edit my .tpl files.. i am using prestashop 1.7.5 and have no idea where to find those files. please would you be able to assist. i am trying to load a payment logo on the check page as i is quiet bare.
Hi, Allen! Thanks for your great question.
To add custom image to PrestaShop, you need to go to themes/classic/templates/footer.tpl and add the picture classic
How to add custom image to prestashop footer?