This post is the first in the series of the Magento 2 Admin Panel guide. In this one, we’ll make our acquaintance with store’s admin and learn about:
Magento 2 store admin panel
Magento 2 store details
Magento 2 storefront branding
Websites, Stores & Views in Magento 2 Store’s Admin
Scopes in Magento 2 admin panel
Magento 2 store admin panel
As you log in to Magento 2 admin, you get to Dashboard. It contains all the critical information the user might want to see as he enters his online store admin panel, like Last Order, Revenue, Tax, Shipping, etc.
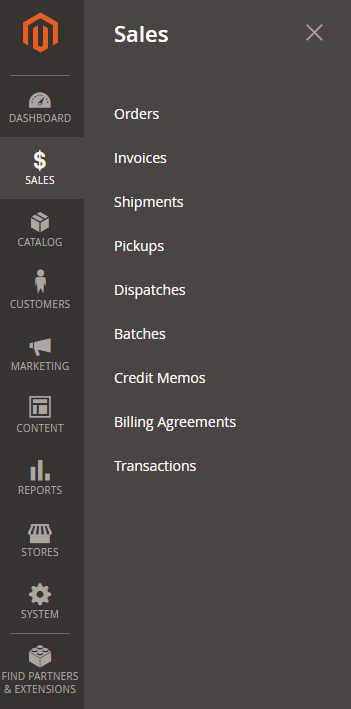
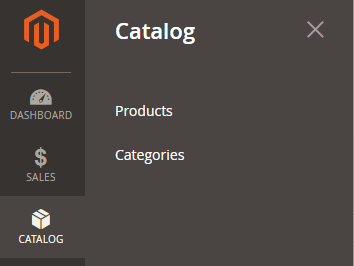
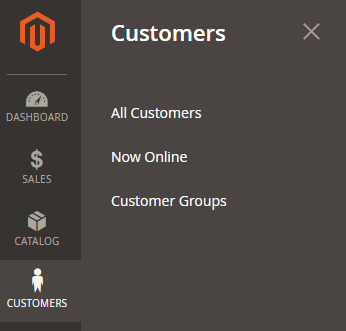
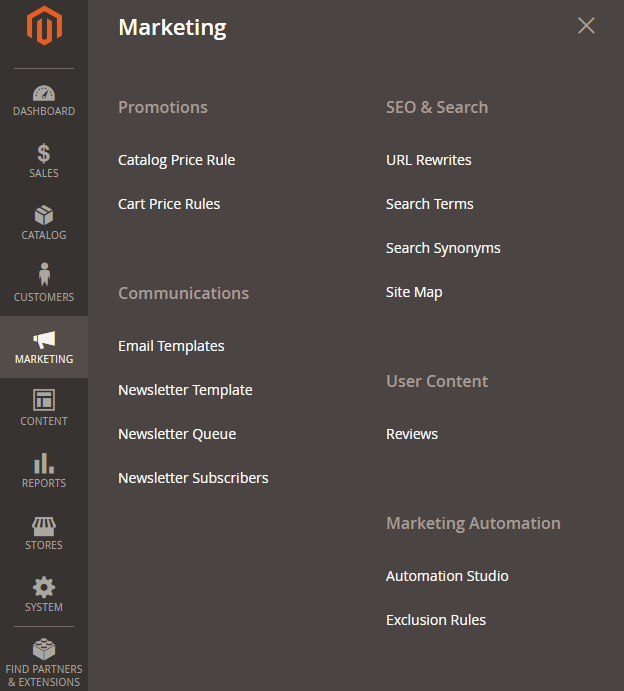
At the left you can see another 9 icons, apart from the Dashboard one – they denote different sections of your store settings. Now I will show you what aspects each of them includes.
Sales – configure Orders, Invoices, Shipments, Pickups, and many other categories.
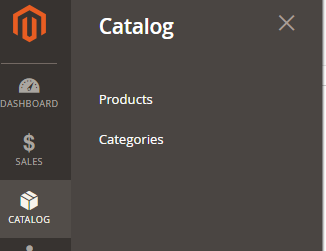
Catalog – add, remove and configure your products and product categories here.
Customers – here you can view your clients data.
Marketing – set up your Promotions, Communications, SEO & Search activities and other.
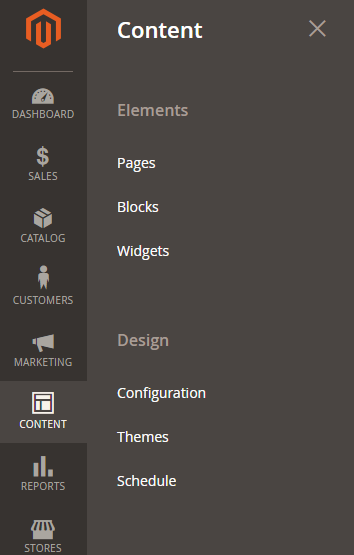
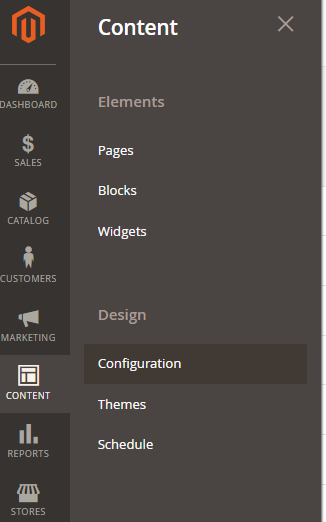
Content – this section includes Elements and Design.
Reports – gain access to Marketing, Sales, Customer, Product, Statistics and other kinds of reports.
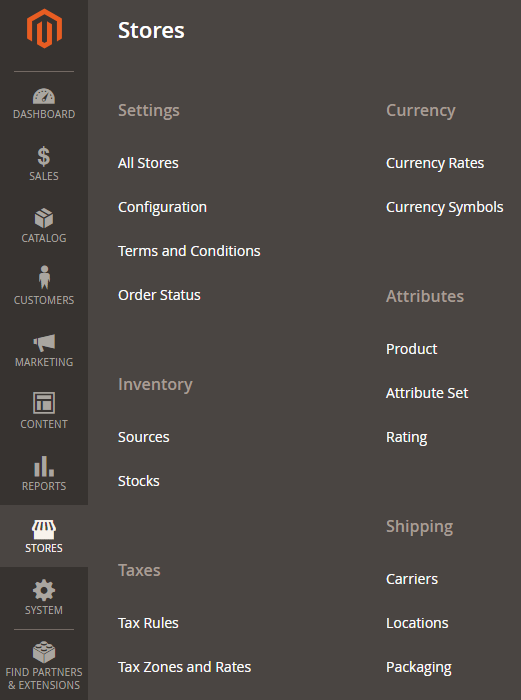
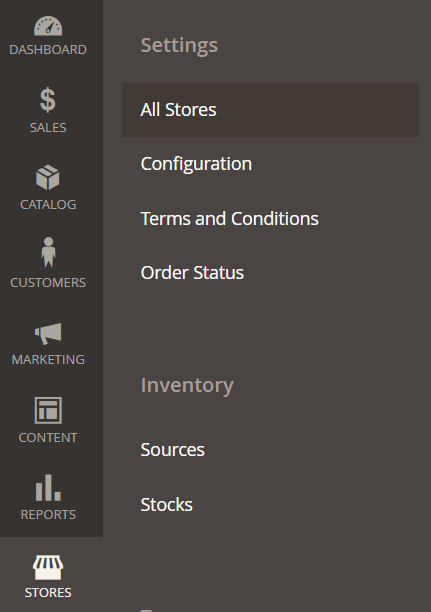
Stores – set up commerce-related aspects like Attributes, Taxes, Inventory, Currency and Shipping.
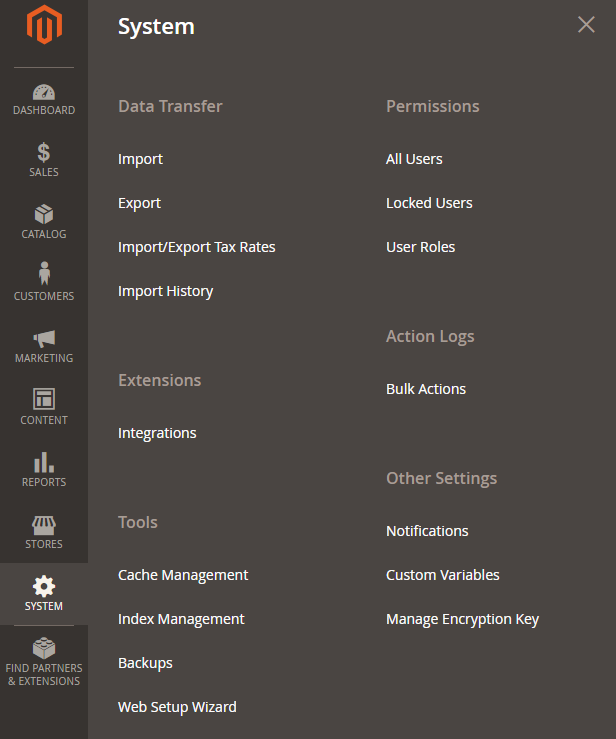
System – configure your Data Transfer, Extensions, Tools, Permissions, Action Logs and other.
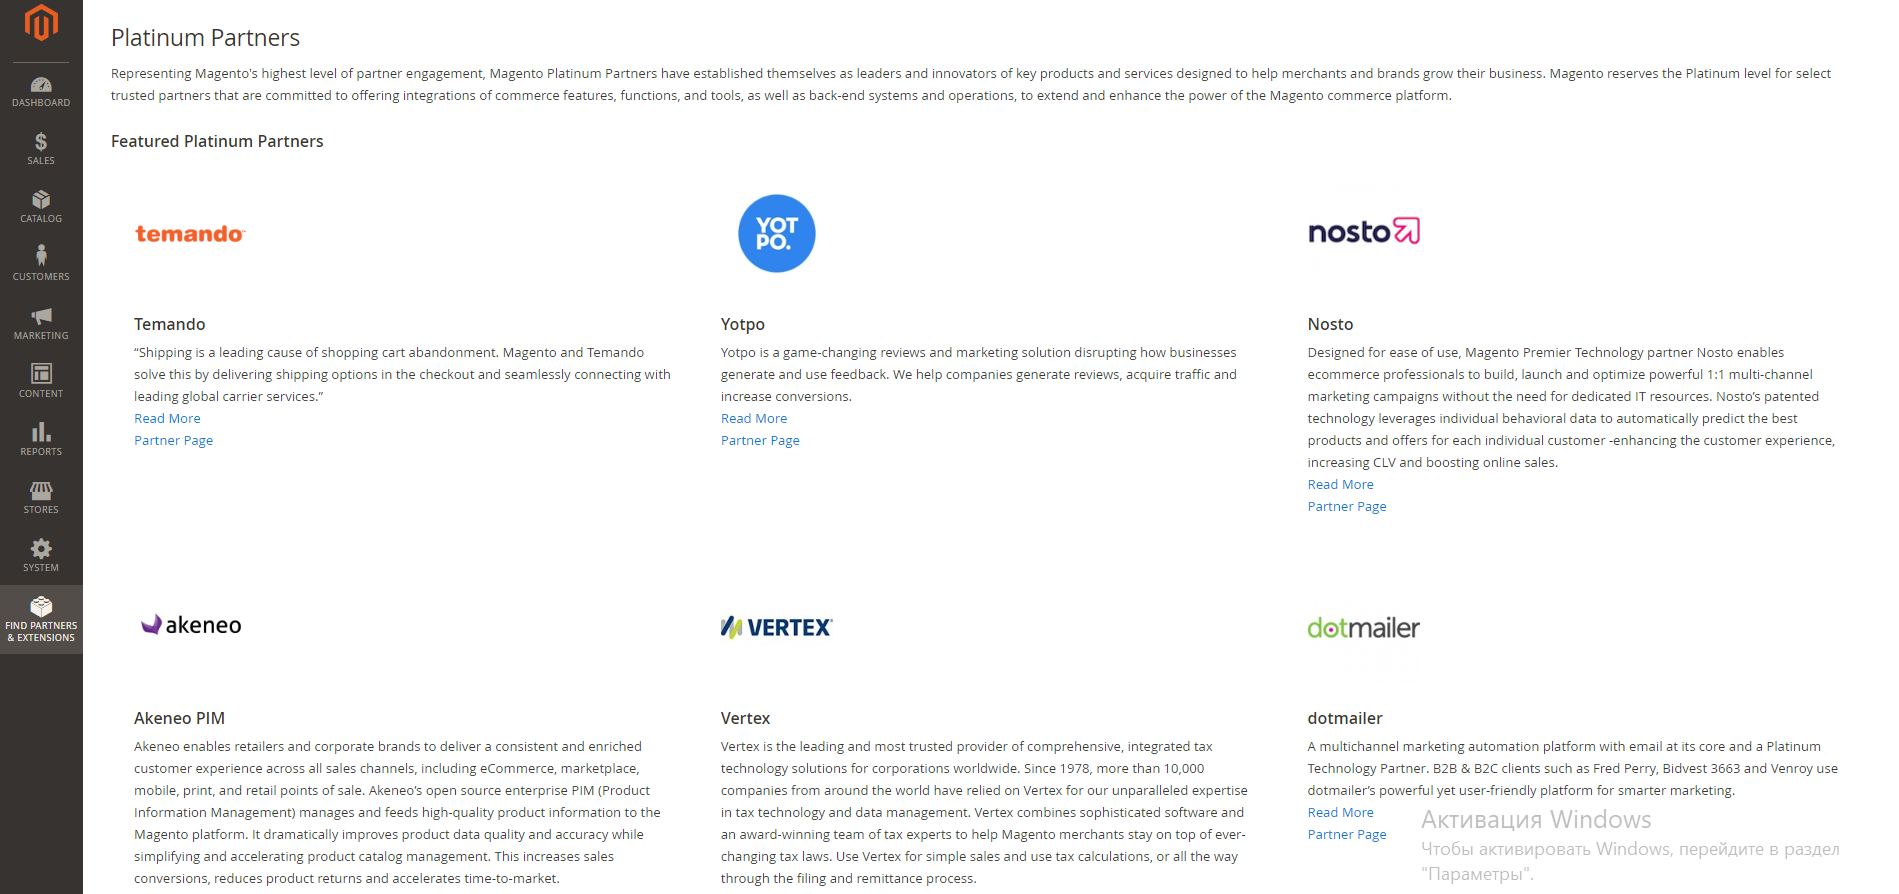
Find Partners and Extensions – a path to Magento 2 Marketplace.
Magento 2 store details
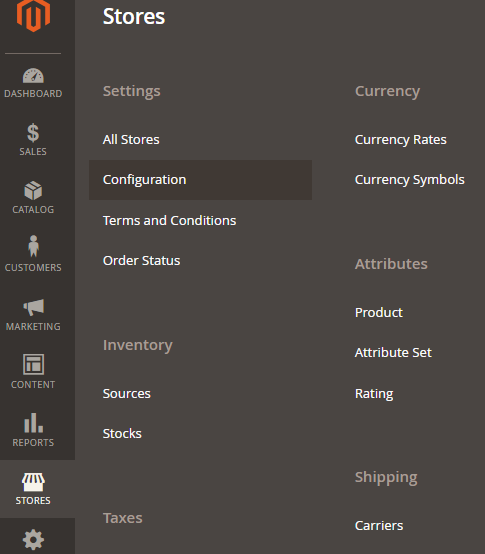
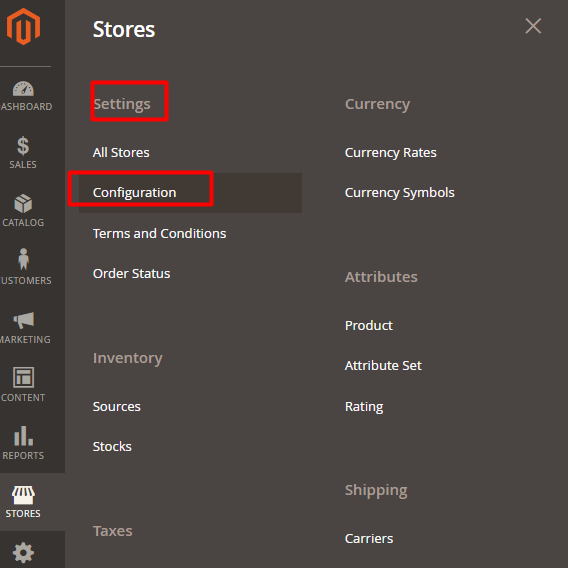
As you create a new store, you need to fill in its general information. Go to Stores -> Configuration from Settings category.
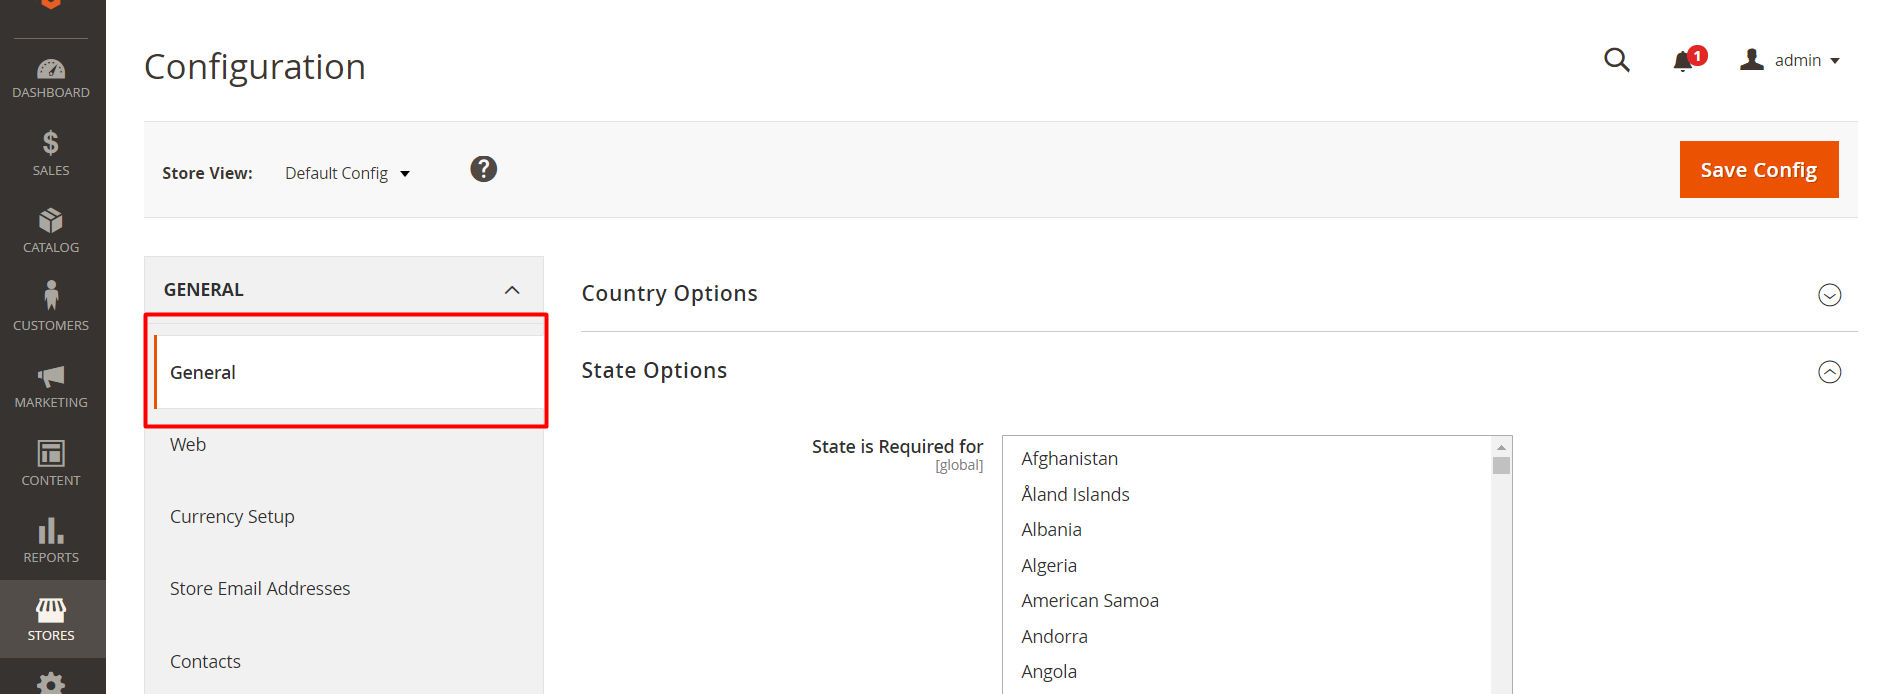
Click General from the menu on the left.
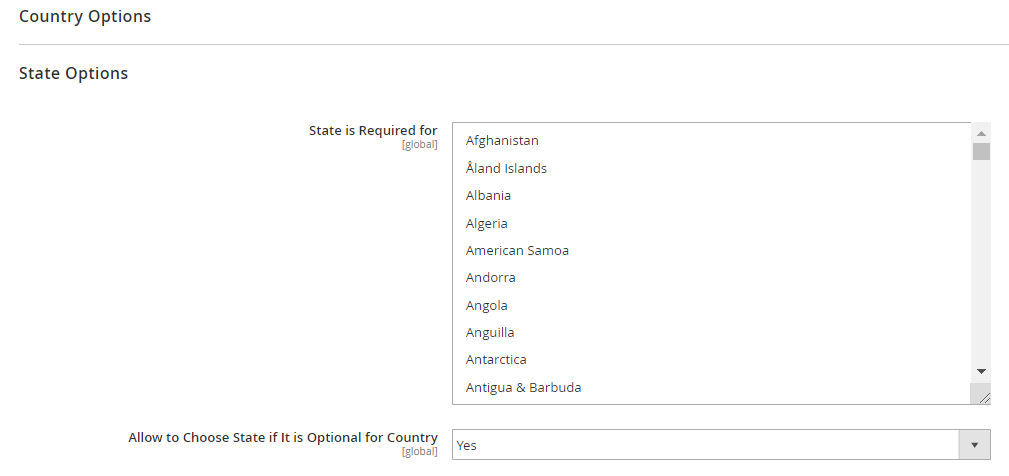
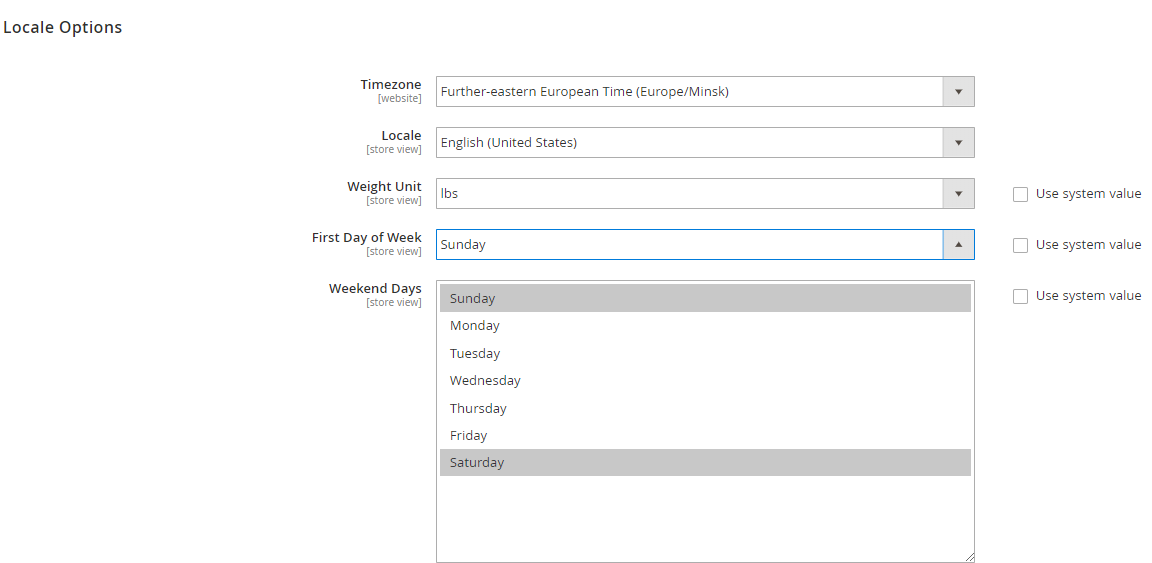
Here you’ll need to fill in four sections of new Magento 2 store options:
State Options. Some countries postal rules require specifying Sender country in order to calculate taxes. In case this field is not required in your country, you can easily omit it.
Locale Options. Here you can leave Weight unit, First day of week and Weekend days at their default value by ticking the Use system value or setting it up yourself.
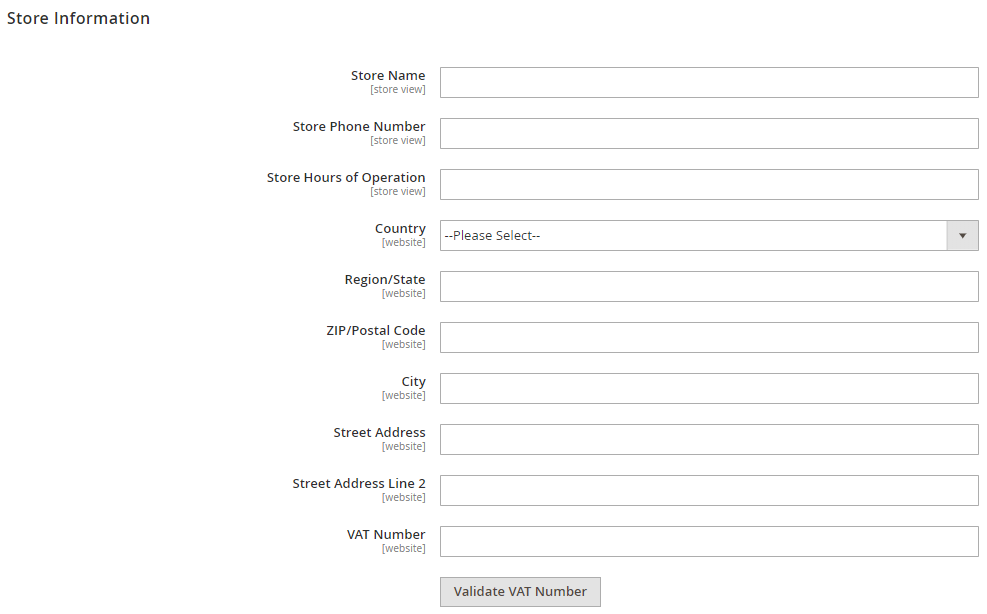
Store Information. Here you fill in basic info like Store name and address, ZIP, VAT, etc.
Single-Store mode (choose No)
Magento 2 storefront branding
Favicon
Favicon – short for “favourite icon” – is a little picture at the corner of a website URL. In Magento 2 you can set up your own favicon.
First things first – choose the picture you wish to set up as favicon (this is conventionally an online store logo) and edit it. A favicon should be either 16 x 16 pixels or 32 x 32 pixels in size and be an ICO / PNG / APNG / GIF / JPG (JPEG) file type.
As you configured your future favicon, go to Content tab and click on Configuration in Design section.
Choose Edit in the Action column of your online shop.
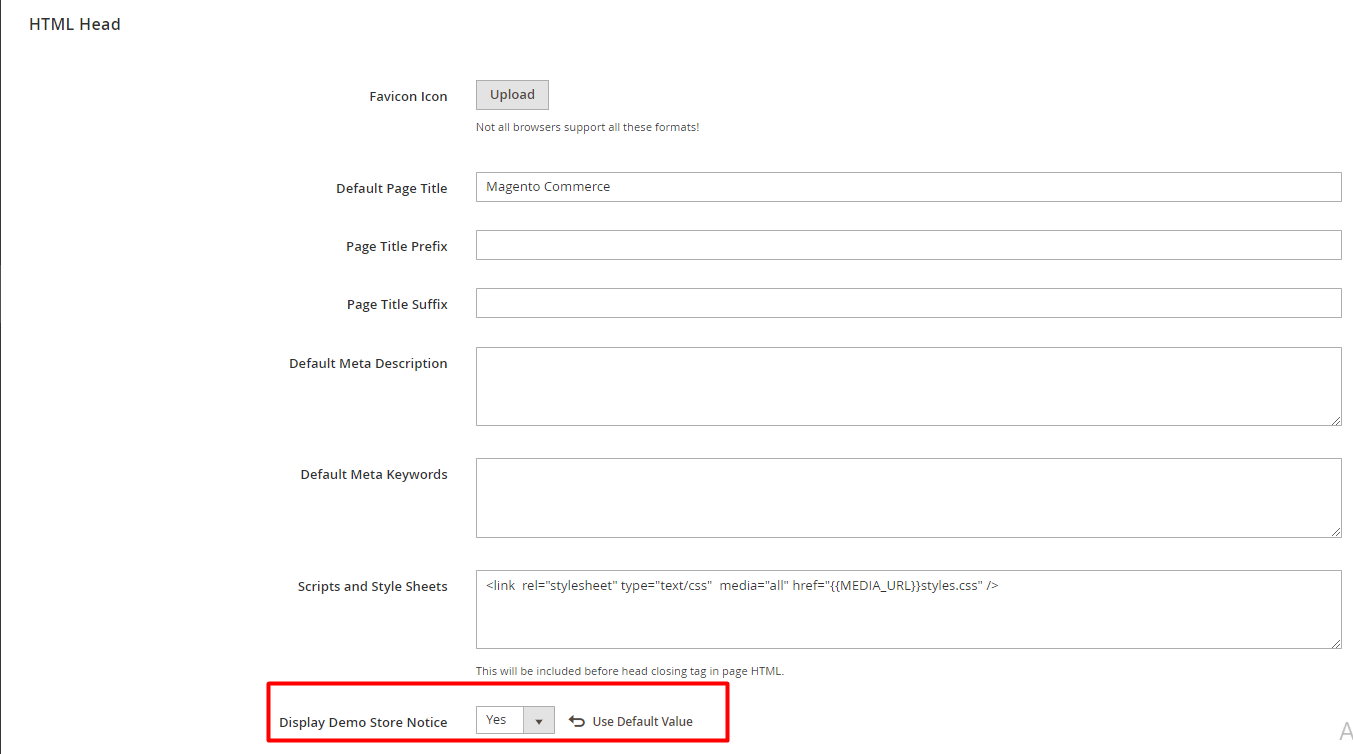
Find the HTML Head section and click at Upload at the Favicon Icon section. Click Save Configuration.
Logo
Logo is another branding element which is a must even for very young online shops. Logo uploading and management is very easy to perform in Magento 2 admin panel.
First, go Content -> Design -> Configuration. Choose the Header section.
Upload your logo picture and set up the image width and length. Also, add Alt text, a metatag for your picture so that it would get SEO optimized. As you’ve performed all that, click Save Configuration.
Welcome Message
A welcome message will greet the customer who has logged in; it doesn’t bear any critical importance, but it’s a nice gesture nevertheless.
Welcome message is set up in the same tab where logo is – Content -> Design -> Configuration-> Header section.
Find the Welcome Text line and enter the one you wish your customers to see.
Click Save Configuration.
Copyright Notice
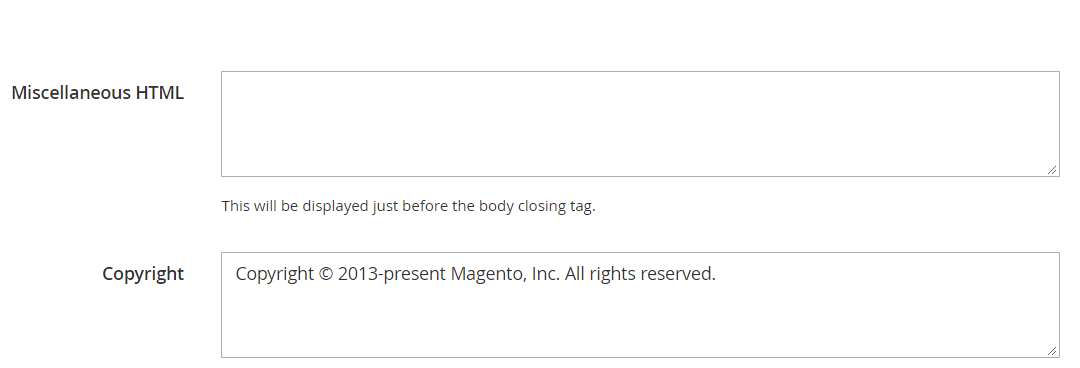
Having a copyright notice at the homepage footer is optional, but if you choose to have one, compile it right: the copyright sign, current year and the name of the company that legally owns your website content.
To set up or edit the existing copyright notice, go to Content -> Design -> Configuration -> Footer section.
Change your message at the Copyright tab. Press Save Configuration.
Store Demo Notice
If your store is technically online, but some part of it is under construction, you can inform the customers that you’re not open for business yet with a store demo message. Afterwards, as your shop is finished, you will simply remove it in the admin panel – as simple as that.
To set up a store demo notice, go to Content -> Design -> Configuration -> HTML Head section. As you scroll down, you’ll see a small line Display Demo Store Notice.
Enable it and press Save Configuration.
Go to Customer View and see up above on your homepage displayed the following message:
Websites, Stores & Views in Magento 2 Store’s Admin
A short piece of theory before we get down to configuration: there are 3 types of entities in Magento 2. They are websites, stores and store views, and together they are a hierarchical system. Let me explain you in brief what all three of them are.
- Website – has their own IP address and domain. Working with Magento 2 begins with creating a website.
- Stores – are smaller entities than websites and are created within them. All stores in a website share unified product catalog, but can offer different selection of goods. Stores from one website also share one Admin and checkout.
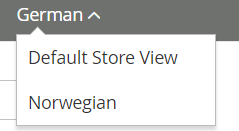
- Store Views – exist to support different languages. As a customer chooses his language in the up right corner, he chooses a certain Store View (German, Norwegian, etc.)
Now let’s proceed to how to create each of them. We will, obviously, begin with websites.
How to create website in Magento 2 admin panel
Click Create Website button.
You will need to fill in the following information:
- Name of the new store.
- Code that will define your store on the server.
- Sort Order that will define its sequence in the list among other websites in your Admin panel.
Click Save Website, and it’s done.
How to create stores in Magento 2 admin panel
You have probably noticed that at the All Stores section there are three buttons: Create Website, Create Store and Create Store View. This time you’ll need the second one.
As you click on it, you’ll get to the following menu.
Here you should fill in:
- Web Site – to which website this store will belong;
- Name – name of the website;
- Code – name for the server;
- Root category – it defines the category structure for the main menu. For now, set it at Default.
When complete, press Save Store.
How to create store views in Magento 2 admin panel
Click the Create Store View button at Stores -> All Stores. You’ll get to the following page, where you should specify:
- Store – to which store this store view will belong;
- Name – it’s better to give it the name of the corresponding language you create it for (for example, German and Norwegian);
- Code – name for the server;
- Status – you can disable and enable a store view whenever you like;
- Sort Order – sequence in the list among other store views.
As you filled in the necessary information, press Save Store View.
Scopes in Magento 2 admin panel
Scope determines how widely the settings applied in your Magento 2 admin panel. There are four type of scopes:
- global – system-wide settings;
- website – limited to a certain website;
- store – limited to a certain store;
- store view – limited to a certain store view.
As a store manager, the scopes that have the most value to you are:
- product scope – where products are available for sale, and the product information that is available for each store view;
- price scope – various global currencies;
- customer account scope – whether customer accounts can be limited to the website where the account was created, or shared with all websites and stores in the store hierarchy
Now I will demonstrate how to set up each of them.
How to configure product scope
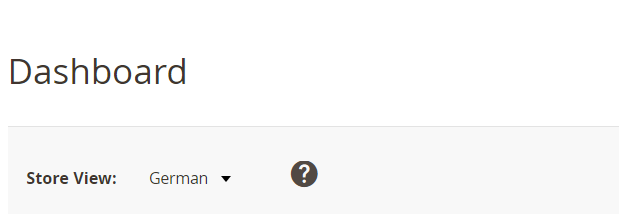
Switch to a certain store view (its German in our case).
Go to Catalog tab -> Products.
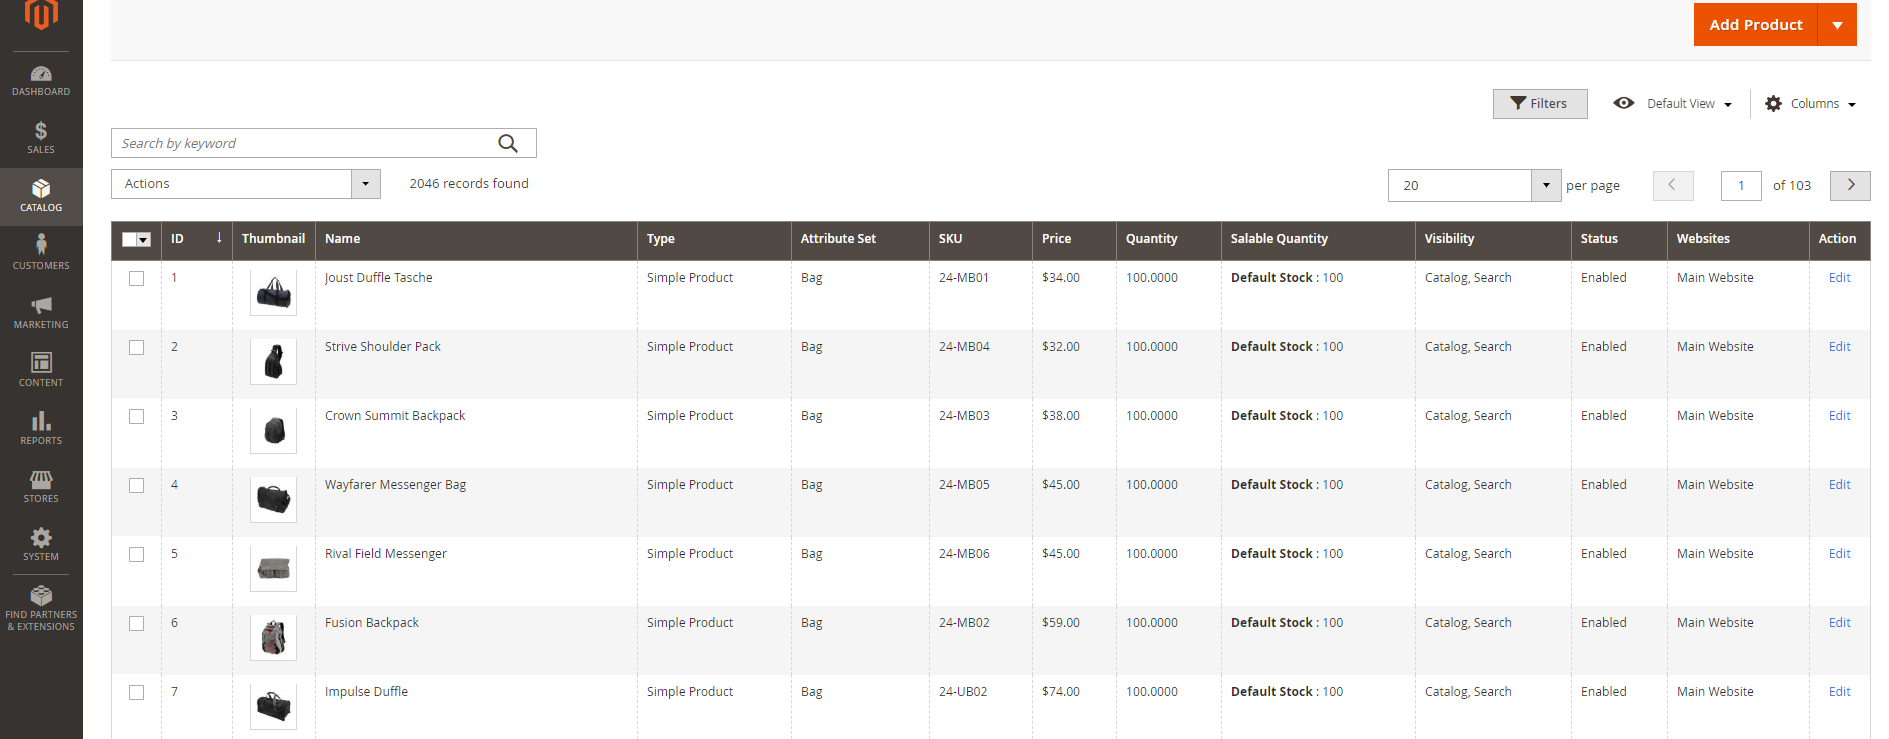
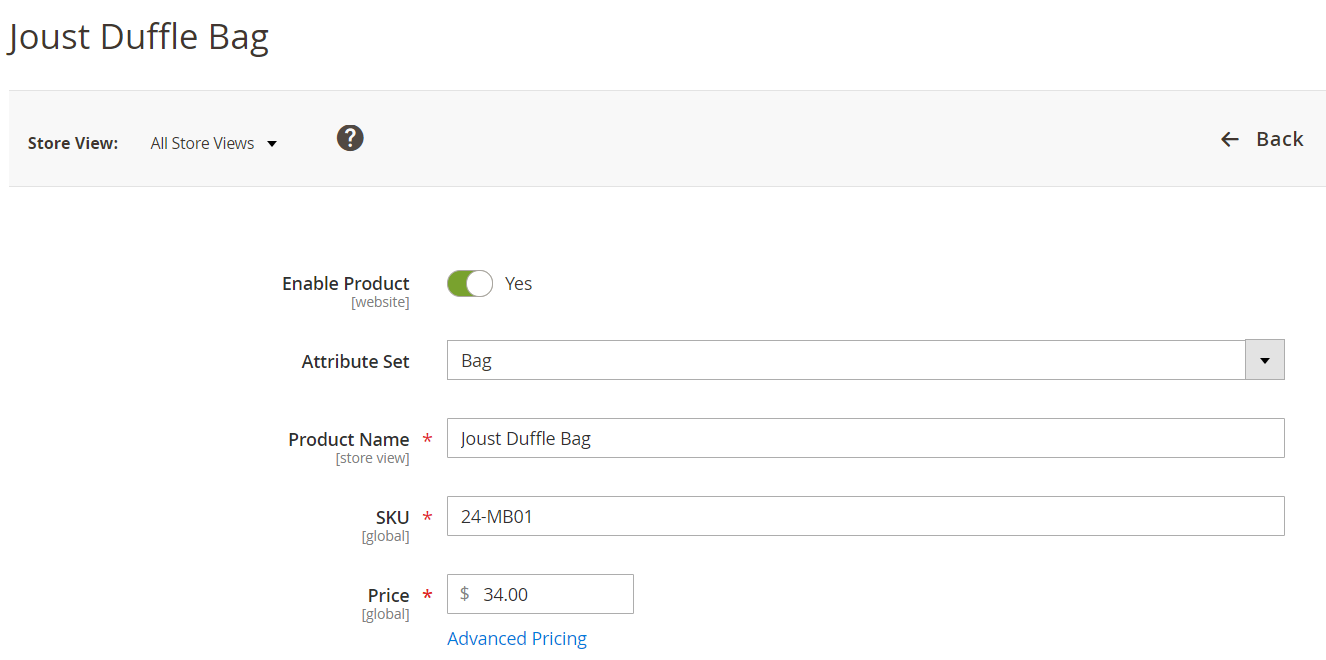
You’ll get to the list of goods that you offer in your webstore. Click Edit on any of the products.
As you can see, its properties are still written in default English language, and we need to adapt it to German-speaking customers.
To do this, simply change the attributes for their German variants and press Save.
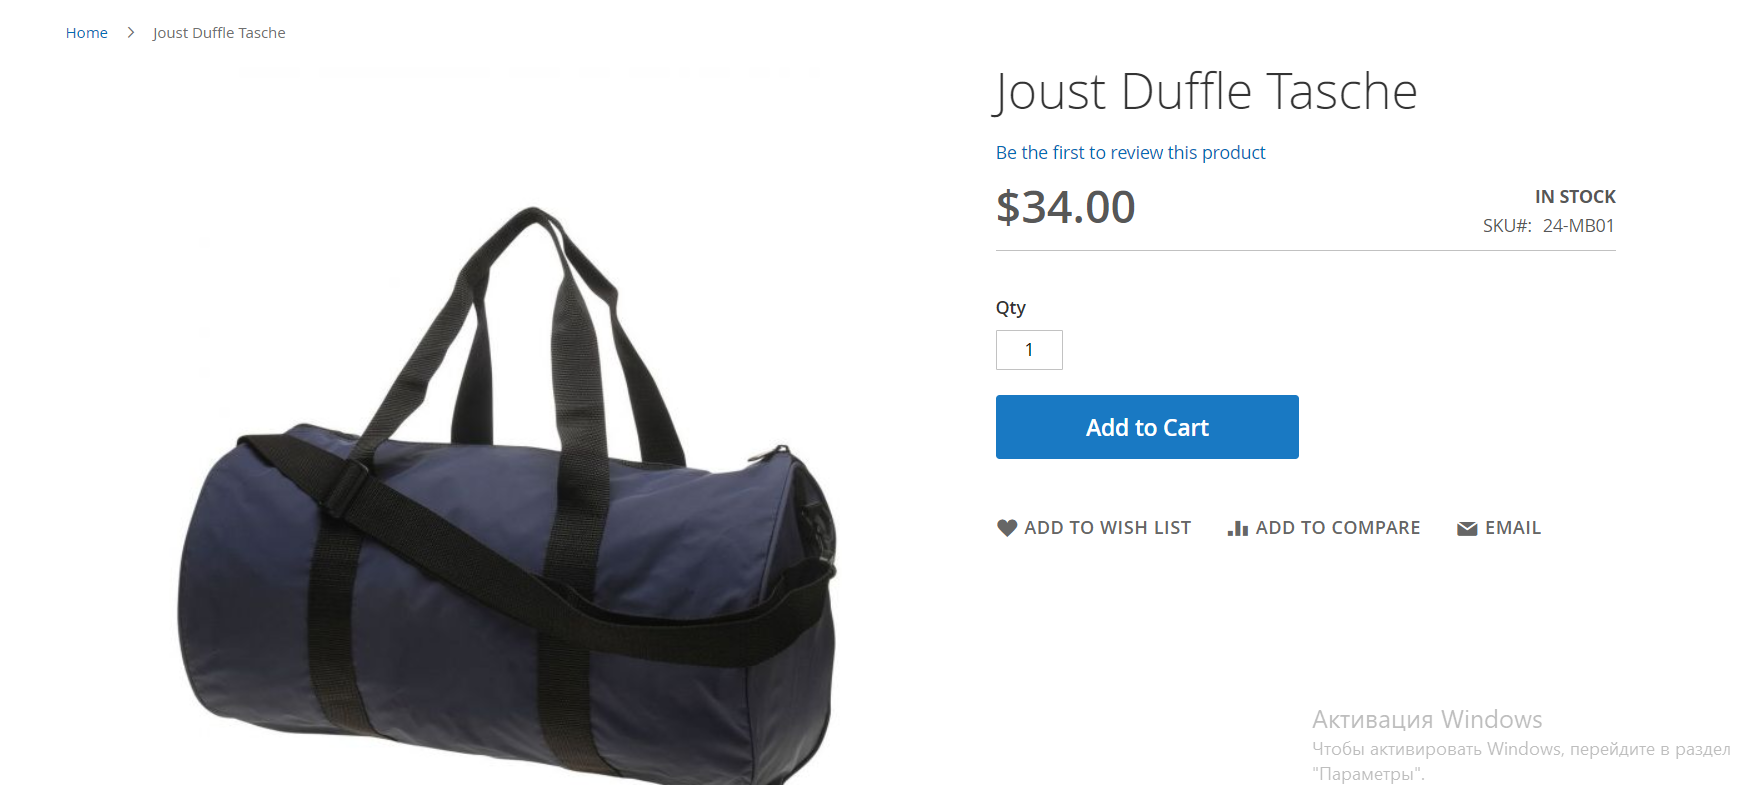
You can check the changes in the Customer View mode. Choose German in the up right corner and find the product we configured.
How to configure product scope
Go Stores -> Settings -> Configuration.
Choose Catalog drop-down menu and click Catalog.
Find the Price section. You can select either Global or Website.
Press Save.
How to configure customer account scope
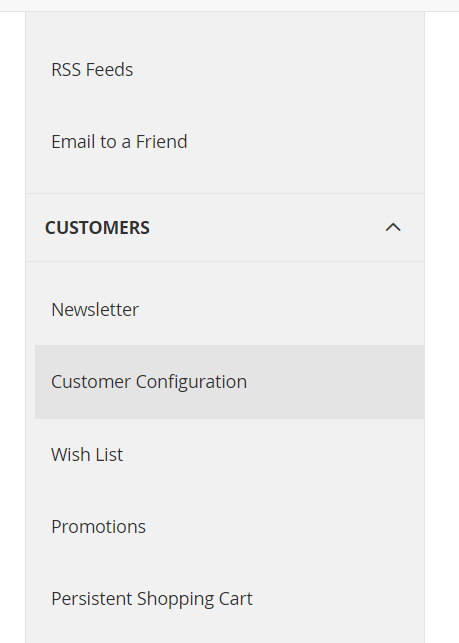
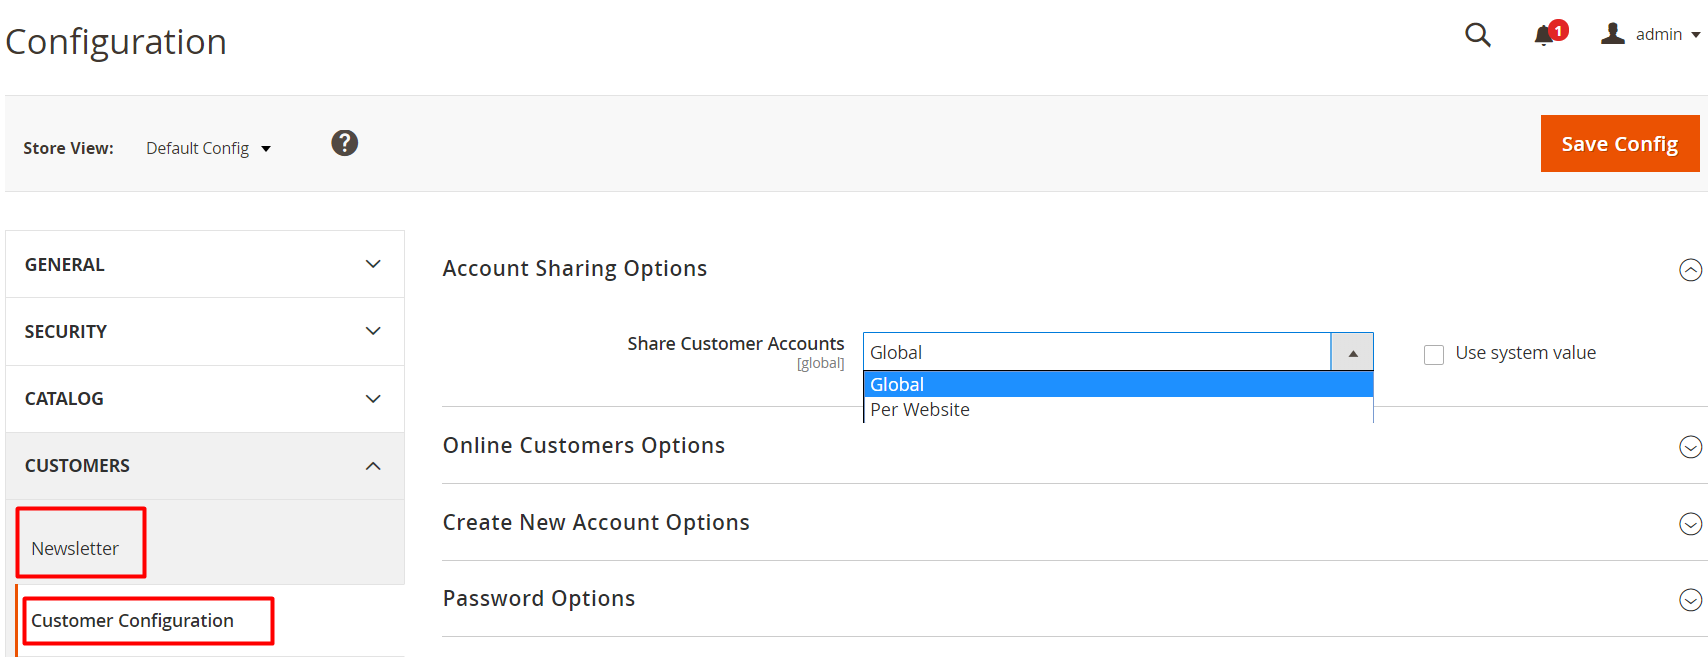
Go to Stores -> Settings -> Configuration. On the left panel, choose the Customers tab and press Customer Configuration.
Open the Account Sharing Options.
The drop-down menu offers you 2 options:
- Global – shares customer account information with every website and store;
- Per Website – limits customer account information to the website where the account was created
Choose the option you want to and press Save Config.
This is all on this portion of aspects of Magento 2 admin panel we decided to look into today. If you have questions or comments, please leave them down below.


