Magento 2 give you an opportunity to manually install modules using 3 different methods: via composer, via ZIP-archive, and via browser. The choice of a method depends on the way that a module appeared in the system. Let’s consider each of the in detail.
Here are the two ways that modules can appear in the system:
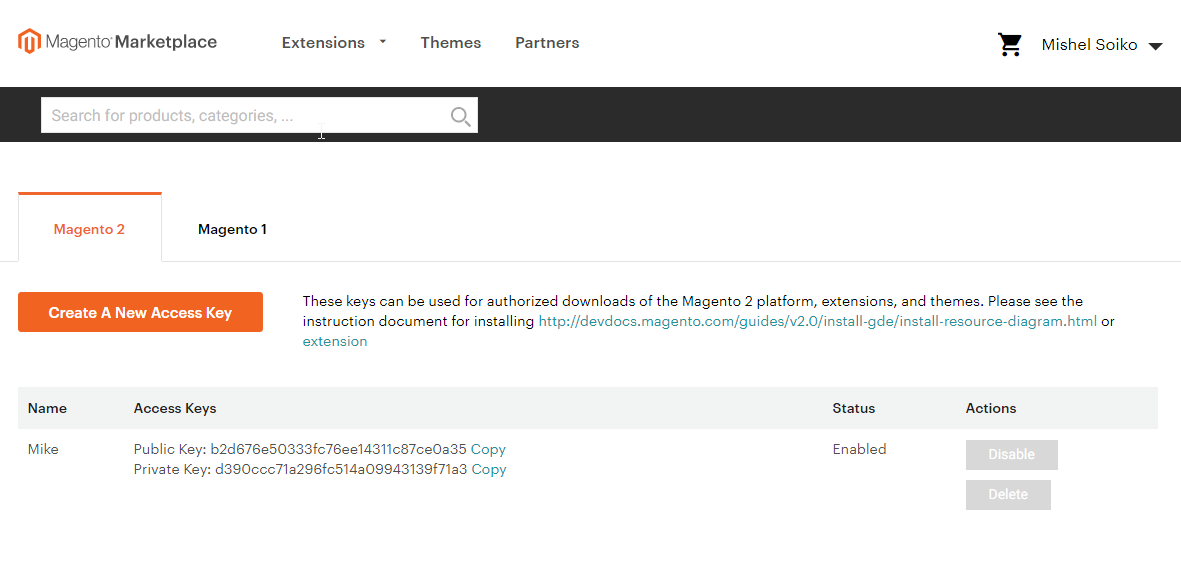
- It was bought in Magento store. You have 2 access keys, generated in your marketplace account.
- If Magento is correctly configured, you can add these keys to the Magento admin panel. It is synchronized with your Magento marketplace account, and you can manage the installation of any purchased packages there.
- If you are an advanced user and can use the server console, you can install a module via the composer. You will also need to enter the keys if they were not previously saved in the system.
- A module is installed from third-party sources.
- You can get it in the form of an archive.
- You can be given a link to a third-party repository, e.g.: GitHub. Installation from it can also be done via the composer.
Now let’s take a closer look at each method of module installation.
Generating “Access Keys” in a Magento account
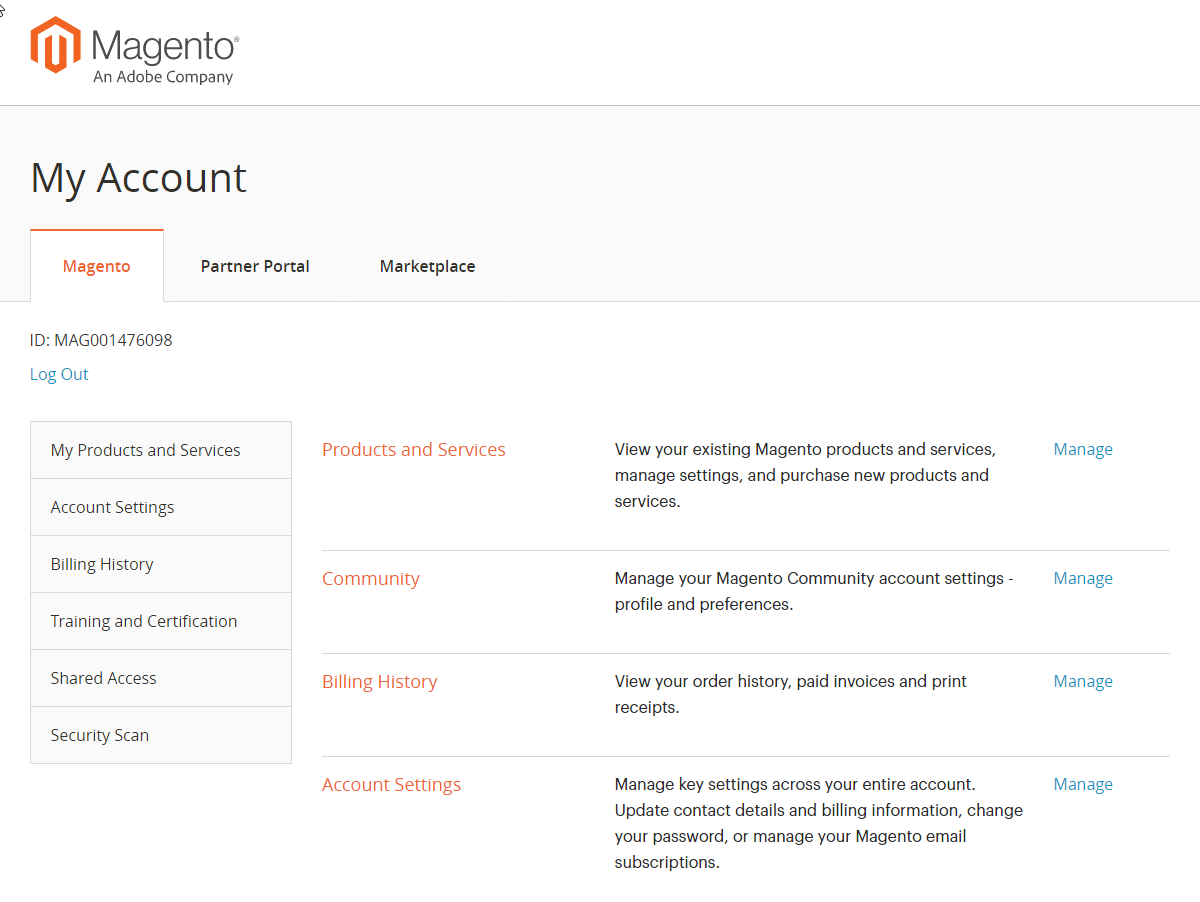
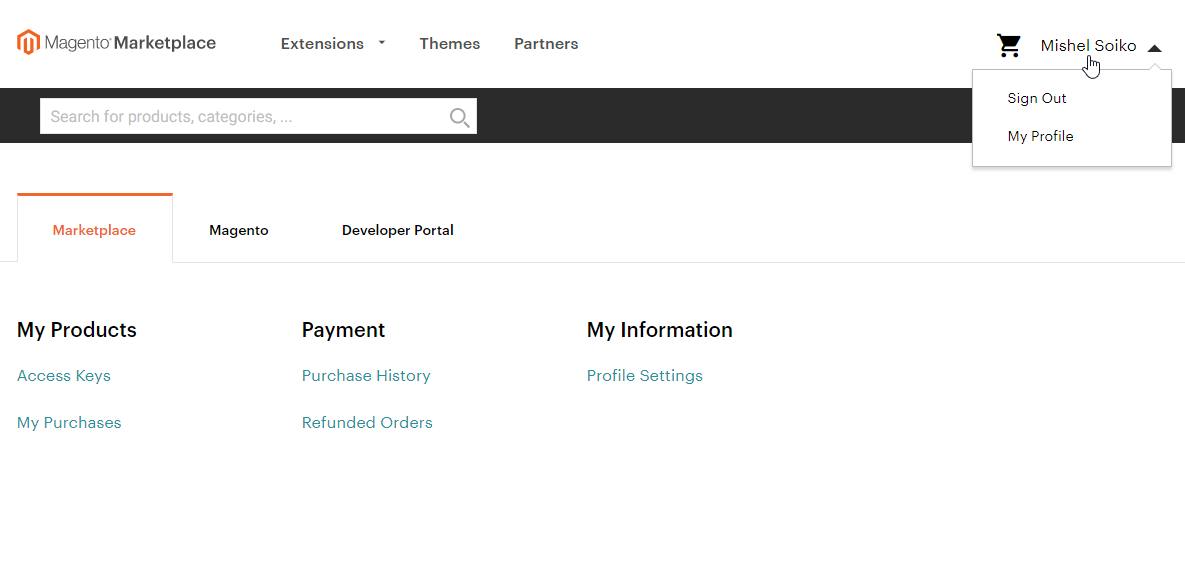
You can log in or create a new account at magento.com. After that click on the “Marketplace” link in your account.
Or go directly to the Magento extensions store.
In “My Profile” we are looking for the “My Products / Access Keys” section. You just need to generate the necessary keys.
Installing modules via Composer
This is a way for you if you know how to use the server console.
The composer is a file called composer.phar. You can download it at getcomposer.org. It is launched from the Magento root directory. The folder should contain the composer.json file with the configuration of the installed libraries.
php composer.phar <command>
If the composer is installed globally on the server, there is no need to download it and you can refer to it in the following form:
composer <command>
- If the module is distributed from the Magento repository, we can just run the following commands:
php composer.phar require [vendor]/[package]
php bin/magento setup:upgrade
And they will do the rest of the job.
- Or it could be a module from a third-party repository and we will need to specify it in the composer.json file.
We are interested in the “require” part, where we indicate the name of the module that we add.
|
1 2 3 4 5 6 7 8 |
{ . . . . . "require": { . . . . . "vendor/package": "version" }, ..... } |
If the third-party repository is, for example, GitHub, you will need to specify it in the “repositories” branch.
|
1 2 3 4 5 6 7 8 9 10 11 |
{ . . . . . "repositories": { . . . . . { "type": "git", "url": "https://github.com/ . . . . ." } }, ..... } |
Usually, all this data is provided with the module.
Next, after saving the file, run the following commands:
php composer.phar update [vendor]/[package]
php bin/magento setup:upgrade
For example, let’s take a look at the installation of one of our free modules. It is located in the GitHub repository. Since the module is not installed from the Magento repository, we’ll add it to the composer.json file.
|
1 2 3 4 5 6 7 8 9 10 11 |
{ . . . "repositories": [ . . . { "type": "vcs", "url": "https://github.com/belvg-public/Magento2_ApplyTo" } ], . . . } |
And apply our module there:
|
1 2 3 4 5 6 7 |
{ . . . "require": { . . . "belvg/module-applyto": "dev-master" } } |
It only remains to start the updating process. The necessary modules and add-ons will be downloaded according to the changes that were made to the composer.json file.
php composer.phar update
Then start the installation of all the new modules in Magento.
php bin/magento setup:upgrade
Installing modules via ZIP-archive
When you wonder how to add the extension in Magento 2 firstly you should copy it’s code to the required directory:
The left panel shows here the basic listing of the zip-file with a module.
The right panel — Magento 2 codebase.
Current zip-file contains User_Guide.pdf file and the Install directory. Basically, the Install folder content should be copied to the app/code/ directory.
After that, we can use 2 different methods to initialize the module in a store.
Installing modules via a browser
This method requires Cron tasks set up and proper running. In case it has not performed yet — do it. You will need it further, not only while extensions installing.
So if Cron is set up correctly, just follow the path in admin panel to initialize the module:
System/ Web Setup Wizard/ Component Manager
Here you can enable all available modules.
In case Magento is set up properly you’ll see the notification that all of the systems run correctly.
Further, before you enable the custom module in Magento 2, Backup creation will be proposed.
And finally we will see the following screen:
The module has been enabled. And now we can switch back to the module list and enable (install) the next one.
Console commands in Magento
You have already met one of them:
php bin/magento <command>
Magento CLI provides a large number of useful console commands to manage the store. And you can get the list of these commands by running: php bin/magento.
But now we need to use only one:
php bin/magento setup:upgrade
This command checks all of the modules and launches schema installation or updating process (if necessary). So you just need one command to perform updating and installation of all modules.
The rights to the files
For greater security (or for other reasons), the server can be configured so that the installation of the modules is performed by a specific user.
In this case, when executing console commands:
php composer.phar <command>
php bin/magento <command>
there may be reports of insufficient rights.
You can try running the same commands on behalf of another user or simply from the administrator. For example:
sudo -u <username> php bin/magento <command>
or simply
sudo php bin/magento <command>
Also, you may need full rights for some folders. For example, when installing modules, you may not have the access to some files from the app/etc directory.
chmod 777 app/etc
chmod 644 app/etc/*.xml
Or to the var folder containing a lot of temporary files, and the rights to which should be distributed to all subdirectories (the -R parameter is recursive).
chmod -R 777 var/
Other occurring mistakes
When installing a module via the composer, one of the errors that you may face will be a mismatch of PHP versions.
Another issue is the dependency of the module being installed on libraries (of other modules), which for some reason the composer cannot automatically find and load together.
The correct thing to do will be to study and edit the composer.json file and to set all the versions correctly in it.
The same file can be located inside the module and you may need to change the version of the library to be pulled along. Or find and edit other changed data.
But you may also ignore the settings in this way:
composer update [vendor]/[package] —ignore-platform-reqs

Magento Development Services
Take your online store to the next level with BelVG Magento development
Visit the page



Thanks for your comment, it was very useful.
Hello,
Thanks for creating and sharing this great post.
The command php bin/magento setup:upgrade needs to be run for a ZIP-archive method also after its implementation.
Hi Richard,
The best solution will be to have a look at the module updates, or turn to “Colin Mollenhour” support, but i believe you’ve already tried the second way. You can also install the older version of PHP. Though this solution might not seem entirely right, it will undoubtedly help.
Moreover, you can rewrite this piece of code, preserving its logic. But the easiest of it all is to turn to our specialists who can always help [email protected]
hi. im trying to manually install 2.0 and i get this error (can you help me please) where do i change or what am i missing?
“Fatal error: Uncaught Exception: Deprecated Functionality: The each() function is deprecated. This message will be suppressed on further calls in /homepages/20/d107436098/htdocs/myshop/vendor/colinmollenhour/cache-backend-file/File.php on line 81 in /homepages/20/d107436098/htdocs/myshop/vendor/magento/framework/App/ErrorHandler.php:61 Stack trace: #0 [internal function]: Magento\Framework\App\ErrorHandler->handler(8192, ‘The each() func…’, ‘/homepages/20/d…’, 81, Array) #1 /homepages/20/d107436098/htdocs/myshop/vendor/colinmollenhour/cache-backend-file/File.php(81): each(Array) #2 /homepages/20/d107436098/htdocs/myshop/vendor/magento/zendframework1/library/Zend/Cache.php(153): Cm_Cache_Backend_File->__construct(Array) #3 /homepages/20/d107436098/htdocs/myshop/vendor/magento/zendframework1/library/Zend/Cache.php(94): Zend_Cache::_makeBackend(‘Cm_Cache_Backen…’, Array, true, true) #4 /homepages/20/d107436098/htdocs/myshop/vendor/magento/framework/App/Cache/Frontend/Factory.php(156): Zend_Cache::factory(‘Magento\\Fram in /homepages/20/d107436098/htdocs/myshop/vendor/magento/framework/App/ErrorHandler.php on line 61”
One can upgrade magento 2 using the two basic methods, one is from admin panel and other is using composer.
Dear Anders,
it’s better to contact the seller. Probably, (s)he’ll help with the issue.
Hi,
how can I activate the module? I have one, but it doesn’t work correctly, showing an error. I tried to uninstall and reinstall it but have no result.
Hi Michaello, here you should copy “install” folder CONTENT
Copy install folder or install folder contents?
Thanks, excellent manual how to enable module in Magento 2! Btw, it works both for 2.1 and 2.2. version.