We keep on discussing Magento 1.9 features, so today’s article is dedicated to CMS blocks. We teach you how to create and insert CMS blocks and show the number of variables that can be used in blocks. If you have any suggestions, please, comment on below.
Create and insert CMS blocks
In order to create CMS blocks, you need to go to CMS/Static Blocks in the admin panel and there insert a necessary block, for example, like this:
1. For adding to an XML file, we should use the following construction:
|
1 2 3 |
<block type="cms/block" name="link_main" before="-"> <action method="setBlockId"><block_id>link_main</block_id></action> </block> |
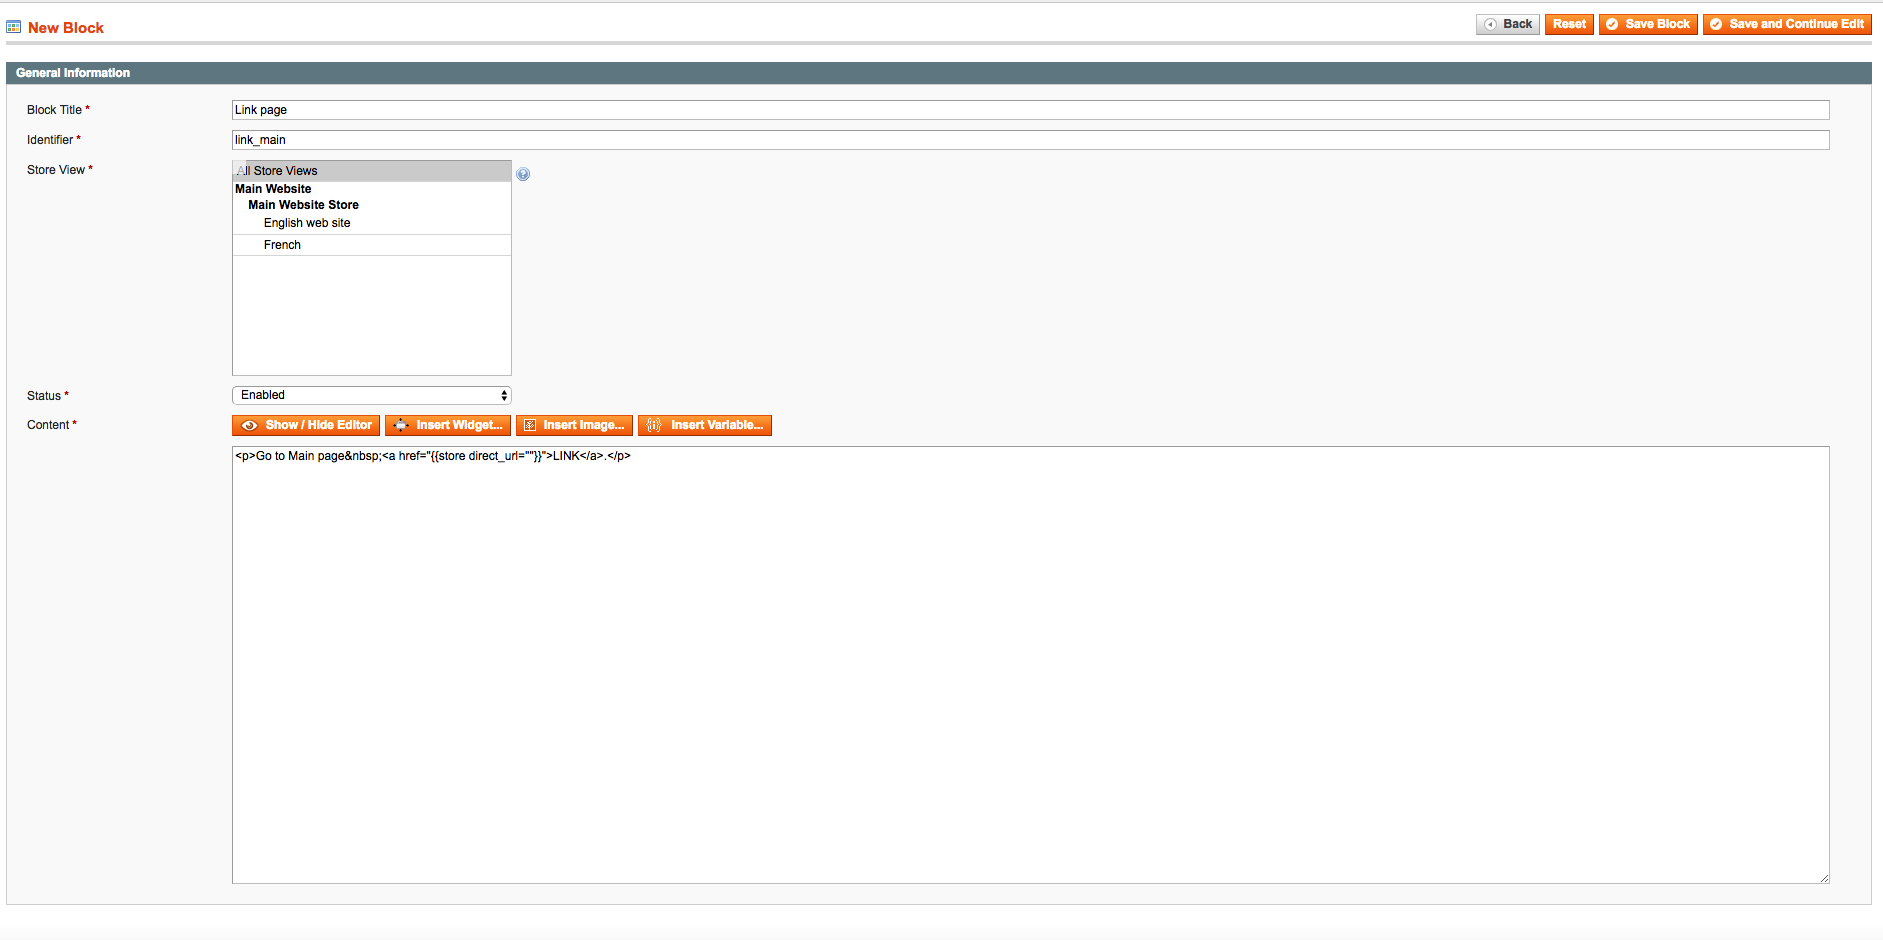
2. Besides, one can add to WYSIWYG editor, for example, on the homepage. But before you need to add our type of blocks as allowed to System/Permissions/Blocks. So click on “Add new block” and fill in the fields, as it’s shown in the picture:
Then insert, for example, on the home page, so the code will be like that:
|
1 |
{{block type="cms/block" block_id="link_main"}} |
3. One more way means adding a CMS block to PHP file using the construction:
|
1 |
<?php echo $this->getLayout()->createBlock('cms/block')->setBlockId('link_main')->toHtml(); ?> |
Understand the use of CMS template directives (var, store, block, …)
Let’s consider some variables that deserve more attention: skin, media, htmlescape, store, block, layout, config, customvar, protocol, widget.
1. skin
It’s used to output images from the skin folder and written with the following construction:
|
1 |
{{skin url='images/logo.gif' _theme='default' _package='rwd' }} |
Moreover, there are attributes for the construction:
url – the pathname to the image without the vendor and theme name folder included.
_theme – the name of the theme.
_package – the name of theme producer.
_area – area name (frontend, adminhtml).
2. media
It’s used to output images from the media folder and written with the following construction:
|
1 |
{{media url='i.jpg' }} |
Here is the only attribute which sets the pathname to the image in the rootsite/media folder.
3. htmlescape
It’s used to transform the html code into text and written with the following construction:
|
1 |
{{htmlescape var="<a href='www.google.com'>Google</a><strong>Magento</strong><i>BelVG</i>" allowed_tags="strong, i"}} |
The construction also has its attributes:
var – here we add html.
allowed_tags – the argument is used for selecting the allowed tags from html.
4. store
It’s used to output urls using the following construction:
|
1 |
{{store url="contacts" }} |
There are some attributes:
url – the path of the relative link in the website root.
_query_your parameter – adding the query parameter. For example, if used _query_year=2018, ?year=2018 will be added to the link.
custom – adding one more parameter to the link. For example,
|
1 |
{{store url="contacts" }} |
|
1 |
{{store url="contacts" custom=”222” }} |
5. block
It’s used to output static blocks or a specific template. For example,
|
1 2 |
{{block id="link_main"}} {{block type="core/template" template="banner-contact.phtml" }} |
There are following attributes:
id – the code of the static block, for example, here link_main is used.
type – the type of the template.
template – the pathname to the template.

Magento Custom Development
Take your online store to the next level with BelVG Magento Custom Development
Visit the page6. customvar
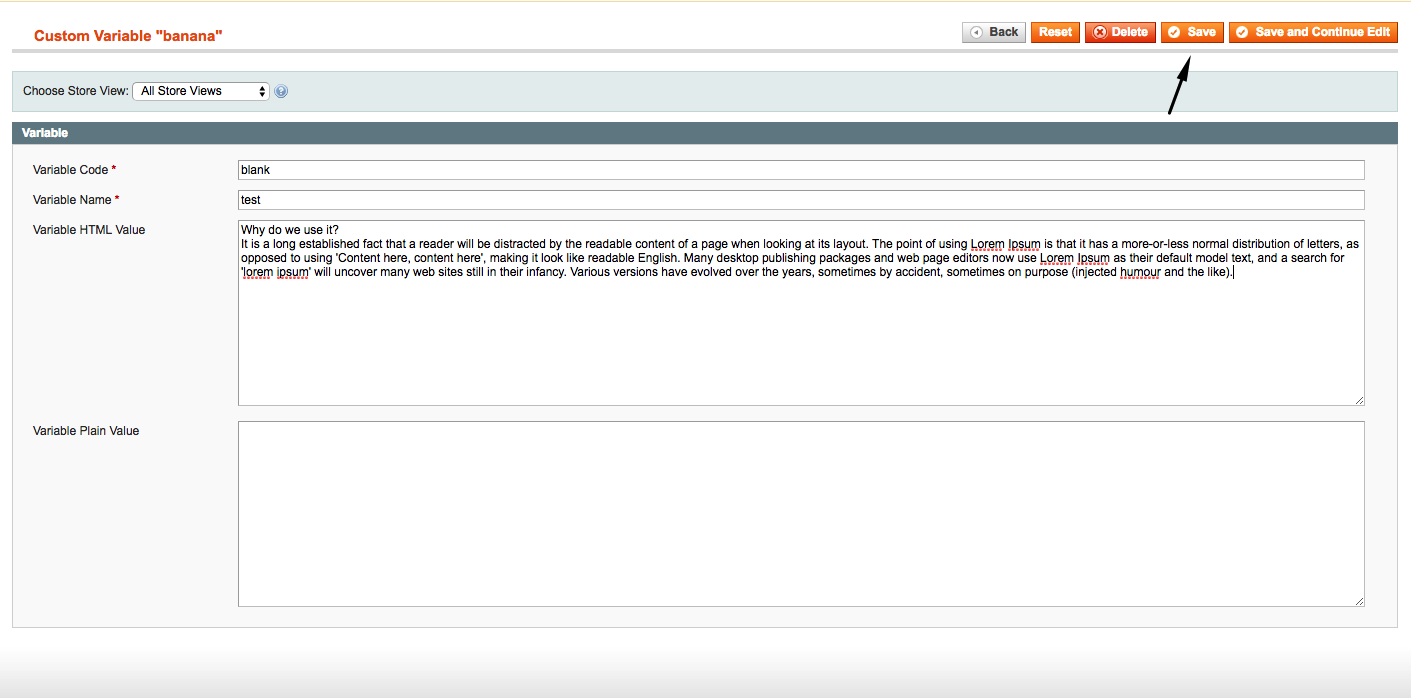
It’s used to output a variable which can be added to System→ Custom Variables.
Then we add the variable to the code
|
1 |
{{customvar code="blank"}} |
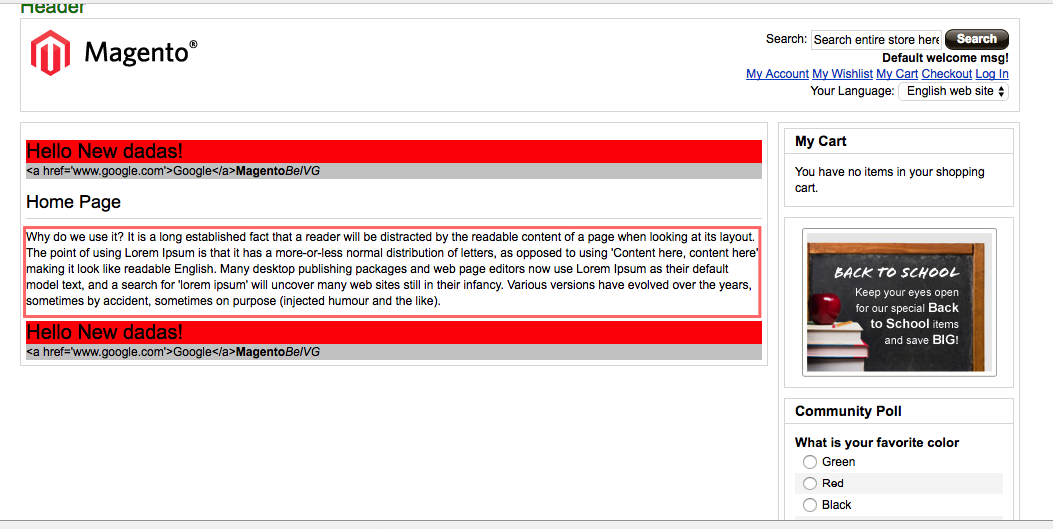
and see the code on the main page.
7. widget
It’s used to output widgets. As an example, let’s output the static block:
|
1 |
{{widget type="cms/widget_block" template="cms/widget/static_block/default.phtml" block_id="4"}} |
type – the type of widget.
template – the pathname to the widget template.
Thanks for reading!
With Layered Navigation extension for Magento you will be able to spread the navigation around and on top of the products on the page for easy and focused user navigation process.


