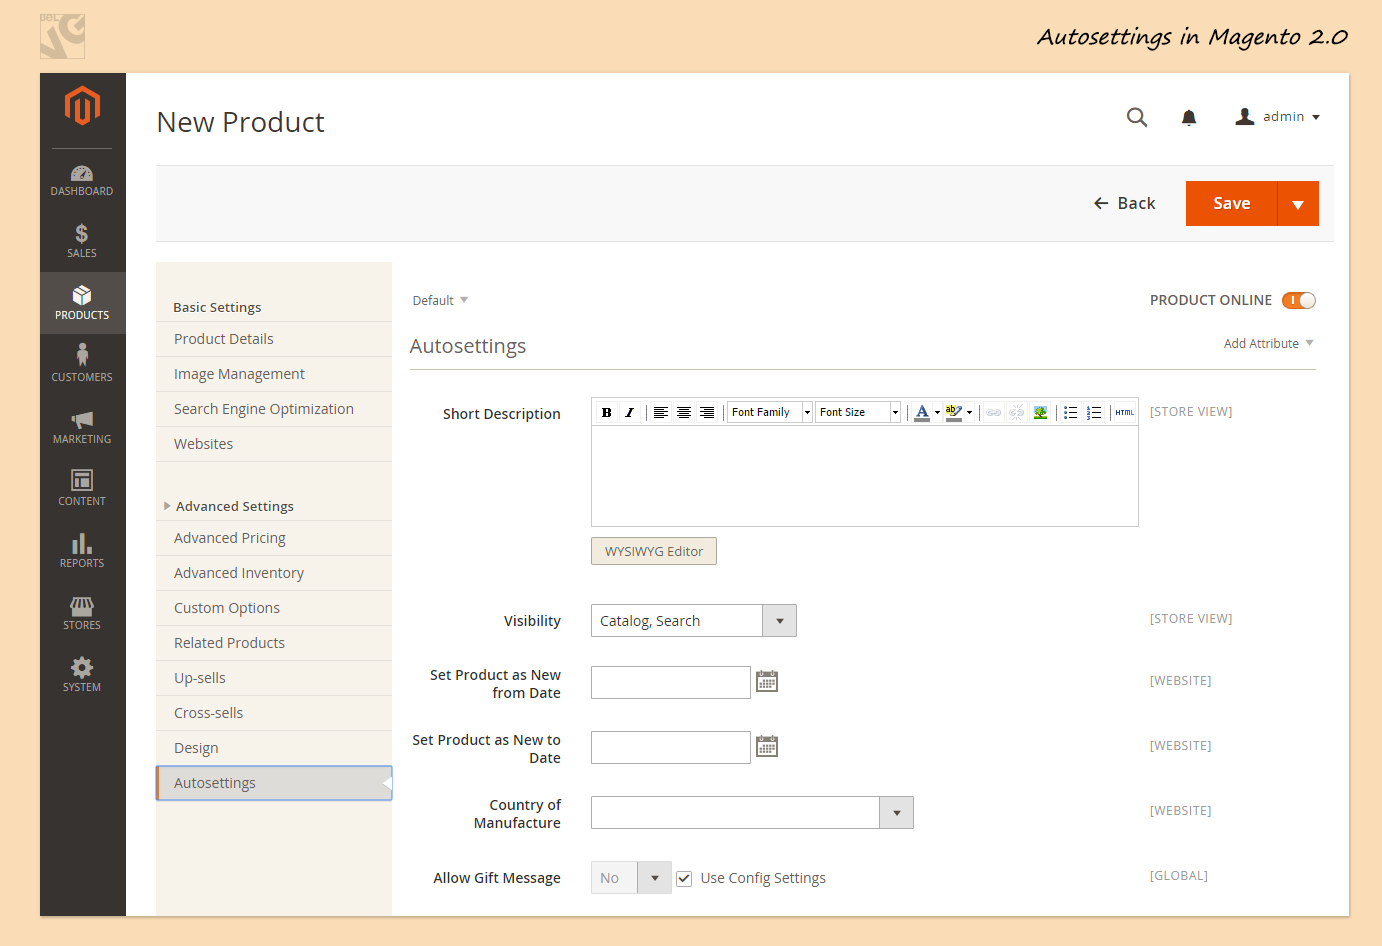
In this article we will continue to discover Magento 2.0 admin panel. Let’s have a look at Autosetting tab.

First goes Short Description. Here you can enter the short product description that will appear on the catalog page in list view, and as the Quick Overview on the product page (you can choose font, size and color depending on your taste).

Ecommerce Development
Take your online store to the next level with BelVG ecommerce development
Visit the pageNext goes Visibility. It is used to determine the level of visibility the product has throughout the store.
- If you choose Not Visible Individually it means that the product may be associated with a one-to-many product, but is not listed in the catalog;
- In case you decide to press Catalog your product will appear in the catalog listing, but will not be included in Search results;
- Choosing Search means that the product will appear in search results, but will not be listed in the catalog);
- Catalog, Search. The product is listed in the catalog and search results.

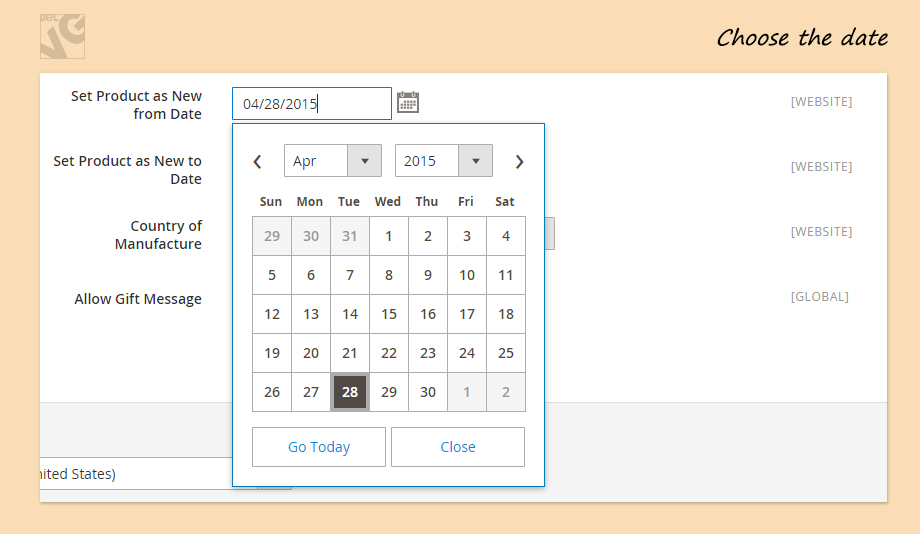
The third field that is presented in Autosettings is called Set Product as New from Date. Here you can sets the beginning date for the range of time the product will be in the “New Product” block on the Home page (the date can be typed, or selected from the calendar).
Forth goes Set Product as New to Date. Choose the ending date for the range of time the product is in the “New Product” block on the Home page (you can also type, or select the date from the calendar).

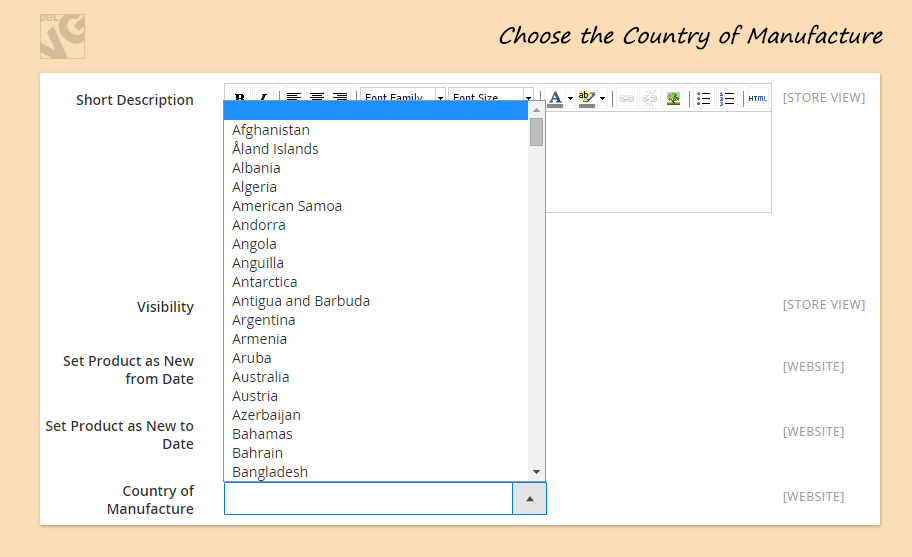
The other important box is Country of Manufacture. That is under the ‘Set Product as New to Date’ field.
Here you have the ability to select the manufacturer of the product from the countries list.

In the last field you should decide whether to Allow Gift Message or not.
- If you select Yes it means include a gift message for the product in the Shipping Method section of the checkout process.
- No means do not offer the gift message option).

But before you choose yes or no you should remove a tick from the Use Config Settings box.
So, now everything is set. The last thing that you have to do is just do not forget to Save all your changes.
Video guide on how to manage Autosettings in Magento 2.0
Need a great Magento extension? Visit our Magento extension store!


