 Table of content
Magento 2 Certified Professional Front End Developer Guide
Section 2: Magento Design Configuration System
2.1. Describe the relationship between themes
What type of relationships can exist between themes?
In Magento 2, the relationships between themes are defined by inheritance fallback mechanism. The mechanism functions the following way: in case view files are not found in the current theme, then the system searches for the files in parent themes, modules or libraries. For example, let’s imagine we created a theme with several external modifications, which will be inherited from the existing theme. Then, instead of copying all theme files, we need to copy only the files that will change. In other words, there is a parent theme (the one from which the child theme is inherited) and child theme (the one from which the parent theme is inherited).What is the difference between a parent theme and a child theme?
Parent theme is the theme from which all the files for the child theme are inherited. Parent theme can have its own parent theme, which makes her a child theme of the original parent theme.Child theme is the theme, the files of which are inherited from Parent theme.Modification of Parent theme files can have an effect on Child theme, in case when they are not overridden in Child theme. In contrast, the modification of Child theme files has no influence on Parent theme.How can the relationship between themes be defined and influenced?
A parent theme in Child theme.xml file is set: /app/design/frontend/(vendor)/(theme_name)/theme.xml (Magento/Blank 1 2 3 4 5 6 7 8 | xml version="1.0"?> <theme xmlns:xsi="http://www.w3.org/2001/XMLSchema-instance" xsi:noNamespaceSchemaLocation="urn:magento:framework:Config/etc/theme.xsd"> <title>My Theme</title> <parent>Magento/blank</parent> <media> <preview_image>media/preview.jpg</preview_image> </media> </theme> |
How is that taken into account when creating a custom theme or customizing an existing theme?
There can be an unlimited amount of inheritance levels in Magento 2.Let us consider several examples of extending or overriding the child theme files.Layout filesThe mechanism of layout files processing is not enabled in fallback system. The system gathers layout in the following order:- Current theme layouts:
/ _ /layout/ - Ancestor themes layouts, starting from the most distant ancestor, recursively until a theme with no parent is reached:
/ _ /layout/ - Module layouts for the frontend area:
/view/frontend/layout/ - Module layouts for the base area:
/view/base/layout/
1 2 3 4 5 6 | xml version="1.0"?> <page xmlns:xsi="http://www.w3.org/2001/XMLSchema-instance" layout="2columns-left" xsi:noNamespaceSchemaLocation="urn:magento:framework:View/Layout/etc/page_configuration.xsd"> <body> <move element="page.main.title" as="page.main.title" destination="content" before="-"/> </body> </page> |
- Current theme templates:
/ _ /templates - Ancestors themes templates, recursively, until a theme with no ancestor is reached:
/ _ /templates - Module templates:
/view/frontend/templates
- Current theme static files for a specific locale (the locale set for the storefront): theme_dir/web/i18n/
- Current theme static files: theme_dir/web/
- Ancestor’s static files, recursively, until a theme with no parent is reached:
- parent_theme_dir/web/i18n/
- parent_theme_dir/web/
- parent_theme_dir/web/i18n/
- Library static view files: lib/web/
- Current theme and current locale module static files: theme_dir/Namespace_Module/web/i18n/
/ - Current theme module static files theme_dir/Namespace_Module/web/. Example: app/design/frontend/BelVg/BelvgTheme/Magento_Catalog/web/
- Ancestor themes module static files, recursively, until a theme with no ancestor is reached:
- parent_theme_dir/Namespace_Module/web/i18n/
/ - parent_theme_dir/Namespace_Module/web/
- parent_theme_dir/Namespace_Module/web/i18n/
- Module static view files for the current locale and frontend area: module_dir/view/frontend/web/i18n/
/ - Module static view files for the current locale and base area: module_dir/view/base/web/i18n/
/ - Module static view files for the frontend area: module_dir/view/frontend/web/
- Module static view files for the base area: module_dir/view/base/web/
2.2. Configure the design system using the options found in the Admin UI under Content > Design > Configuration
How do the configuration settings affect theme rendering?
First, let’s log in the Magento admin panel and navigate to the theme settings at Content — Design — Configuration.Next, choose the necessary store. Here is what you will see on the page: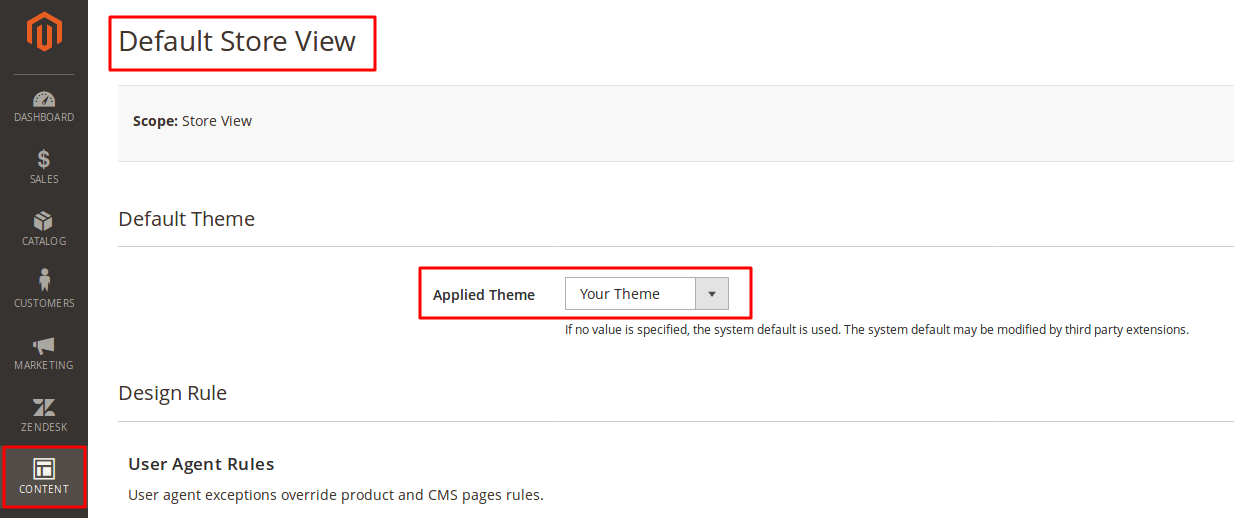 The current theme is applied by default, you can change it for any of the installed ones.Click “save”, clean the cache, and a new theme is displayed for the selected store.The next field of the menu are the user agent rules. Here you can set a theme for the necessary user agent. For example, let’s apply a special theme with an animated favicon and CSS-grid for the Firefox browser:
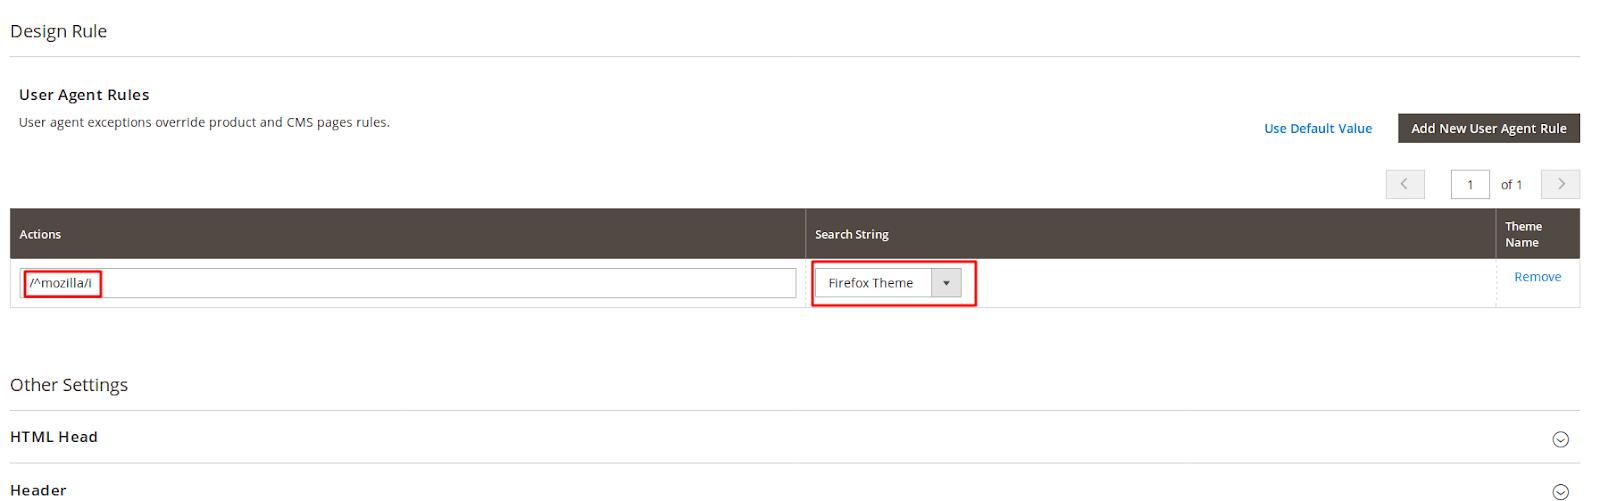
- create a rule for the user agent;
- we write /^mozilla/i for its definition;
- choose a special theme;
- save and clean the cache.
 Next are the settings for head, header, footer, search robots, pagination, watermarks for images and letters. Let’s examine them in more detail.
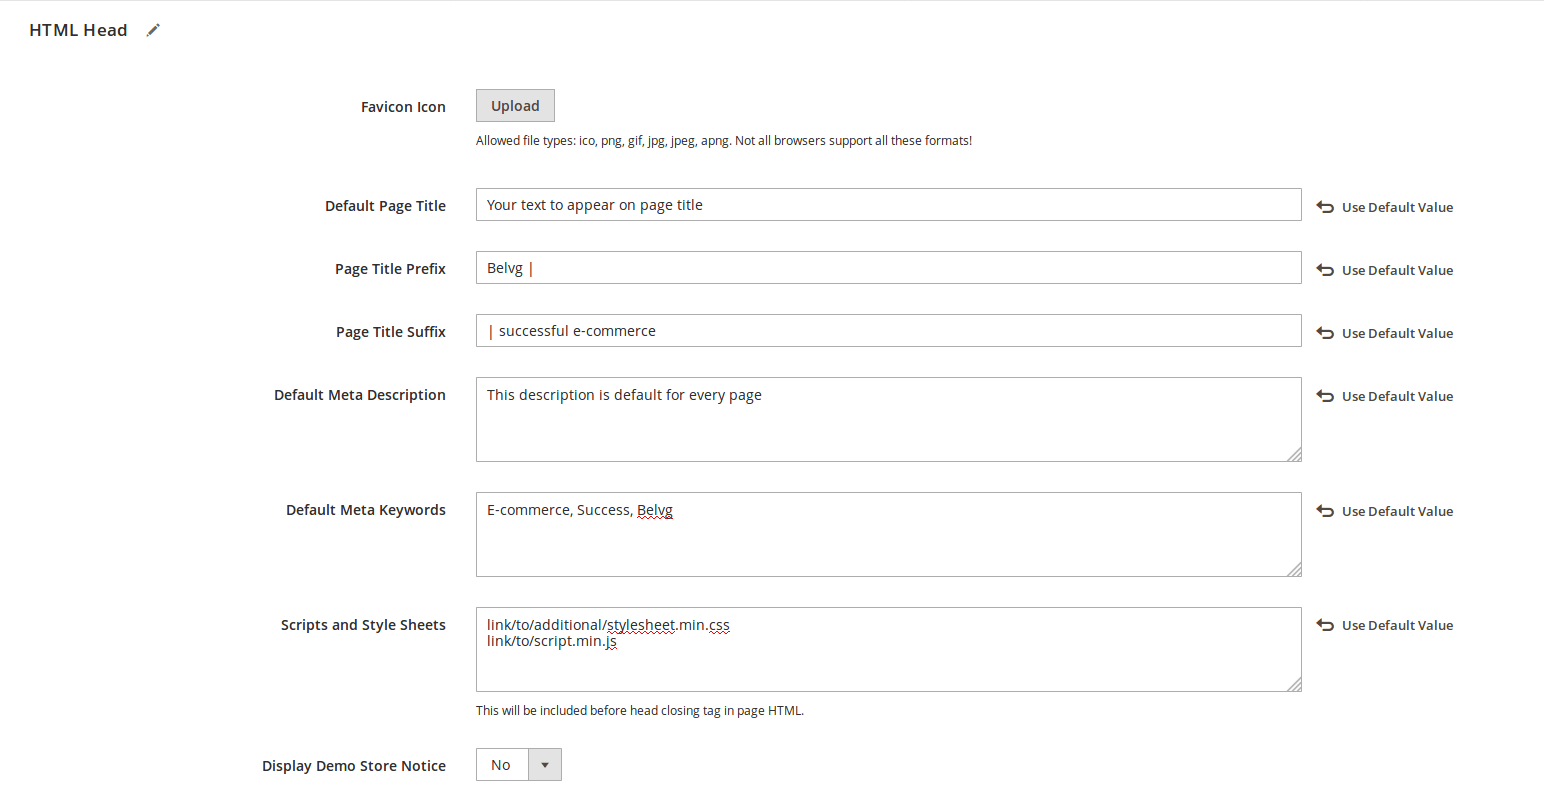 Let’s take a quick look at each of the fields:
- Favicon is an icon for quick identification of a site in the browser tab and in bookmarks. The supported formats are: ICO, PNG, APNG, GIF, and JPG (JPEG). Not all browsers support all types of favicons, so read the specifications carefully.
- The page title, displayed in a browser tab, is used for a variety of purposes, including SEO. If no header is set for each particular page, a default title is applied to all pages of a webstore (which is not good).
- Header prefix. It is used for 2 and 3-fragment headings. It is separated from the main header with a vertical dash or hyphen. It’s also applied on all pages, unless otherwise specified for a particular page.
- Header suffix. It’s similar to the prefix, but goes after the main header.
- Meta description. It’s used for SEO of the site, carries a brief information about the visited page and can not be longer than 160 characters. Similar to headings, it’s applied to all pages, unless otherwise specified for a particular page.
- Meta tags. A list of comma-separated tags for SEO of the page. Since Google abandoned it a long time ago, meta tags play a very small part in search optimization of your page.
- Scripts and style sheets. Additional styles and scripts that will be placed before the closing tag.
- Display demo store notice. Enables/disables the demo store message.
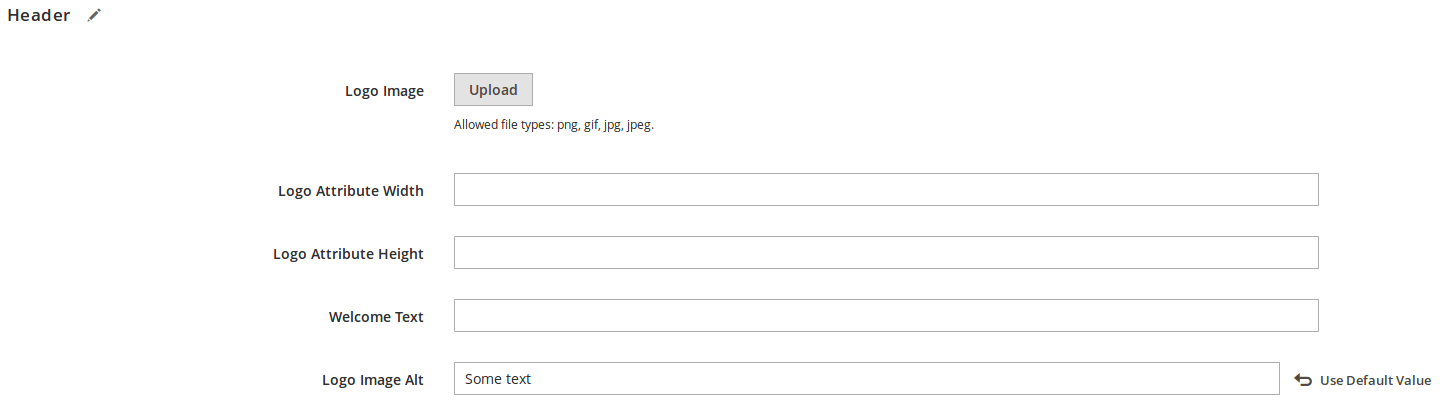
- Logo image. The supported file types are PNG, GIF, JPG (JPEG).
- Logo attribute width in pixels.
- Logo attribute height in pixels.
- Welcome text, which also contains the name of a logged-in user.
- Logo image alt. Alt text for the logo.
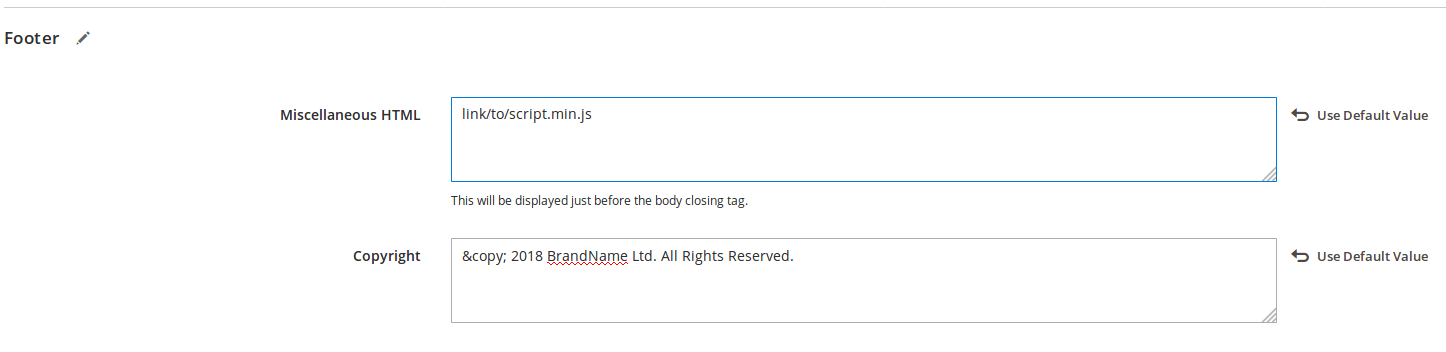
- A field for scripts that run before the closing
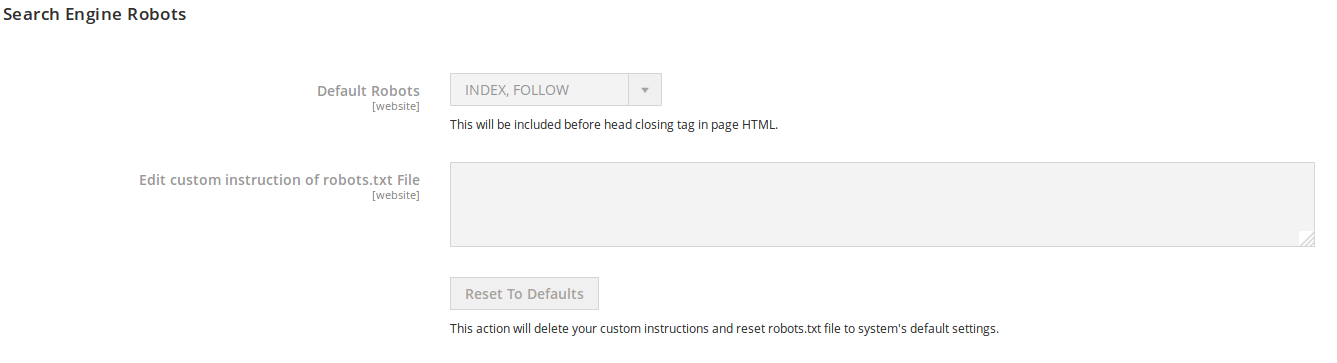 Here it is written how robots should behave in terms of indexing and returning to the site on schedule and upon editing, as well as special rules, such as banning certain directories that should not be indexed.Pagination settings
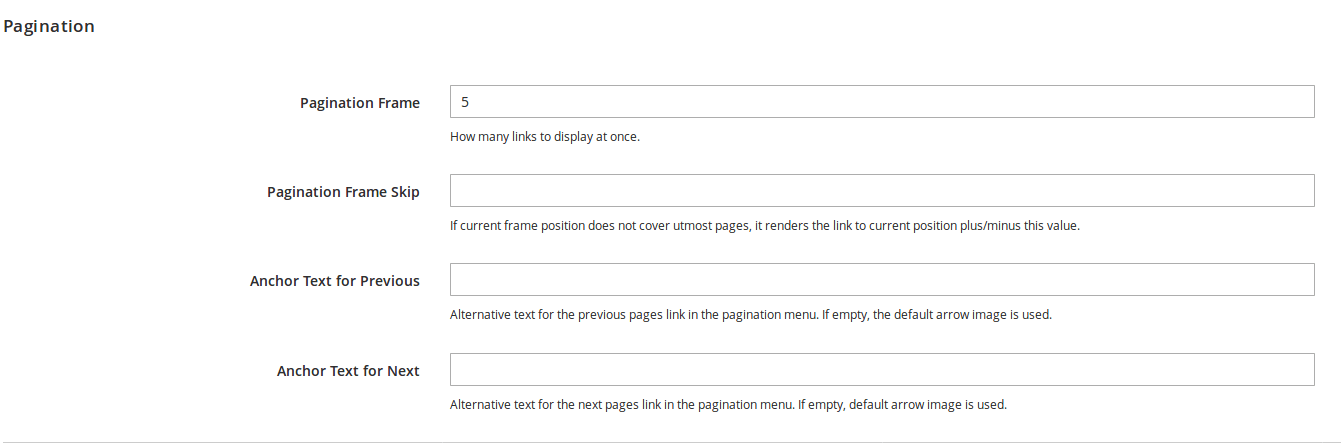 Here you can specify:
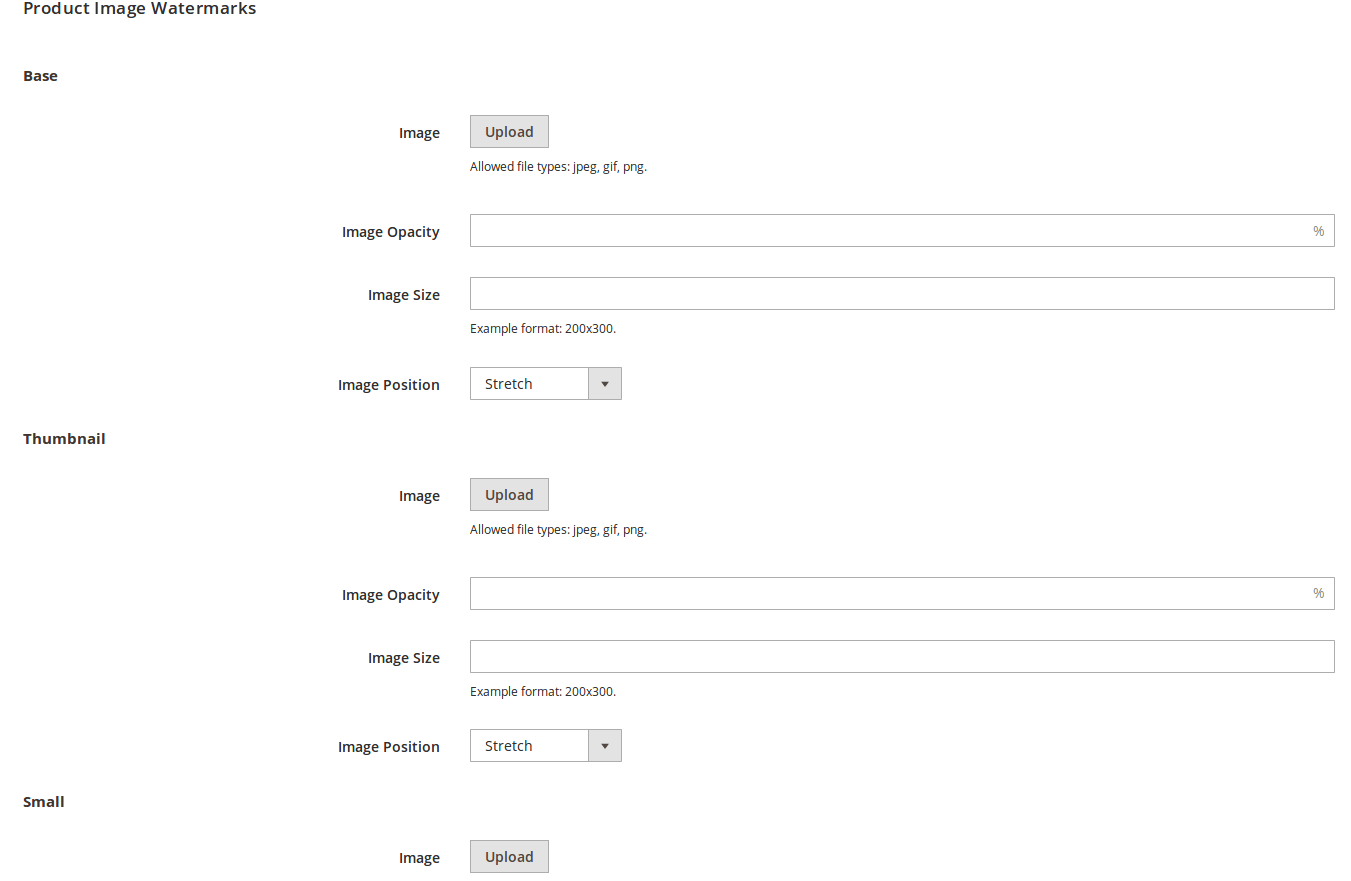 Here you can set the watermark parameters for the main image sizes:
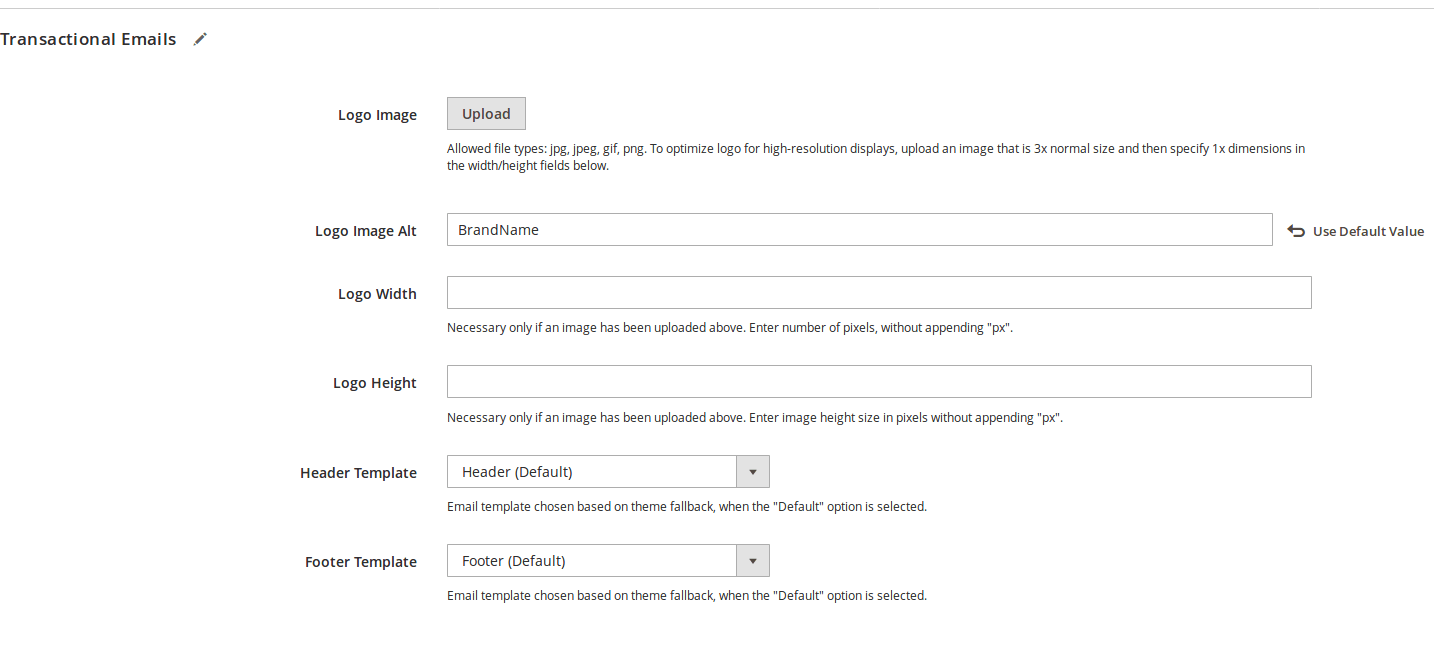 Here you can set:
 The page contains a list of all the scheduled design modifications. There is also a button for adding a new design on schedule.
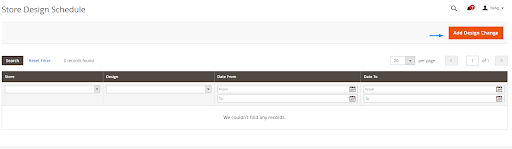 To create a new store design change, you need to specify the following settings:
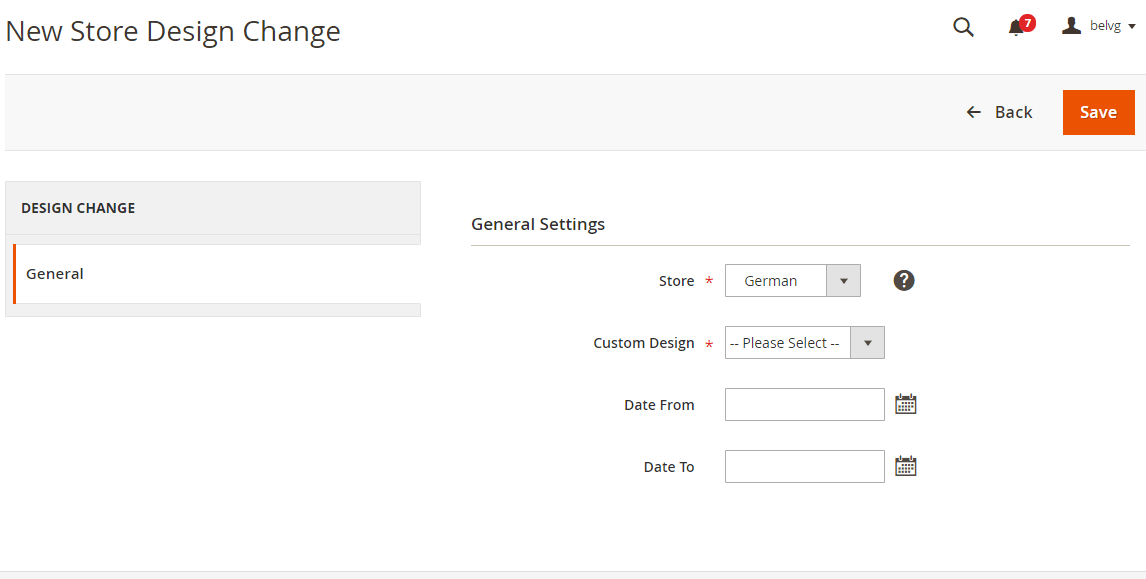 After all the options are selected, press the button in the upper right corner to save the changes.
 If the time range of the created design modification overlaps the time range of the set design modification, it will be impossible to save changes until the overlap is resolved.
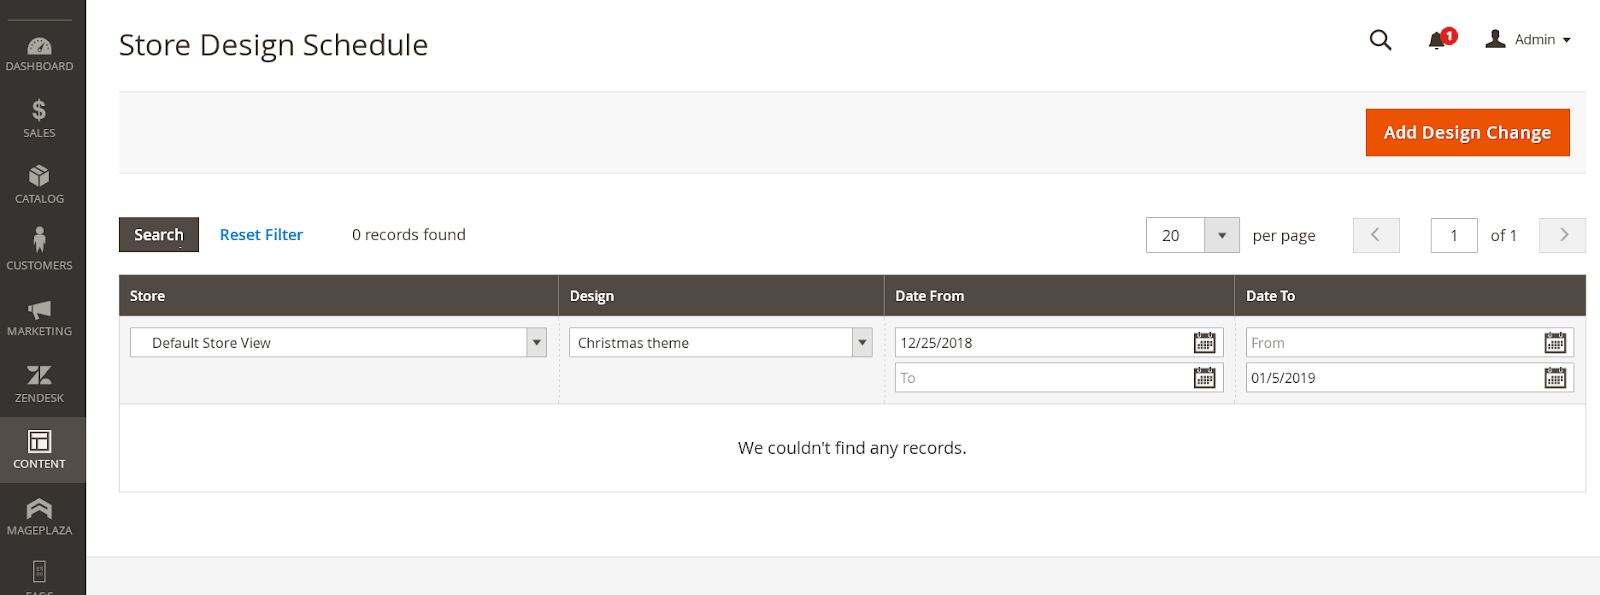 The screenshot above demonstrates a special Christmas theme, set for the holiday’s time range. When the festive season is over, the theme will automatically disable, and the content design settings will take force again.